
 By Hashim Hashmi

Correct saddle height is important for performance, injury prevention, and overall enjoyment of your ride. A saddle that is too low can lead to excessive knee flexion and reduced power output. One that is too high can cause hip rocking, lower back pain, and issues like Achilles tendonitis. This article explains how to accurately measure your inseam, apply the LeMond formula, and fine-tune your saddle height on your bike.
Understanding the Saddle Height Formula Using Your Inseam
Calculating your ideal bike saddle height using your inseam measurement is a fundamental step to achieving comfort, efficiency, and preventing common cycling injuries. The most widely accepted starting point for this calculation is the LeMond formula, which suggests multiplying your measured inseam length by a factor of 0.883.
This formula provides a reliable baseline that helps position your leg at an optimal extension through the pedal stroke. The saddle height formula for inseam ensures you harness power effectively without overextending or compressing your knee. While it’s a great starting point, remember that fine-tuning based on your body and riding style is always necessary.

Why Is Correct Saddle Height So Important?
The right saddle height isn’t just about comfort; it’s important for performance, injury prevention, and overall enjoyment of your ride. A saddle that’s too low can lead to excessive knee flexion, putting strain on your patella and quadriceps. It also reduces your power output significantly because you can’t fully extend your leg to push through the pedal stroke.
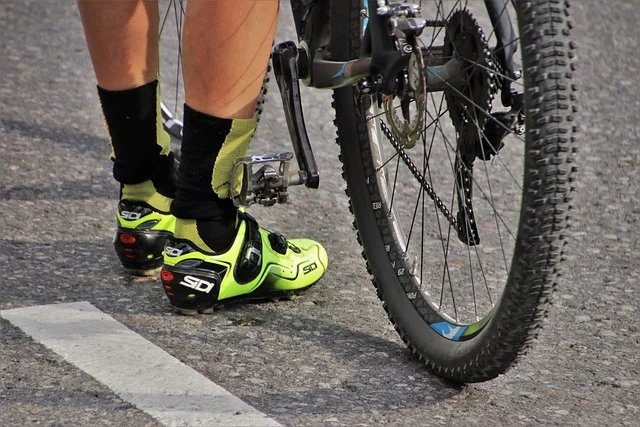
Conversely, a saddle that’s too high forces you to overextend your leg. This causes your hips to rock from side to side to reach the bottom of the pedal stroke. This rocking motion often results in discomfort in the saddle area, lower back pain, and can lead to issues like Achilles tendonitis or hamstring strain. Overextension can also lock your knee, making you less efficient and more prone to injury.
Achieving the correct saddle height allows for a fluid, powerful pedal stroke. It engages the right muscle groups efficiently and reduces undue stress on your joints and soft tissues. It enables you to ride longer, faster, and with greater comfort, using a saddle height formula for inseam measurements.
How to Accurately Measure Your Inseam for Cycling
Before you can apply any formula, you need an accurate inseam measurement. This isn’t your trouser inseam; it’s a specific perineum-to-floor measurement. It simulates pressure experienced on a saddle. Precision for the saddle height formula inseam is key to making it work well for you.
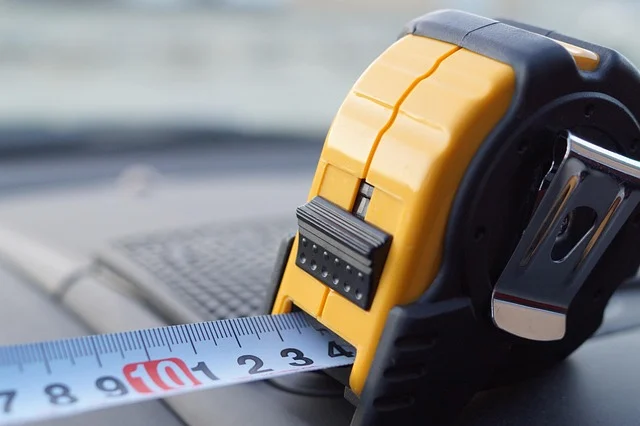
What You’ll Need:
- A large, hardback book or a spirit level
- Next, a tape measure (preferably a metal one for accuracy)
- A wall
- A pencil
- A friend (optional, but very helpful)
Step-by-Step Inseam Measurement:
- Prepare: Remove your cycling shorts or any bulky clothing. Wear only thin underwear or go commando to ensure the most accurate measurement.
- Position Yourself: Stand with your back against a wall, bare feet shoulder-width apart, mimicking your natural riding stance. Make sure your heels are against the wall and your feet are flat on the floor.
- Place the Book: Take the hardback book (or spirit level) and place it firmly between your legs. Push it upwards until it makes firm contact with your perineum, just as a saddle would. It should be parallel to the floor and pressing upwards with a similar pressure to what you’d feel on your bike.
- Mark the Wall: While holding the book in place, have your friend (or carefully do it yourself) use the pencil to make a small mark on the wall directly at the top edge of the book.
- Measure: Step away from the wall. Using the tape measure, measure the distance from the floor to the pencil mark. This is your cycling inseam measurement. Take this measurement a couple of times to ensure consistency.
We always recommend taking this measurement at least twice. If you’re doing it alone, it can be tricky to hold the book firmly and mark accurately. A friend’s help is invaluable for consistency.
The LeMond Saddle Height Formula Explained
Once you have your accurate inseam measurement, you can apply the classic LeMond formula to get your initial saddle height. This formula was popularized by three-time Tour de France winner Greg LeMond. It remains a widely used starting point for many cyclists and bike fitters.
The Formula:
Saddle Height (cm) = Inseam (cm) × 0.883
How to Apply It:
- Convert to Centimetres: Ensure your inseam measurement is in centimetres. If you measured in inches, multiply by 2.54 (e.g., 32 inches x 2.54 = 81.28 cm).
- Calculate: Multiply your inseam in centimetres by 0.883. For example, if your inseam is 85 cm, your initial saddle height would be 85 cm × 0.883 = 75.055 cm.
- Measure on Your Bike: This calculated height is the distance from the centre of the bottom bracket to the top of the saddle, measured along the seat tube.
This formula is incredibly useful as a baseline. It gets users very close to an optimal position, significantly narrowing down the trial-and-error process.

Applying the Calculated Saddle Height to Your Bike
With your calculated saddle height in hand, the next step is to accurately transfer that measurement to your bicycle. This requires careful attention to detail.
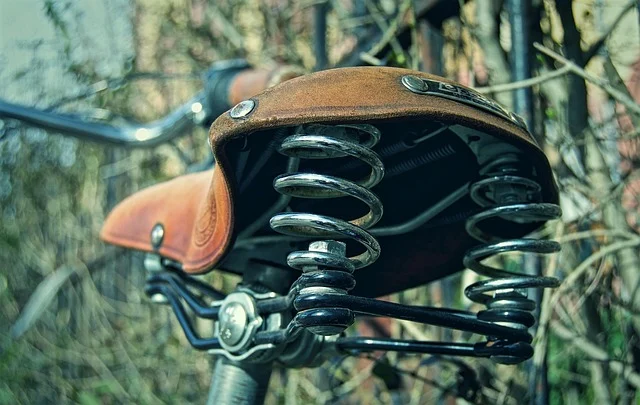
Step-by-Step Saddle Height Adjustment:
- Position Your Bike: Place your bike on a stand or lean it securely against a wall so it’s stable.
- Locate Measurement Points: The measurement is taken from the centre of the bottom bracket spindle to the top surface of the saddle, following the line of the seat tube.
- Measure and Adjust: Extend your tape measure from the exact centre of the bottom bracket to the highest point of your saddle. If your saddle has a significant dip, measure to the average height or where your sit bones typically rest. Loosen your seatpost clamp and slide the seatpost up or down until the measurement matches your calculated figure.
- Tighten Securely: Once the height is correct, tighten your seatpost clamp to the manufacturer’s recommended torque setting. Overtightening can damage your frame or seatpost; undertightening can lead to the saddle slipping during a ride.
It’s important to understand that the 0.883 factor is a starting point, not a definitive final answer. Individual differences in flexibility, riding style, and even shoe-pedal interface (e.g., cleat position, pedal stack height) will influence your ultimate ideal saddle height.
Fine-Tuning Your Saddle Height: Beyond the Formula
While the LeMond formula provides an excellent starting point, your body is the ultimate judge of the correct saddle height. We always advise riders to fine-tune their position after the initial setup. Here’s how you can do it:

The Heel-on-Pedal Method:
This is a classic and effective way to get close to your final height. Sit on your bike with your cycling shoes on. Place your heel on the pedal and pedal backwards. At the bottom of the pedal stroke (6 o’clock position), your leg should be almost fully extended, with a slight bend in the knee. If your leg is locked straight, your saddle is too high. If your knee is significantly bent, it’s too low. This method helps confirm the general range for a saddle height formula based on inseam.
Observe Your Knee Angle:
The ideal knee angle at the bottom of the pedal stroke is typically between 25 and 35 degrees of flexion. This is difficult to measure without specialised equipment, but you can visually assess it. A friend can help by watching you pedal on a turbo trainer, for a saddle height formula in inseam. Your knee should have a noticeable, but not excessive, bend.
Watch for Hip Rocking:
If your saddle is too high, you’ll often see your hips rocking from side to side. This happens to reach the pedals at the bottom of the stroke. This is a clear indicator that you need to lower your saddle slightly.
Listen to Your Body:
Pay attention to any discomfort. Knee pain (especially behind the knee or at the front), lower back pain, or saddle sores can all be symptoms of an incorrect saddle height. If you experience pain, make small adjustments (2-3 mm at a time) and test them out on short rides.
Consider Your Riding Style:
Some riders prefer a slightly lower saddle for more control on technical terrain (e.g., mountain biking), while road cyclists often opt for a slightly higher position for maximum power transfer. Your personal preference and the type of riding you do will play a role in your final adjustment.
When the Inseam Formula Might Not Be Enough (Edge Cases)
While the inseam formula is a fantastic general guide, it’s important to recognise that it doesn’t account for every individual variable. There are a few scenarios where you might need to deviate from the formula or seek professional advice:

- Significant Leg Length Discrepancy: If you have one leg noticeably longer than the other, the formula based on a single inseam measurement won’t be perfectly accurate for both legs. In such cases, a professional bike fitter can help you compensate, often using shims or custom cleat setups.
- Flexibility Issues: Riders with limited hamstring flexibility might find the formula’s suggested height too high, as it forces them to overextend. A slightly lower saddle might be more comfortable and prevent injury in these cases.
- Aggressive Riding Posture: Time trialists or triathletes who adopt very aggressive, aerodynamic positions might choose a slightly different saddle height to optimize power in that specific posture, often deviating slightly from the standard formula.
- Shoe and Pedal System Differences: The stack height of your shoes and pedals (the distance from the pedal axle to your foot) can vary significantly between brands and types. While the formula gives a good starting point, this variation means you might need to adjust up or down a few millimeters.
- Pre-existing Injuries: If you have a history of knee, hip, or back injuries, you might need a more conservative (lower) saddle height to reduce strain. Always prioritize comfort and injury prevention over strict adherence to a formula.
- Very Short or Tall Riders: At the extremes of height, the 0.883 factor might need slight modification, though it generally holds up well.
For these edge cases, we would certainly recommend considering a professional bike fit. They have the tools and expertise to assess unique biomechanics and fine-tune a position for optimal comfort and performance, going beyond what any single formula can offer.
Comparing Saddle Height Formulas: LeMond vs. Others
While the LeMond 0.883 formula is the most widely recognized, it’s not the only one. Other methods exist for a saddle height formula in inseam, each with slightly different factors or approaches. Understanding these can offer perspective, but the LeMond method is found to be the most practical for a DIY approach.
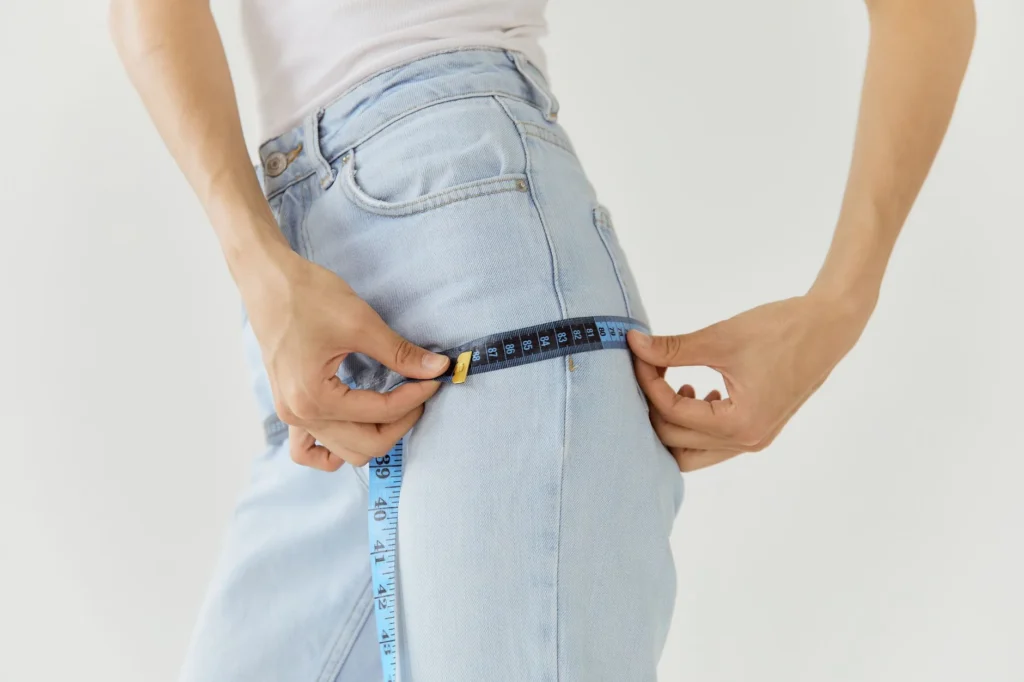
The LeMond Formula (0.883):
- Calculation: Inseam (cm) × 0.883
- Strengths: Simple, widely accepted, provides a good balance between power and comfort for most riders. It’s an excellent starting point.
- Weaknesses: Doesn’t account for individual flexibility, shoe/pedal stack height, or specific riding styles. It’s a general guideline.
The Hinault Formula (0.885):
- Calculation: Inseam (cm) × 0.885
- Strengths: Very similar to LeMond, offering a slightly higher saddle position. Named after Bernard Hinault.
- Weaknesses: Shares the same limitations as the LeMond formula regarding individual variations. The difference is often negligible in practice.
The Hamley & Thomas Method (1.09 x Inseam to Top of Saddle):
- Calculation: Inseam (cm) × 1.09 (this measures from the pedal axle at its lowest point to the top of the saddle, NOT from the bottom bracket).
- Strengths: Attempts to account for crank length and pedal stack height more directly.
- Weaknesses: More complex to measure accurately without a jig, as it requires the pedal to be at the 6 o’clock position and precise measurement to the top of the saddle. Less intuitive for a home mechanic.
The Holmes Method (Knee Angle Measurement):
- Calculation: Aims for a specific knee angle (25–35 degrees) at the bottom of the pedal stroke.
- Strengths: Biomechanically sound, as it directly addresses the desired outcome (knee angle).
- Weaknesses: Requires specialised goniometer tools or video analysis to measure accurately, making it impractical for most home users. This is typically used by professional bike fitters.
For most recreational and enthusiastic cyclists, the LeMond 0.883 formula remains the most practical and effective starting point. It’s easy to calculate and apply, and the subsequent fine-tuning is something every rider should do regardless of the initial method.
Sources: A Comfortable Bicycle Saddle
Frequently asked questions
How do I calculate saddle height from my inseam?
To calculate your saddle height from your inseam, first measure your cycling inseam accurately from your perineum to the floor. Then, multiply this measurement in centimetres by 0.883. This saddle height formula for inseam will give you a starting saddle height in centimetres, measured from the centre of the bottom bracket to the top of the saddle.
Is the 0.883 formula accurate for everyone?
The 0.883 formula is a very accurate and widely accepted starting point for most cyclists. However, it serves as a guideline and may need fine-tuning based on individual factors such as flexibility, riding style, specific shoe and pedal stack height, and any pre-existing injuries.
What happens if my saddle is too high or too low?
If your saddle is too high, you might experience hip rocking, overextension of the knee, lower back pain, or saddle discomfort. If it’s too low, you could suffer from excessive knee bend, reduced power output, and pain at the front of the knee or in the quadriceps.
How often should I check my saddle height?
You should check your saddle height whenever you get a new bike, change your saddle, shoes, or pedals. It’s also a good idea to re-evaluate it, perhaps using a saddle height formula for inseam, if you experience persistent discomfort or change your riding style significantly, such as moving from casual riding to more intense training.