
 By Hashim Hashmi
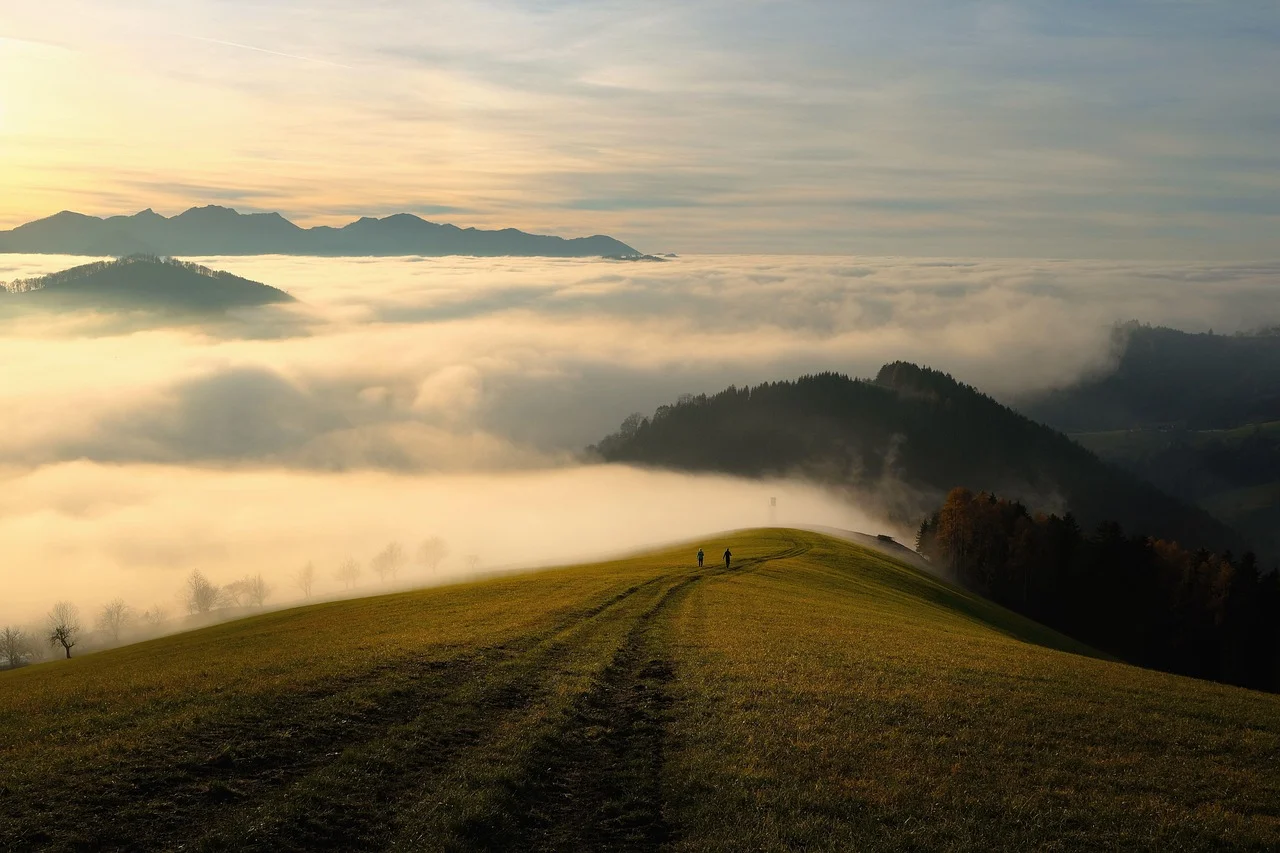
The best mountain biking trails combine well-maintained singletrack, clear difficulty grading, and vibrant trail communities, tailored to your riding style, skill level, and bike. Finding them requires using dedicated trail apps like Trailforks or Komoot, matching terrain features to your suspension setup, and checking real-time surface conditions before heading out.
How Do You Find the Best Mountain Biking Trails for You?
Finding an enjoyable trail starts with an honest assessment. Consider your technical handling abilities and physical endurance. Also, evaluate your equipment. Riding a trail that significantly exceeds your skill level risks severe injury. It can also damage your bike. However, riding paths far below your ability can quickly feel monotonous. The “best” trail ultimately matches your current capabilities. It also offers the type of riding experience you seek.
Understanding Trail Difficulty Ratings
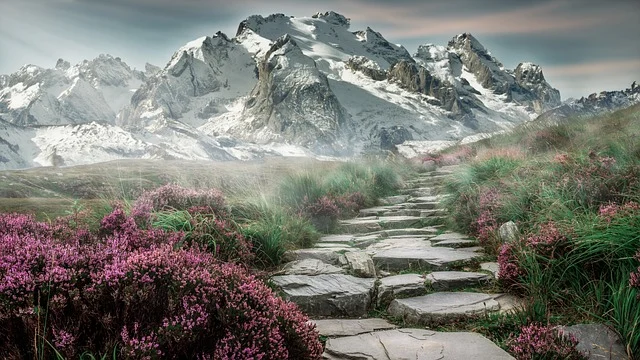
Mountain bike trails use a color-coded difficulty system. This models ski slopes. These ratings offer a solid baseline. However, difficulty is relative to location. For example, a blue trail in the Pacific Northwest might feature steep rock drops. Also, it could have exposed roots. These may rival black trails in flatter forests. Always cross-reference ratings for the best mountain biking trails. Use rider reviews and photos where available.
- Green Circle (Easy): Wide singletrack or doubletrack paths with smooth, predictable dirt surfaces and minimal gradient. Grades stay under 8%, and small obstacles like roots or pebbles rarely exceed five centimetres in height. Suitable for beginners and recreational cyclists.
- Blue Square (Intermediate): Narrower singletrack featuring moderate climbs and descents with gradients up to 15%. Expect embedded rocks, small drops, root systems, and tight switchbacks that require standing body posture and active braking. This is often the sweet spot for many riders looking to progress.
- Black Diamond (Advanced): Steep, technical singletrack with large rock gardens, high-speed berms, blind crests, and mandatory drop-offs. Riders need precise line selection, body positioning, and high fitness levels. This category often suits experienced riders seeking a challenge.
- Double Black Diamond (Expert): This is extreme gravity terrain. It has massive jump features and deep drop-offs. You will also find wooden ladder bridges and exposed cliffs. There are also off-vertical rock faces. Features rarely offer ride-around bypass lines. These trails are for highly skilled riders. They require appropriate equipment.
Matching Trails to Your Bike Build
Your bike frame and suspension setup dictate terrain feel. A lightweight, short-travel hardtail feels nimble. It responds well on smooth green and blue singletrack. However, it demands careful line selection across harsh rock gardens. If you ride an aggressive hardtail, see Full Suspension Mountain Bikes: Your Guide to Trail-Ready Control. This guide covers tire setup adjustments. They add extra compliance for the best mountain biking trails on rough ground.
A long-travel full-suspension bike absorbs harsh trail chatter. It keeps tires on the ground over loose roots. It also cushions landings on steep drop-offs. Matching a bike built for technical terrain with high-speed downhill runs preserves control. It protects components from cracking under load. Riding the best mountain biking trails with the wrong bike can cause component failure. It can also lead to flats. This makes for an uncomfortable, less controlled ride.
Evaluating Trail Distance Against Elevation Gain
Never judge a mountain bike route by distance alone. A 15km cross-country trail with 100 meters of gradual climbing takes under an hour. However, a 15km mountain loop with 800 meters of technical climbing can take over three hours. This applies to the best mountain biking trails. Always evaluate total elevation profiles alongside distance. Also, consider the *type* of climbing when planning a ride. This means sustained fire road versus punchy, technical ascents.
Which Trail Apps and Resources Work Best for Finding Routes?
You can easily discover local singletrack with digital mapping platforms. Also, community databases make it simple. Combining general satellite mapping with rider-submitted trail logs gives you an accurate preview. This shows current trail conditions and layout. As a result, you find the “best mountain biking trails near me” or in a new region.
Apps like Komoot and MTB Project are regularly used. One can use them to plan routes. These apps consider surface composition and elevation profile. Komoot provides exact breakdowns of trail surfaces. For example, it highlights percentages of singletrack, gravel, and pavement. MTB Project also features crowd-sourced trail loops. These loops come complete with rider photos and topographical maps.
TrailLink offers a vast network of trails. This makes it ideal for paved multi-use paths or converted rail corridors. Consequently, casual riders, families, or gravel cyclists prefer its traffic-free paths. They avoid technical terrain.
Comparing Popular Trail Discovery Tools
Selecting the right digital planning tool depends on where and how you ride:
| Platform | Key Strengths | Best Riding Focus | Offline Capability |
|---|---|---|---|
| Trailforks | Real-time trail status updates, trail network overlays, maintenance logs, user photos and comments | Technical singletrack, bike parks, downhill networks, global coverage | Regional map downloads available via subscription |
| Komoot | Turn-by-turn navigation, detailed surface type breakdowns, tour planning, voice navigation | Cross-country, mixed-surface riding, bikepacking, gravel, road cycling | Offline region map downloads |
| MTB Project | Curated featured loops, user-submitted elevation profiles and photos, detailed descriptions | North American mountain bike networks, trail system overviews | Free state and country map downloads |
| TrailLink | Comprehensive directory of rail-trails and paved multi-use paths, detailed surface info | Casual riding, crushed-stone paths, green trails, family rides | In-app offline routing |
Consulting Local Bike Shops and Trail Groups
Digital apps show path locations. Local riders supply essential context. Stop by a local bike shop near the trailhead. Get up-to-date reports on fallen trees, trail maintenance, or erosion hazards. Local trail advocacy organization websites also publish work-day closures. They list directional trail schedules and land-use updates. These local insights are crucial for understanding current conditions. They reveal specific nuances of the best mountain biking trails that apps might miss.
What Key Trail Features and Terrain Terms Should You Evaluate?
Trail reviews use specific mountain bike terms to describe line character. Understanding these labels helps you pick trails that match your riding style and avoid unpleasant surprises.
Flow Trails Versus Technical Singletrack
Singletrack is typically the most engaging format for mountain biking. Narrow, single-file trails demand active rider interaction. Also, they require quick line adjustments.
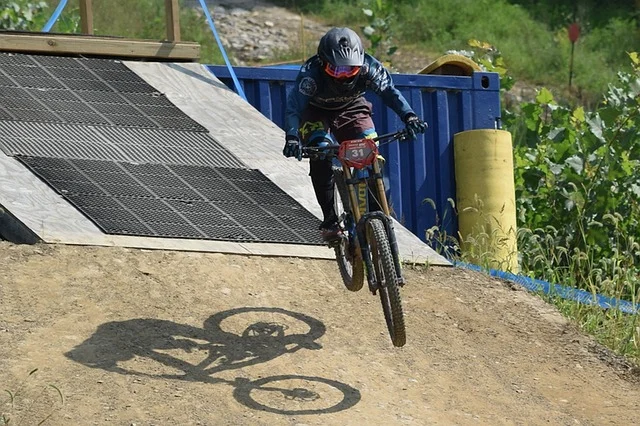
- Flow trails: These are smooth, purpose-built paths. They have banked turns, called berms, rollers, and tabletop jumps. Flow trails prioritize momentum, speed, and continuous rhythm. They do not have loose rock or exposed root obstacles. As a result, they offer a fun, continuous ride experience. They often suit riders who enjoy airtime and speed.
- Technical singletrack: Natural trails containing natural hazards like exposed tree roots, loose scree, rock gardens, compression dips, and off-camber drop-offs. Technical paths require lower speeds, precise front-wheel placement, and rapid weight shifting. These trails test a rider’s skill in navigating obstacles and maintaining traction.
Bike Parks Versus Backcountry Wild Singletrack
Understanding the difference between these environments is crucial for preparation and expectation setting.
- Bike parks: These parks feature chairlift or shuttle services. They also offer engineered jumps and progressive drop zones. You will find a high trail density here. Trail crews regularly clear fall hazards. They also maintain surfaces. These parks are ideal for riders. You can maximize downhill runs, practice specific features, or ride in a controlled environment with amenities.
- Backcountry wild singletrack: This stretches deep into unmaintained terrain. It is away from road access. These routes feature unpredictable surfaces and spotty trail markers. They also have rapid weather shifts. Therefore, they demand complete self-sufficiency. Riders need extra gear preparation. If you tackle backcountry trails, you must be prepared for navigation challenges and self-rescue. You may also experience long periods without cell service.
How Do You Check Trail Conditions and Seasonal Access?
Riding trails during wet or thawing conditions gouges deep ruts into dirt surfaces. This creates unnecessary trail maintenance work. It also risks losing land access rights. Therefore, check conditions beforehand. This protects both trail networks and your bike components. It also ensures you have the safest and most enjoyable ride.

Understanding Soil Types and Traction
Dirt responds differently to moisture depending on its underlying mineral content. Knowing the local soil type can help you predict trail conditions after rain:
- Loam: This is a rich mix of sand, silt, and organic matter. Loam holds exceptional grip when it is moist. It also drains water rapidly. Furthermore, it resists rutting. Many riders consider this the ideal trail surface.
- Clay: This material holds water long after rain. It turns into heavy, sticky mud. Also, it builds up inside suspension bridges. Clay locks up tires and tears off rear derailleurs. Avoid riding wet clay trails entirely. They are easily damaged and can be dangerous.
- Loose over hard: A fine layer of loose dirt or gravel resting on hardpack dirt. As a result, it requires gentle braking to prevent tire washouts in flat turns, as traction can be unpredictable.
- Bedrock and granite: Excellent traction when dry, but dangerously slick when wet or coated in forest pine needles. Exercise extreme caution on these surfaces in damp conditions.
Handling Seasonal Weather Shifts
During spring freeze-thaw cycles, solid morning dirt softens into wet mud. This happens by early afternoon as ambient temperatures rise. So, limit riding during these seasonal transitions. Ride only in early frozen mornings. Alternatively, stick to paved and gravel roads. This protects soft singletrack. As a result, you prevent rutting and long-term damage to the trails.
In mid-summer, extreme drought breaks down berms into fine powder dust. This lowers cornering grip. It also increases rolling resistance. Always check recent logs on Trailforks or community social media pages. Confirm that trails are open and safe to ride. Hot, dry conditions can also increase wildfire risk. This often leads to trail closures.
Trail Etiquette and Trail Sharing
Respectful trail sharing keeps the best mountain biking trails open. Downhill riders must yield to climbing riders on two-way trails. Restarting on steep hills takes tremendous effort. Cyclists must yield to hikers and equestrian trail users. Slow down and make verbal contact. Step off the path when necessary. Always stay on the established trail surface. Riding around puddles widens paths. It destroys surrounding plant life. Pack out everything you pack in. Include all trash.
What Steps Ensure a Safe and Successful Trail Ride?
Pre-ride preparation prevents minor trailside mechanicals from turning into long walks back to the car. Follow this preparation sequence before heading out:
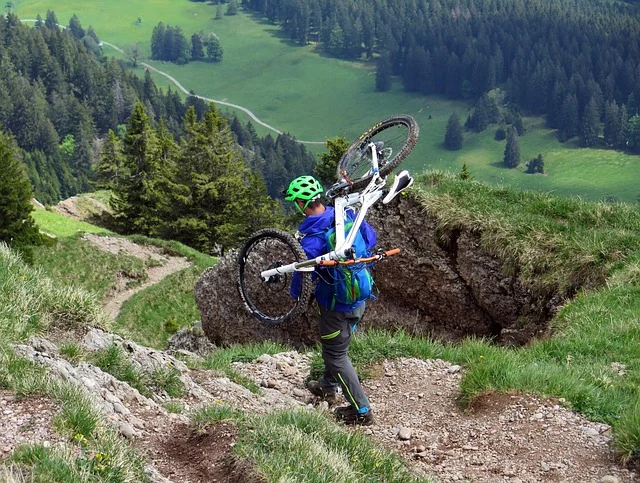
- Download offline maps: Deep valleys and dense tree cover often block mobile phone signals. Save your route map to your phone or GPS device before arriving at the trailhead. This is critical for navigation, especially in remote areas.
- Conduct a pre-ride safety check: First, perform a thorough bike check. Verify tire pressure, squeeze brake levers to test hydraulic pressure, check wheel axle tightness, and test gear shifting. Also, ensure your quick releases or thru-axles are secure.
- Pack essential trail tools: Carry a hand pump or CO2 inflator. Also, bring a spare tube and a tubeless tire plug kit. You will need a multi-tool with an integrated chain breaker. Don’t forget tire levers and a spare quick-link. See Cycling Water Bottle: How to Choose and Use for Peak Hydration for essential multi-tool features. These items can fix most common trailside issues.
- Wear protective gear and bring hydration: Wear a well-fitted helmet on every ride. Add knee pads, full-finger gloves, and eye protection for fast or technical routes. Bring at least 500ml of water per hour of riding alongside calorie-dense energy snacks. Always err on the side of bringing too much water and food.
- Inform someone of your plans: Share your planned trail network, route distance, and expected completion time with a friend or family member before setting off into remote areas. This “bail-out plan” is vital for your safety if an emergency occurs.
Frequently asked questions
What is the difference between singletrack and doubletrack trails?
Singletrack is a narrow trail. It is roughly a bicycle’s width. Riders must ride in single file. You must actively navigate the terrain. Doubletrack is wide enough for a four-wheeled vehicle. It also fits two cyclists side-by-side. Therefore, it is ideal for beginners or gravel bikes. It suits casual rides and finding the best mountain biking trails where speed or technical challenge is less important.
Can I ride an entry-level hardtail on black diamond trails?
An experienced rider can pilot a hardtail down advanced terrain. However, steep rock drops and rough chatter significantly increase several risks. These include pinch flats, wheel rim damage, and loss of control. A long-travel full-suspension bike provides far better control. It also offers more comfort and safety margins. So, it is the recommended choice for technical black diamond routes.
How do I know if a trail is too wet to ride?
The trail is too wet if tires leave deep ruts. Thick, sticky mud on tires and frame also means it’s too wet. Turning back immediately prevents severe trail damage. It protects delicate dirt tracks from erosion. This saves trail maintenance volunteers significant work. When in doubt about the best mountain biking trails, turn around or find an alternative.
Why do downhill mountain bikers yield to climbing mountain bikers?
Riders climbing uphill need continuous momentum and balance. This keeps them moving on steep inclines. Therefore, restarts are very difficult and energy-intensive. Descending riders can easily brake and stop. They can also step aside. Then they resume riding downhill once the trail is clear. This causes minimal disruption to their flow and effort.
Where are the best mountain biking trails in the world or US?
The “best” trails are highly subjective, depending on your skill, bike, and preferred riding style. However, renowned regions globally include British Columbia (Canada), the Alps (Europe), and Rotorua (New Zealand). In the US, popular states for diverse mountain biking include Colorado, Utah, California, and North Carolina, known for extensive networks and varied terrain suitable for all levels.