
 By Hashim Hashmi
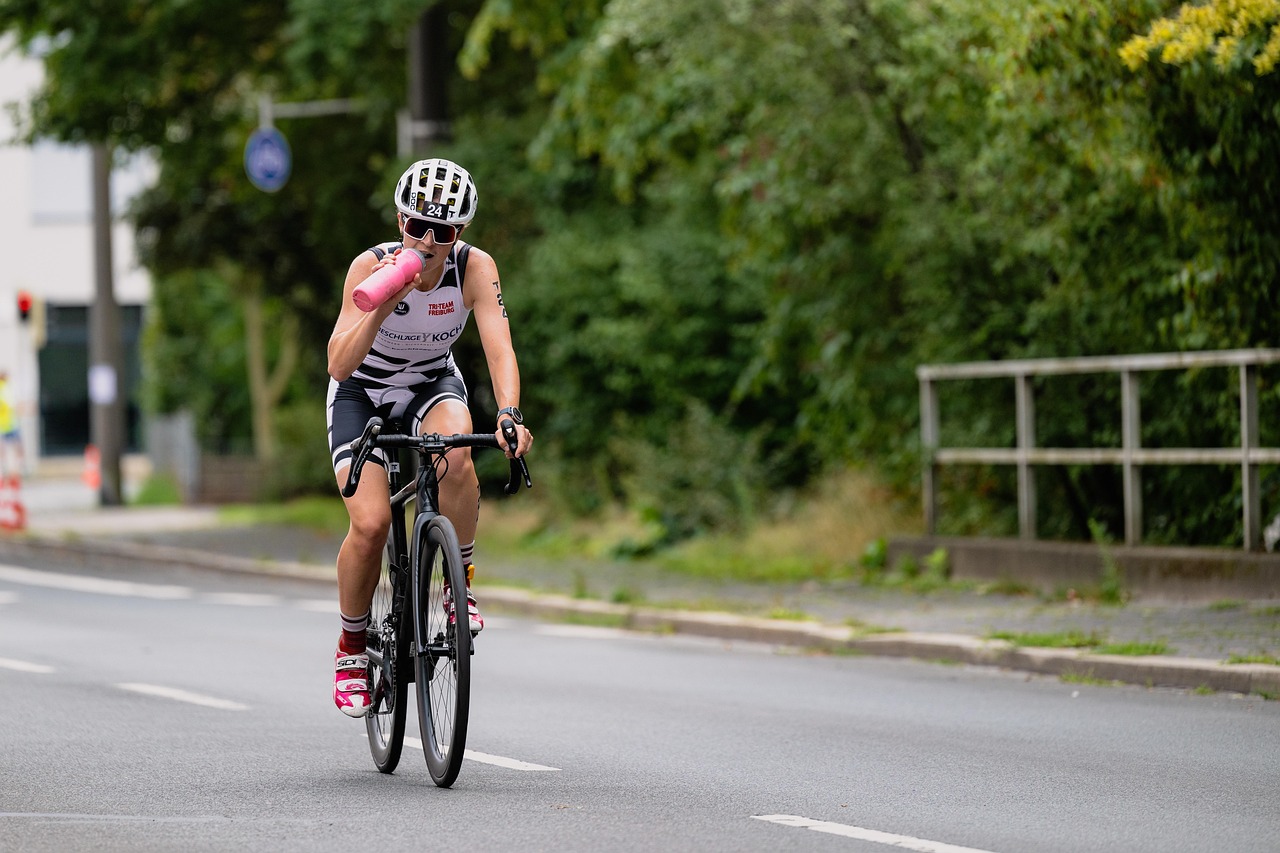
Choosing the right cycling water bottle for peak hydration involves selecting a food-grade, BPA-free plastic or insulated stainless steel bottle in a size from 500ml to 950ml that clears your frame, paired with a leakproof, high-flow valve. Hydration directly affects your physical output, endurance, and comfort during every ride, making the proper vessel essential.
Cycling Water Bottle: How to Choose and Use for Optimal Hydration
A cycling water bottle is a specialized, squeeze-friendly or insulated container with a standard 74mm outer diameter designed to sit securely inside bicycle bottle cages. To choose the right one, select food-grade BPA-free plastic or insulated stainless steel in a size from 500ml to 950ml that clears your frame, paired with a leakproof, high-flow valve suitable for your riding style.
Choosing the right vessel ensures you can grab, drink, and re-cage your fluid without losing focus on the road or trail. This guide will help you select the ideal cycling water bottle for your needs, maintain it, and understand its evolving design.

What are the standard cycling water bottle sizes and how do they fit your bike?
Cycling bottles, often called bidons, come in standardized capacity ranges to balance fluid weight with physical space inside the front triangle of a bicycle. Selecting the right volume depends on your physical frame clearance, ambient temperature, and distance between refill locations.
- 500ml to 550ml (18 to 20 oz): Compact bottles measure approximately 18 to 20 cm in height. They are best suited for smaller frame sizes (48cm to 52cm road frames), full-suspension mountain bikes with limited rear-shock clearance, or short training sessions lasting under an hour. These are also a good choice for riders with two bottle cages on smaller frames who want to maximize clearance.
- 710ml to 750ml (24 to 25 oz): The industry standard for road, gravel, and mountain biking. Standing roughly 23 to 25 cm tall, these provide enough hydration for 60 to 90 minutes of riding per bottle in moderate temperatures while fitting comfortably into standard frame triangles. This size offers a good balance of capacity and compatibility for most riders.
- 950ml to 1000ml (32 to 34 oz): Tall format bottles designed for endurance events, gravel races, or hot weather riding where refill stops are sparse. Because they stand up to 30 cm tall, they require ample vertical clearance and stiff bottle cages to prevent excess swaying or ejection on rough ground. Consider these if you have a larger frame (56cm+ road frames) or need maximum fluid capacity between stops.
If you ride a compact frame or a full-suspension trail bike, vertical extraction space is often restricted by the top tube or shock reservoir. In these cases, paired with standard bike bottle cages designed for side-entry, 500ml or specialized short-geometry 600ml bottles prevent the top of the spout from catching on frame tubes when pulling the bottle outward. Always check your frame’s clearance before purchasing larger bottles, especially if you have a sloping top tube or a small frame size.
Which bottle material is best for your riding conditions?
The material of your cycling water bottle determines its squeeze effort, fluid taste, temperature retention, and weight. Modern manufacturers rely primarily on food-grade plastics, coated interiors, stainless steel, and flexible silicone.
Polypropylene and Polyethylene Plastic
Low-Density Polyethylene (LDPE) and Polypropylene (PP) represent the vast majority of cycling bottles. They are lightweight (typically 60 to 90 grams empty), highly flexible for squeezing, and resistant to cracking during accidental drops. High-quality plastic bottles are labeled BPA-free and phthalate-free. These are the most common and cost-effective choice for everyday riding.
Glass-Lined or Silicon Dioxide Coated Plastic
To eliminate the persistent plastic taste associated with standard squeeze bottles, technologies like Specialized Purist apply an amorphous silicon dioxide coating to the inner plastic wall. This microscopic, glass-like barrier prevents sports drink sugars, dyes, and mold from bonding to the plastic surface. It provides the pure taste of glass while maintaining the squeezable, lightweight benefits of flexible plastic. However, abrasive scrubbing brushes can scratch this inner lining, so gentle rinsing is required. This option is ideal for riders sensitive to plastic taste or who frequently use electrolyte mixes.
Double-Wall Insulated Plastic
Insulated plastic bottles utilize a double-wall construction with an insulating air layer lined with reflective foil or closed-cell foam. This design keeps water cold roughly twice as long as single-wall plastic. While highly effective during hot summer rides, the insulating sleeve increases the outer diameter slightly while reducing internal liquid volume—a 750ml exterior profile may only yield 600ml of fluid capacity. They are also slightly stiffer to squeeze than non-insulated plastic. These are excellent for hot weather, long rides, or indoor training where maintaining cold temperatures is a priority.
Stainless Steel
Food-grade 18/8 stainless steel bottles offer superior durability and, in double-wall vacuum-insulated configurations, can keep water cold for up to 24 hours. They are completely taste-neutral and free from plastic chemicals. However, stainless steel cannot be squeezed; drinking requires tilting the bottle back or using an internal straw mechanism. They are noticeably heavier (250 to 380 grams empty) and can rattle or scratch inside metal bottle cages unless paired with rubberized or polymer cages. Stainless steel is a robust option for touring, commuting, or riders who prioritize extreme temperature retention and durability over lightweight squeeze functionality.
How do cycling water bottle types compare?
To evaluate which vessel suits your setup, compare the key functional characteristics across common bottle materials:
| Bottle Type | Material | Empty Weight (approx.) | Primary Advantage | Main Trade-Off |
|---|---|---|---|---|
| Standard Squeeze | BPA-Free LDPE / PP | 60–80g | Lightweight, easy high-flow squeeze | Warms quickly in sun, potential plastic taste |
| Glass-Lined Plastic | Coated Polypropylene | 70–90g | Pure taste, zero residue staining | Requires non-abrasive cleaning to preserve lining |
| Insulated Plastic | Double-Wall PP + Foil | 100–140g | Keeps drinks cold 2x longer | Less fluid capacity for total exterior size, stiffer squeeze |
| Vacuum Stainless Steel | 18/8 Stainless Steel | 250–380g | Keeps drinks cold up to 24 hours, highly durable | Cannot be squeezed, heavier weight, costly, potential cage rattling |
How do cap designs and valve mechanisms affect hydration on the bike?
The top mechanism of a cycling water bottle governs liquid delivery and prevents leakage onto your bike frame, clothing, or drivetrain components. Selecting the right valve style depends on terrain conditions and your preference for drinking speed.
Push-Pull Rubber Spouts
The traditional push-pull spout consists of a soft thermoplastic rubber or silicone poppet that you pull open with your teeth and push shut with your hand or chin. It is mechanical, simple, and reliable. However, if left open over bumpy terrain, fluid can slosh out. These are generally robust but require manual operation to prevent spills.
Self-Sealing Membrane Valves
Modern performance bottles employ soft silicone diaphragm valves (such as CamelBak’s Jet Valve or Specialized’s Heart Valve). These remain sealed under liquid pressure until you compress the bottle body or draw liquid with your mouth. They deliver a rapid burst of fluid without needing to pull the nozzle open with your teeth, making them ideal for quick sips during high-intensity efforts. Most membrane caps include a manual quarter-turn lockout ring at the base of the cap to completely seal the bottle during bag transit. This is the preferred choice for most serious cyclists due to convenience and leak prevention.
Mud Caps and Dirt Shields
For gravel riding and mountain biking, rear tire spray continuously coats frame-mounted bottles with mud, sand, and fine trail debris. Bottles equipped with an integrated rubber mud cap feature a tethered cover that snaps over the nozzle, keeping the drinking surface completely clean until opened. If your bottle lacks a cap, secondary silicone covers can be purchased to fit standard cap diameters. These are crucial for off-road disciplines to maintain hygiene and prevent ingesting grit along with your water.

How to keep your cycling water bottle clean and mold-free
Carbohydrate powders, electrolyte salts, and residual moisture create an ideal environment for bacterial biofilm and black mold growth inside bottles and valve channels. Regular, thorough cleaning preserves taste and hygiene and extends the life of your bottle.
Step-by-step cleaning procedure
- Rinse immediately post-ride: Never allow sugary sports drinks to dry inside the bottle overnight. Flush the bottle and valve with warm tap water as soon as your ride ends. This prevents residue from hardening and becoming a breeding ground for bacteria.
- Disassemble the valve assembly: Pop the soft rubber spout or silicone membrane valve off the plastic lid cap. Mold frequently hides in the narrow crevice beneath push-pull poppets and inside silicone heart valves. For self-sealing valves, ensure all removable parts are separated.
- Scrub with warm soapy water: Use a dedicated wire bottle brush with soft nylon bristles to clean the inner walls and base. Use a small detail nozzle brush to clean inside the cap threads and fluid channels. Dish soap is effective, but ensure it’s thoroughly rinsed out to avoid soapy tasting water.
- Sanitize for stubborn odors or mold: Fill the bottle with warm water and add either one tablespoon of baking soda, half a cup of white vinegar, or a standard bottle cleaning tablet. Let it soak for 20 to 30 minutes, then scrub and flush thoroughly. For persistent odors, a longer soak (several hours or overnight) may be necessary.
- Air dry completely: Leave the bottle inverted on a drying rack with the cap removed and the valve components disassembled. Store bottles uncapped to ensure full air circulation and prevent stale odors from building up inside. Moisture is mold’s best friend.
Avoid using steel wool, stiff wire pads, or harsh chemical bleach. Scratches on the internal plastic walls provide micro-grooves where bacteria can easily anchor and multiply, and aggressive scrubbers will destroy silicon dioxide coatings. For glass-lined bottles, use only soft brushes or sponges. If using a dishwasher, check the manufacturer’s instructions.
Can bike water bottles go in the dishwasher?
Many modern cycling water bottles, particularly those made from standard BPA-free plastic (LDPE or PP) with simple push-pull caps, are generally considered top-rack dishwasher safe. However, always check the manufacturer’s specific instructions, usually found on the bottle’s base or packaging.
Bottles that may not be dishwasher safe:
- Insulated plastic bottles: The high heat from a dishwasher can sometimes compromise the insulating layer, reducing its effectiveness over time.
- Glass-lined or silicon dioxide coated bottles: While many are designed to be durable, repeated high-heat cycles or strong detergents might degrade the delicate internal coating. Hand-washing is often recommended to preserve the lining.
- Bottles with complex valve mechanisms: While the bottle body might be fine, intricate caps with multiple silicone parts or springs might not get thoroughly cleaned in a dishwasher, or could be damaged by the heat. Disassemble these parts and hand-wash them.
- Stainless steel bottles: Double-wall vacuum insulated stainless steel bottles should almost always be hand-washed to protect the vacuum seal and exterior finish. Single-wall stainless steel might be dishwasher safe, but verify with the brand.
Even for dishwasher-safe bottles, hand-washing can often provide a more thorough clean for specific areas like valve crevices and cap threads. If using a dishwasher, ensure the bottle is placed on the top rack away from direct heating elements.
How long do cycling water bottles last?
The lifespan of a cycling water bottle varies significantly based on its material, frequency of use, and maintenance routine. Standard plastic bottles typically last 1 to 3 years. Insulated plastic bottles might have a slightly shorter effective lifespan as the insulation can degrade.
Signs it’s time to replace your bottle:
- Persistent odor or taste: If a foul odor or plastic taste remains even after thorough cleaning and sanitizing, the plastic may have absorbed chemicals or developed bacterial film deep within its structure.
- Discoloration: Permanent staining from sports drinks or a cloudy appearance that won’t wash away can indicate material degradation or embedded residue.
- Cracks or structural damage: Any cracks, even small ones, can harbor bacteria and compromise the bottle’s integrity, leading to leaks or breakage.
- Worn-out cap or valve: If the valve leaks, is difficult to open/close, or shows signs of wear (e.g., torn silicone), it can impact hydration efficiency and hygiene. While some brands offer replacement caps, a completely worn cap often suggests the rest of the bottle has also seen significant use.
- Brittle plastic: Exposure to UV light and repeated hot/cold cycles can make plastic brittle over time, leading to easy cracking.
Stainless steel bottles generally last much longer, often many years, due to their inherent durability, provided the cap mechanism remains functional.
How to choose a cycling water bottle for your discipline
Every riding environment places distinct demands on fluid capacity, weight, retention, and cap security.
Road Cycling
Road riders prioritize low weight, fast fluid delivery, and easy extraction at pace. Standard 550ml or 750ml single-wall plastic bottles with self-sealing membrane caps are standard. When tackling long, steep ascents like a local hill climb or classic effort like Swains Lane, minimizing static weight is vital. Insulated bottles are popular for summer rides to keep water cool.
Gravel and Adventure Riding
Gravel routes involve high vibrations, dust, and long stretches between supply points. Look for 750ml to 950ml capacity bottles featuring secure retention neck rings that seat firmly into deep cage tabs. Integrated mud caps are strongly recommended to keep grit off the valve spout during high-speed gravel descents. Durability is also key, so thicker plastic or even single-wall stainless steel can be good options, paired with robust bottle cages.
Mountain Biking
Trail and enduro riders contend with aggressive impacts, steep drop-offs, and restricted frame triangles caused by rear shock linkages. Durability and cage security take precedence. Compact 500ml or 600ml bottles paired with side-loading polymer cages prevent the bottle from dropping into the drivetrain during impacts. Harder plastic or rubberized outer shells withstand trail strikes better than delicate thin-wall bottles. Mud caps are essential for keeping the drinking nozzle clean on dirty trails.
Commuting and Indoor Training
For daily commuting, leakproof reliability inside a backpack or pannier is essential, making lockable caps non-negotiable. Insulated bottles can keep drinks warm in winter or cold in summer. For indoor sessions on a smart trainer setup such as a Kickr Core 2 smart trainer, bottle weight is irrelevant, but high-flow capacity is critical due to elevated sweat rates without outdoor wind cooling. Large 950ml bottles or double-wall insulated bottles packed with ice keep fluid cold across multi-hour indoor workouts.
What mistakes should you avoid when buying and using bike bottles?
Avoiding a few common pitfalls ensures your bottle remains secure, clean, and functional for years of riding:
- Matching wrong bottle diameters to cages: Standard bike cages are designed precisely for 74mm diameter bottles. Using non-cycling lifestyle bottles or narrow fitness bottles leads to constant rattling, sliding, and ejections on rough pavement. Always check the diameter when buying a new bottle or cage.
- Freezing solid filled to the neck: Freezing a full bottle overnight to have ice water causes the water to expand as it freezes, warping the bottom plastic rim so the bottle no longer sits upright or flat inside the cage. Fill only one-third full when freezing, laying the bottle on its side, and top up with liquid before your ride. This allows for expansion and keeps the bottle’s shape intact.
- Leaving mixed drinks in heat: Carbohydrate mixes left in warm plastic bottles rapidly ferment, generating gas pressure that can force the cap valve open and ruin the bottle liner. Wash and dry bottles immediately after using sports mixes. This also prevents mold and odors.
- Relying on worn-out cages: If your bottle constantly pops out over bumps, the issue is often stretched alloy cage arms or worn retention tabs rather than the bottle itself. Adjust alloy cage arms inward slightly for tighter tension, or replace plastic cages once they lose their grip.
- Ignoring taste issues: If your water consistently tastes like plastic, even after cleaning, it’s a sign of low-quality plastic or degradation. Replace the bottle, especially if you experience any digestive discomfort.
- Not cleaning cap components: Many riders clean the bottle body but neglect the cap, where mold and bacteria thrive in crevices. Always disassemble and thoroughly clean all cap components.
What future trends are changing cycling hydration?
Hydration technology continues to progress across sustainable material production and smart volume monitoring. Bio-based plastics derived from sugarcane waste are replacing petroleum-derived plastics, offering full biodegradability under industrial composting conditions while maintaining flexibility and food safety. This shift aims to reduce the environmental impact of plastic bottle production and disposal.
Simultaneously, smart bottle caps incorporating ultrasonic level sensors and low-power Bluetooth connectivity sync directly with modern GPS bike computers. These systems monitor real-time fluid consumption against power output, ambient heat, and heart rate data, prompting riders with visual alerts to drink at precise intervals to prevent dehydration slumps. While still emerging, these technologies promise to optimize hydration strategies for performance and health.
Sources: Water bottle
Frequently Asked Questions
Are all cycling water bottles BPA-free?
Most modern cycling bottles manufactured by reputable brands are certified BPA-free and phthalate-free, typically utilizing food-grade polypropylene or low-density polyethylene. Always check the base stamp or manufacturer specifications for food-safe plastic symbols (such as recycled code 4 LDPE or code 5 PP) before purchasing.
How often should I replace my cycling water bottle?
Standard plastic bottles should generally be replaced every 1 to 3 years depending on frequency of use, cleaning routine, and exposure to sunlight. Replace your bottle immediately if you notice permanent internal discoloration, persistent foul odor after deep cleaning, structural cracks, or deep internal scratches where bacteria can lodge.
Can I put hot drinks in my cycling water bottle?
Standard plastic squeeze bottles should never be filled with boiling or hot liquids, as heat causes thin plastic to deform, weakens structural seals, and accelerates chemical leaching. Only use vacuum-insulated stainless steel bottles designed explicitly for high thermal loads when carrying hot beverages.
How do I stop my water bottle from rattling in the cage?
Ensure your bottle possesses the industry-standard 74mm diameter and features a pronounced neck groove that aligns with your cage’s upper tab. If using traditional aluminum cages, carefully bend the cage arms inward by hand a few millimeters to increase clamping tension around the bottle body. For plastic or carbon cages, if they’ve stretched, replacement might be necessary.
Why does water taste like plastic in a new bottle?
New plastic bottles can off-gas subtle manufacturing residues. To eliminate the taste, wash the bottle in warm soapy water, soak it overnight filled with warm water and two tablespoons of baking soda, rinse thoroughly, and air dry complete before first use. If the taste persists, the plastic quality may be low, and replacement with a glass-lined or higher-grade bottle is advisable.
Are bike water bottle holders universal?
Yes, most bike bottle cages are designed to hold bottles with a standard 74mm outer diameter. This universal sizing ensures compatibility across almost all bicycle frames and bottle brands. However, some cages, particularly side-entry or specialized designs, might fit certain bottle shapes more securely than others, so always ensure a snug fit.
Selecting the right cycling water bottle comes down to balancing capacity, frame clearance, valve efficiency, and thermal protection for your specific riding conditions. By matching your vessel to your bike frame and keeping up with basic cleaning practices, you ensure clean, fast, and reliable hydration on every mile of your route.
Source: Britannica.