
 By Hashim Hashmi
What Causes Your Bike Brakes to Squeak?
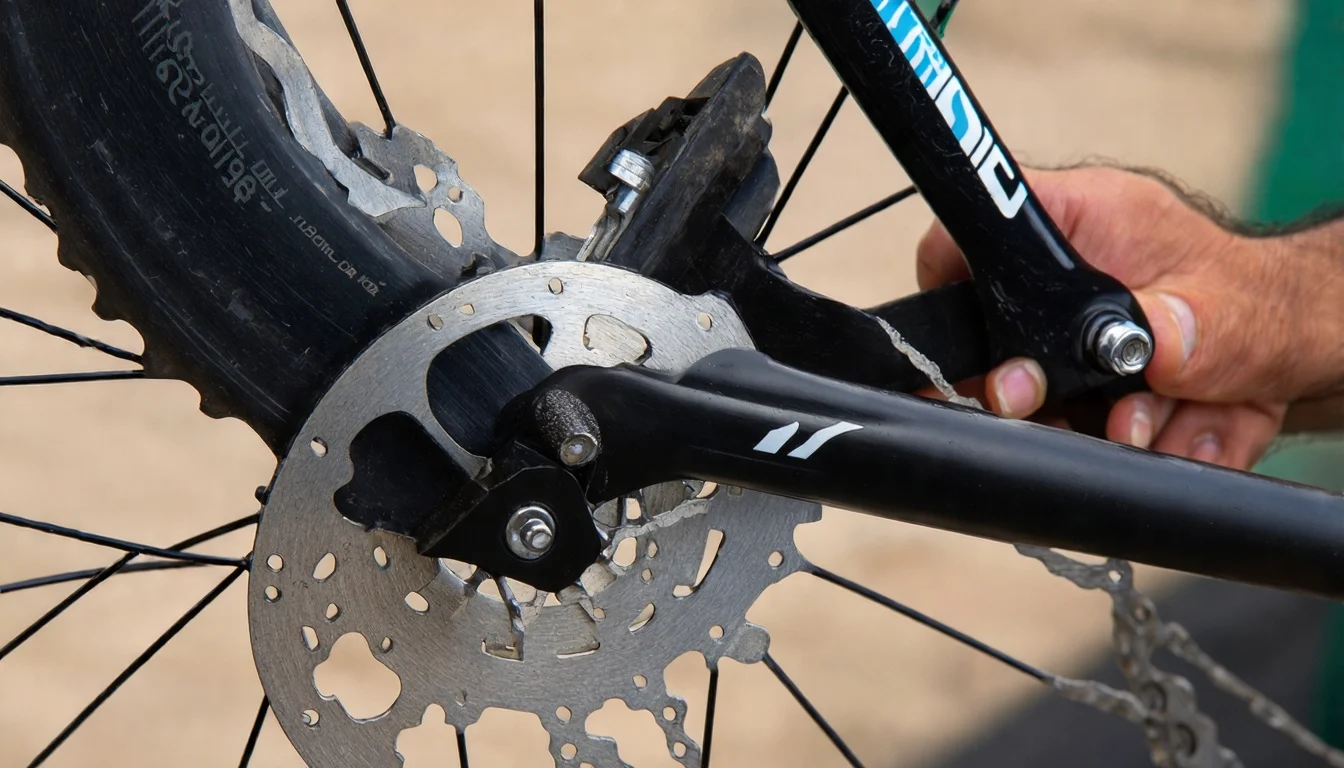
The annoying squeal from your bike brakes, whether rim or disc, is fundamentally a vibration. We commonly know this phenomenon as the ‘slip-stick effect.’ Here, the brake pad rapidly alternates between gripping (static friction) and slipping (dynamic friction) against the braking surface. This creates an audible vibration. Understanding the root causes is the first step to silencing them.
Many factors contribute to this vibration, and often it’s a combination of issues rather than a single problem. Here are the most common culprits encountered:
- Contamination: This is arguably the most frequent cause, especially for disc brakes. Oil, grease, chain lube, or even road grime can transfer from your hands, drivetrain, or the environment onto the brake pads or rotor/rim. Once contaminated, the friction material struggles to grip smoothly, leading to chatter and squeal.
- Pad Glazing: Over time, especially with prolonged, light braking or insufficient bedding-in, the surface of your brake pads can harden and become shiny, or ‘glazed’. This hard surface reduces friction and can cause the pads to slip and vibrate instead of gripping effectively.
- Misalignment: If your brake calipers are not perfectly aligned with the rotor or rim, it can lead to uneven wear and vibration. The same applies if the pads themselves are not making full, even contact. For rim brakes, incorrect ‘toe-in’ can also cause squealing. This happens where the front edge of the pad contacts the rim slightly before the rear.
- Worn Pads or Rotors/Rims: While squealing brakes don’t automatically indicate a serious problem, excessively worn pads or thin rotors can contribute to noise. SRAM recommends replacing brake pads when the backing plate and friction material combined measure 3 mm or less. [support.sram.com] Shimano suggests replacement when the friction material is 0.5 mm thick. For rotors, minimum thickness limits are typically 1.5 mm for Shimano. They are 1.55 mm or 1.7 mm for SRAM, depending on the specific rotor.
- Pad Type and Conditions: The material of your brake pads plays a significant role. Organic (resin) pads are generally quieter but wear faster and perform less effectively in wet conditions. Metallic (sintered) pads last longer and perform better in the rain but tend to squeak more, especially when cold. This is a trade-off often discussed with riders.
- Insufficient Bedding-in: New pads and rotors need to be ‘bedded-in’ correctly. This process transfers a thin, even layer of pad material onto the braking surface, optimizing friction and reducing noise. Without proper bedding-in, new brakes can be very noisy.
- Loose Components: Sometimes, the noise isn’t directly from the brake pads or rotor/rim. Other potential sources include a loose headset, hub bearings, axle, spokes, or other hardware. These vibrate under braking forces. Mechanics always check these if the primary brake components seem fine.
How to Stop Bike Brakes Squeaking: A Step-by-Step Guide
Addressing squeaky brakes requires a systematic approach. Starting with the simplest solutions and progressing to more involved tasks is the most efficient way. You’ll need a few basic tools for bike brakes squeaking: a clean rag, isopropyl alcohol or dedicated brake cleaner, a fine-grit sandpaper (around 150-200 grit), and potentially a hex key set or Torx wrench for adjustments.
Step 1: Clean the Braking Surfaces Thoroughly
Contamination is the most common culprit, so this is always where to begin. For disc brakes, remove your wheel and spray the rotor liberally with isopropyl alcohol or a specific disc brake cleaner. Wipe it down thoroughly with a clean, lint-free cloth, which can help with bike brakes squeaking. Repeat until the cloth shows no more residue. For rim brakes, clean the braking surface of your wheel rims with the same cleaner and a clean rag, ensuring no black residue remains.
What to avoid: Never use WD-40 or any oil-based lubricant on your brake components. WD-40 is a lubricant and can contaminate and ruin brake pads, making the squealing worse and compromising your braking safety. If pads are deeply contaminated, cleaning may not be enough.
Step 2: Inspect and Prepare Brake Pads
Next, remove your brake pads. For disc brakes, this usually involves removing a retaining pin or bolt. For rim brakes, you’ll unbolt them from the caliper. Inspect them for:
- Wear: Check the friction material thickness. Replace pads if they are below manufacturer recommendations (e.g., Shimano: 0.5 mm friction material; SRAM: 3 mm total thickness of pad and backing plate).
- Contamination: Look for shiny, oily spots or embedded debris. If the pads appear oily or glazed, gently sand the surface with fine-grit sandpaper on a flat surface. Sand in a figure-eight pattern until the surface looks dull and fresh. Be aware that sanding contaminated brake pads may only remove the surface layer, and oil soaked deeper into the porous material can cause squealing to return as the pad heats up. In such cases, replacing the pads might be the only reliable solution.
- Glazing: If the pads are hard and shiny, sanding will help.
Once cleaned and sanded, spray the pads with isopropyl alcohol and let them air dry completely before reinstalling.
Step 3: Check and Adjust Caliper Alignment
Proper alignment ensures even pad contact and reduces vibration. This step differs slightly between rim and disc brakes.
For Disc Brakes:
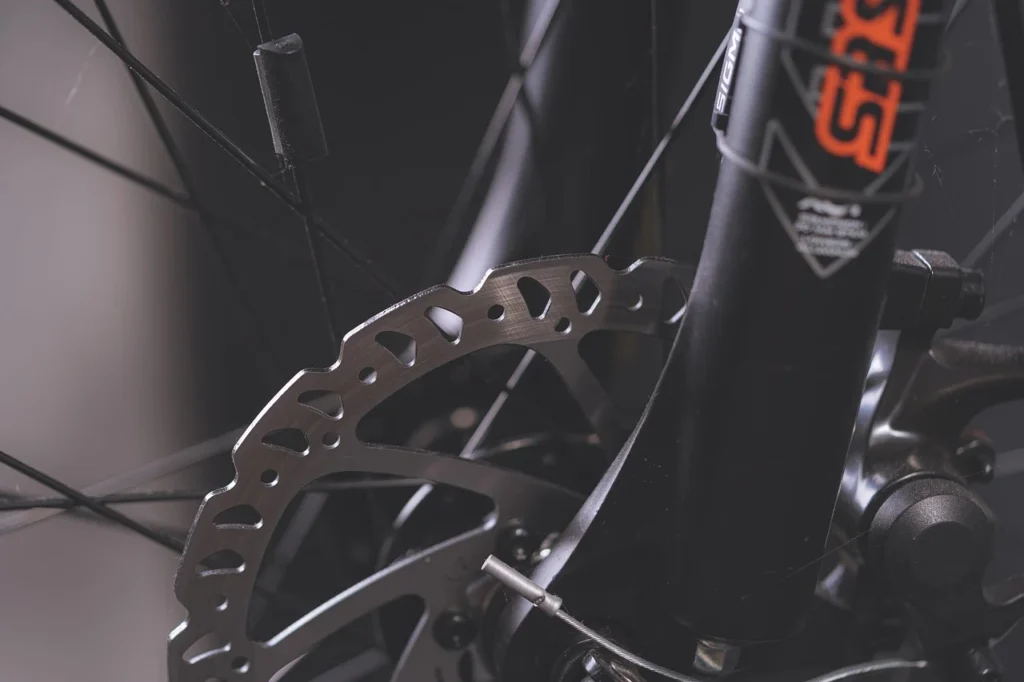
- Loosen the two bolts that secure the brake caliper to the frame or fork just enough so the caliper can move.
- Squeeze your brake lever firmly and hold it. This will centre the caliper over the rotor.
- While holding the lever, re-tighten the caliper bolts gradually, alternating between them to ensure even tension. Release the lever.
- Spin the wheel and check for any rubbing. If there’s still rubbing, you might need to make micro-adjustments by eye, nudging the caliper slightly until the pads clear the rotor evenly.
For Rim Brakes:
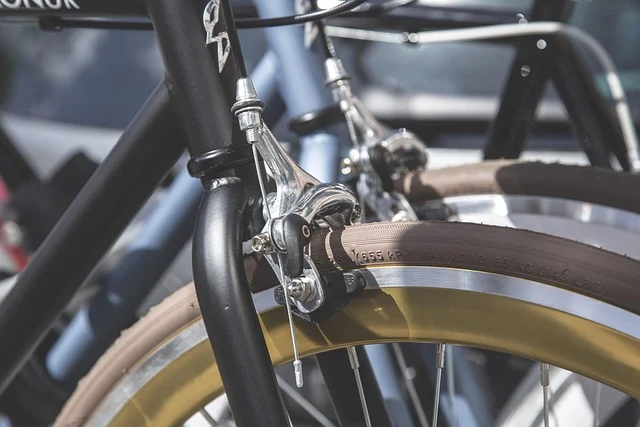
- Loosen the bolt that secures the caliper to the frame or fork.
- Ensure the brake pads are positioned correctly relative to the rim’s braking surface. They should contact the rim fully without touching the tyre or dropping below the rim.
- Adjust the pads for ‘toe-in’: the front edge of the pad should touch the rim slightly before the rear edge. A common technique is to place a thin card (like a business card) under the rear of the pad while tightening the bolt. When the card is removed, a slight gap will be created at the rear.
- Tighten the caliper bolt securely.
Step 4: Bed-in New or Cleaned Pads
If you’ve installed new pads or thoroughly cleaned your existing ones, bedding them in is vital to prevent future bike brakes squeaking and ensure optimal performance. This process transfers an even layer of pad material onto the rotor or rim.
The Bedding-in Process:
- Find a safe, open area where you can accelerate and brake without interruption.
- Accelerate to a moderate speed (around 15-20 mph or 25-30 km/h) and then firmly apply one brake (front or rear, one at a time) until you slow to walking pace. Do NOT come to a complete stop.
- Repeat this 10–20 times for each brake. You should feel the braking power increase and hear the noise subside.
- Allow the brakes to cool completely before using them normally. This prevents glazing and ensures the material transfer is properly set.
Step 5: Inspect for Loose Components
If the squeaking of your bike brakes persists after following the above steps, you should then turn your attention to other parts of the bike that could be vibrating. Check for any play in your:
- Wheel Quick Releases or Thru-Axles: Ensure they are tightened securely.
- Headset: Check for any wobble in your handlebars or fork.
- Hub Bearings: Lift each wheel and spin it, listening for any grinding or play.
- Spokes: Pluck each spoke to ensure they have even tension. Uneven tension can lead to wheel flex and vibration.
Sometimes, a seemingly brake-related squeal can originate from these areas, especially under the specific stresses of braking.
Rim Brakes vs. Disc Brakes: Specific Considerations
While the general principles of cleaning and alignment apply to both, you should always consider nuances specific to each braking system.
Rim Brakes
Rim brakes rely on pads gripping the rim itself. Squealing here is often due to:
- Dirty Rims: Road grime, aluminum shavings, or carbon dust can accumulate on the braking surface, leading to noise. Regular cleaning with isopropyl alcohol is important.
- Hardened Pads: Old or cheap pads can become hard and less compliant, increasing noise. Replacing them with quality pads designed for your rim material (e.g., specific carbon rim pads) can make a significant difference.
- Pad Angle (Toe-in): As mentioned, a slight ‘toe-in’ (where the front of the pad touches first) is often beneficial for rim brakes. It helps to damp vibrations before they become a full-blown squeal. You typically aim for a 1-2mm gap at the rear of the pad when it’s fully engaged.
- Worn Rims: Severely worn rims can develop concave profiles that prevent pads from seating correctly, leading to noise and reduced braking power. If your rims show significant wear, it might be time for a wheel replacement.
Disc Brakes
Disc brakes offer powerful, consistent braking but can be particularly prone to squealing due to their precise tolerances.
- Rotor Trueness: A bent or warped rotor will cause pads to rub unevenly, leading to noise. You can use a rotor truing fork to carefully straighten rotors if they’re slightly out of true. However, you should replace severely bent rotors.
- Piston Advancement: Sometimes, one piston in the caliper might extend more than the other, causing uneven pad wear and contact. You can often reset pistons by gently pushing them back into the caliper body (with pads removed) and then re-pumping the brake lever to re-centre them.
- Pad-Rotor Compatibility: While less common, some pad compounds don’t agree with certain rotor materials, leading to increased noise. Sticking to manufacturer-recommended pads for your specific brake system is usually the safest bet.
- Heat Management: Prolonged, heavy braking can overheat disc brakes, leading to temporary squealing. While often dissipating as they cool, consistent overheating can glaze pads or warp rotors over time.

Why Do Bike Brakes Squeak When Wet?
It’s a common experience for British riders: you’re out on a damp morning. You apply the brakes, and they meet you with a loud, almost alarming squeal. This is generally normal and temporary. It doesn’t automatically mean your brakes are damaged.
When water gets between brake pads and the braking surface (rim or rotor), it creates a thin film. This film temporarily changes friction dynamics. It makes the ‘slip-stick’ effect easier to occur. Water can also carry fine abrasive particles. These contribute to the noise of bike brakes squeaking. As you apply the brakes, friction generates heat. This quickly evaporates the water, and the squealing usually subsides. Metallic brake pads are known for better wet-weather performance. They can sometimes be louder in the wet than organic pads. Riders accept this as a trade-off for reliability.
If your brakes squeal persistently after drying out, then revert to the cleaning and inspection steps outlined above, as the wet conditions might have exacerbated an underlying issue like contamination or misalignment.
Common Mistakes and What Not to Do
Riders often make a few common mistakes when trying to silence squeaky brakes, which can make the problem worse or even dangerous.
- Using WD-40 or Similar Lubricants: As mentioned earlier, this is a definite no-go. WD-40 is a lubricant. It will contaminate the pads and rotors, effectively ruining them. You will lose braking power. The squealing will almost certainly increase. If you have made this mistake, you will likely need new pads. You will also need a thorough cleaning or replacement of the rotors.
- Ignoring the Problem: While temporary squealing when wet is normal, persistent noise often indicates an underlying issue. Ignoring it can lead to reduced braking performance, premature wear of components, or even safety risks if the problem escalates.
- Over-tightening Components: When trying to fix a wobble or rub, some riders over-tighten bolts. This can strip threads, damage components, or even prevent proper function. Always tighten bolts to their recommended torque specifications if you have a torque wrench, or to a firm, secure feel without excessive force.
- Not Bedding-in New Brakes: Skipping the bedding-in process after installing new pads or rotors is a missed opportunity to ensure quiet, powerful braking from the start. This simple step saves a lot of hassle later.
- Mixing Contaminated Tools/Rags: Using a rag that has been used to clean your chain or drivetrain to wipe down your brake rotors is a surefire way to contaminate them. Always use dedicated, clean rags and tools for brake maintenance.
When to Seek Professional Help
While you can resolve many issues of bike brakes squeaking with DIY maintenance, there are times when it’s best to consult a professional bike mechanic. We always advise riders to seek help if:
- The squealing persists after trying all the troubleshooting steps. This could indicate a more complex issue, such as a damaged caliper, a badly warped rotor that cannot be trued, or an issue with the brake system’s hydraulics.
- You notice a significant reduction in braking power alongside the noise. This is a safety concern that a professional can diagnose and fix.
- You’re unsure or uncomfortable performing any of the maintenance steps. Brake systems are critical safety components, and it’s always better to have them serviced by someone experienced if you’re not confident.
- You suspect a problem with other bike components (like bearings or frame alignment) that might be contributing to the noise. A mechanic has the tools and expertise to properly diagnose and fix these issues.
Ultimately, a quiet and effective braking system is paramount for safety and enjoyment on your bike. By systematically addressing the potential causes for bike brakes squeaking and following these steps, you should be able to silence those annoying squeaks and get back to enjoying your ride.
Frequently asked questions
Will WD-40 stop bike brakes squeaking?
No, absolutely not. WD-40 is a lubricant and will contaminate your brake pads and rotors, severely compromising your braking performance and creating a dangerous situation. You should only use isopropyl alcohol or a dedicated brake cleaner for cleaning components that prevent bike brakes squeaking.
Do new bike brakes squeak?
Yes, it’s common for new bike brakes, especially disc brakes, to make a squeaking noise initially. This is usually because they haven’t been properly ‘bedded-in’ yet. The bedding-in process helps to transfer pad material evenly onto the braking surface, which is essential for quiet and effective bike brakes squeaking.
Is it safe to ride with squeaky bike brakes?
While temporary squeaking (e.g., when wet) is usually harmless, persistent bike brakes squeaking can indicate an underlying issue that might compromise braking performance over time. We always recommend investigating and fixing the cause of persistent squealing to ensure your brakes are working optimally and safely.