
 By Hashim Hashmi
This guide covers how to determine when a chain needs replacement, the necessary tools and materials, step-by-step instructions for geared and single-speed bikes, and final checks.
When Should You Change Your Bicycle Chain?
You should learn how to change a bike chain when it shows significant wear, indicated by ‘chain elongation’, which is not true stretching but rather wear inside the pins and rollers that increase the distance between links. The most accurate way to measure this is with a dedicated chain checker tool, not by relying solely on mileage.
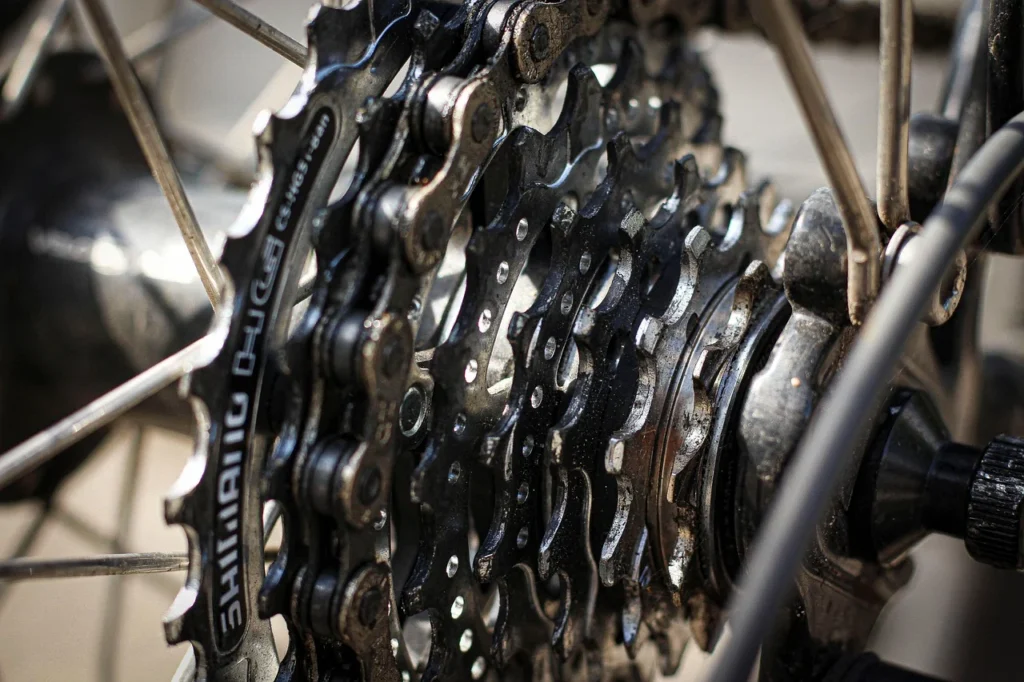
A chain checker tool provides the most accurate assessment of when your chain needs replacing.
For most 5-speed to 10-speed chains, you should replace them when the chain checker indicates 0.75% elongation. For 11-speed or 12-speed chains, tighter tolerances mean you should replace them at 0.5% elongation. Single-speed chains are more solid and tolerate up to 1.0% elongation before you learn how to change a bike chain. Ignoring these thresholds can lead to a new chain skipping on a worn cassette. It accelerates wear, forcing you to replace cassettes and chainrings much sooner.
Can I Replace a Bike Chain Myself?
Yes, you absolutely can replace a bike chain yourself, and it’s a highly recommended skill for any cyclist to learn. With the right tools and a bit of patience, learning how to change a bike chain is a straightforward process that will save you money on workshop fees and give you a deeper understanding of your bike’s mechanics. Once you’ve done it a couple of times, it becomes a quick and simple task.
What Tools and Materials Will You Need?
To change your bike chain efficiently and correctly, you’ll need a few specific tools and a compatible new chain. Having these ready before you start will make the process much smoother.
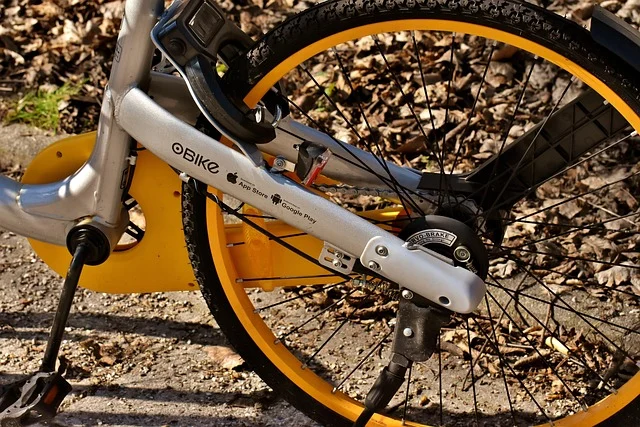
- New Chain: Ensure it matches your bike’s speed (e.g., 10-speed chain for a 10-speed cassette).
- Chain Checker Tool: For accurately measuring chain wear.
- Chain Tool: Essential for pushing out pins if your old chain doesn’t have a quick link or if you need to shorten the new chain.
- Quick Link Pliers (optional but recommended): These make removing and installing quick links much easier than doing it by hand.
- Degreaser and Rags: For cleaning around the drivetrain area and hands.
- Gloves: To keep your hands clean.
- Chain Lube: To lubricate your new chain after installation.
How to Change Your Bike Chain: Step-by-Step
Follow these steps to successfully remove your old chain and install a new one, ensuring your drivetrain is ready for the road.
1. Prepare Your Bike and Remove the Old Chain
Before you begin, shift your bike into the smallest cog on the cassette and the smallest chainring at the front. This reduces chain tension and makes removal easier.

Quick link pliers simplify the process of opening a master link on a bike chain.
- Locate the Quick Link: Most modern chains (from 8-speed upwards, but not universally) use a quick link (also called a master link) for easy removal. Look for a pair of slightly different plates with two pins that fit into a figure-eight slot.
- Remove the Quick Link: If your chain has a quick link, use quick link pliers to squeeze the plates together, releasing the pins. If you don’t have pliers, you can often do it by hand by pushing the pins towards each other while applying pressure, though this can be fiddly.
- Break the Chain with a Chain Tool: If there’s no quick link, or if you prefer, use a chain tool. Position the chain tool’s pin directly over one of the chain pins. Then, turn the handle clockwise to push the pin out, breaking the chain. You don’t need to push the pin all the way out; just enough to separate the link.
- Remove the Old Chain: Once you break the chain or open the quick link, carefully unthread it from the rear derailleur, around the cassette, and off the chainrings.
2. Determine the Correct Length for Your New Chain
Correct chain length is important for optimal shifting and to prevent drivetrain damage. When learning how to change a bike chain, we always recommend comparing the new chain to the old one. This is if the old one was correctly sized and not excessively stretched. However, the ‘big-big + two links’ method is the most reliable method.
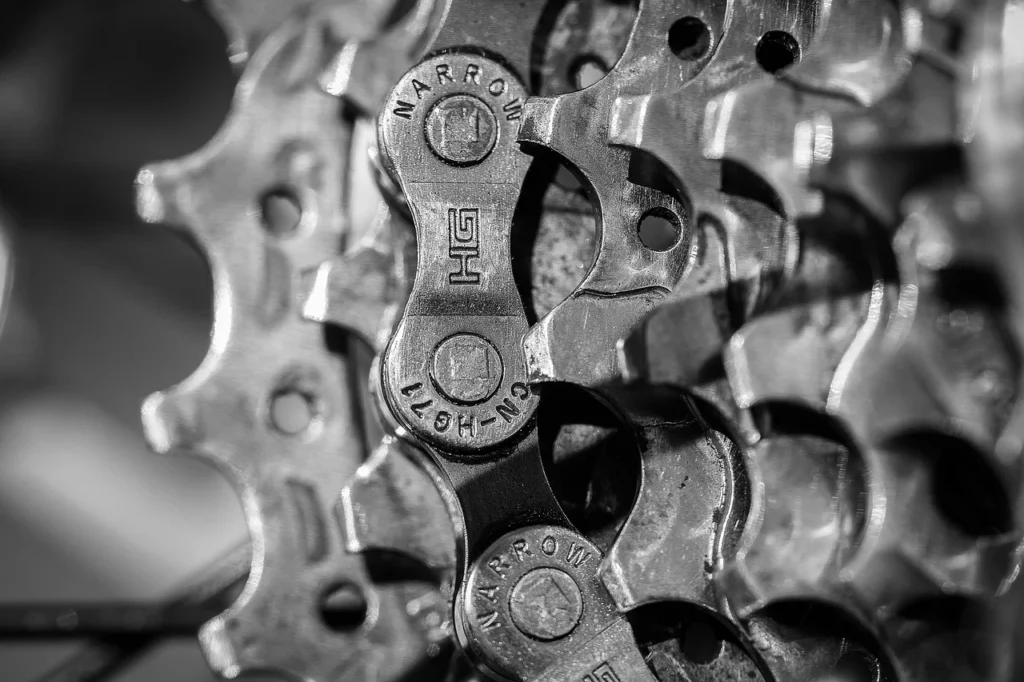
Comparing the new chain to the old one is a quick way to gauge initial length, but always verify with the ‘big-big’ method.
- Place the New Chain: Drape the new chain over the largest chainring at the front and the largest cog on the cassette at the rear, bypassing the rear derailleur completely.
- Bring the Ends Together: Pull the two ends of the chain taut.
- Count the Links: Identify the point where the two ends meet. For a derailleur bike, you should add two full links (one inner and one outer plate) from this point. This provides enough slack for proper shifting and derailleur cage movement.
- Mark and Shorten: Mark the link where you need to shorten the chain. Next, use your chain tool to push out the pin at this marked point. Be careful not to lose the pin if you’re not using a quick link for connection. If your new chain comes with a quick link, ensure you end up with an inner plate at each end where the quick link will connect.
3. Route the New Chain
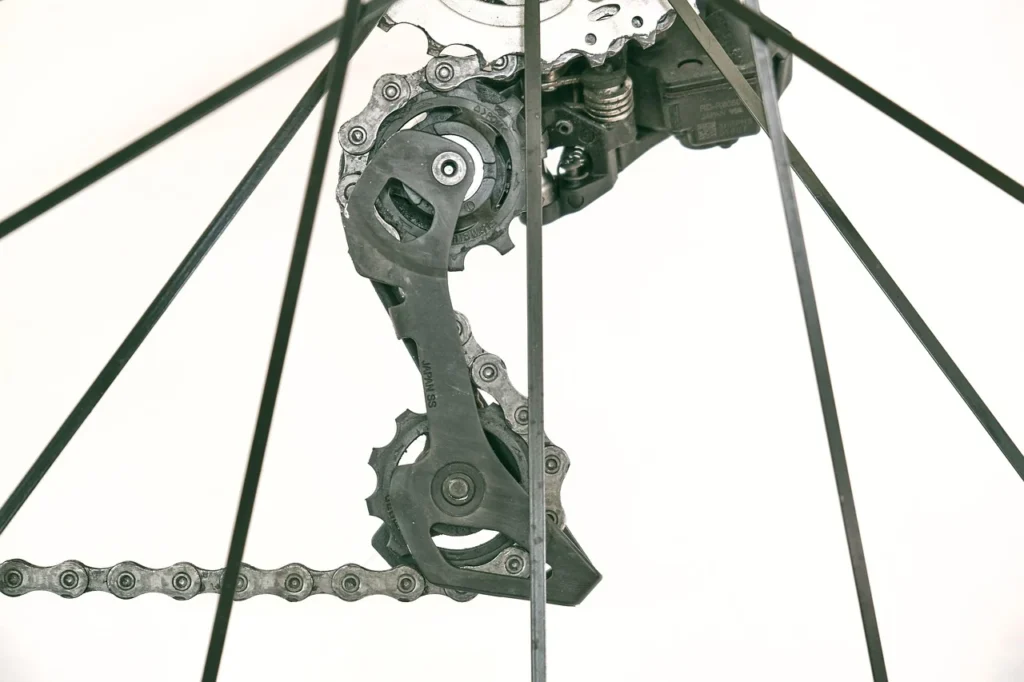
Routing the chain correctly is vital when you learn how to change a bike chain. This is often where mistakes are made, leading to poor shifting or even damage. Pay close attention to the rear derailleur’s cage.
Proper chain routing through the rear derailleur is essential for smooth shifting and preventing snags.
- Over the Smallest Chainring: Start by placing the chain over the smallest chainring at the front.
- Through the Front Derailleur: Guide the chain through the front derailleur cage.
- Around the Cassette: Thread the chain onto the smallest cog of the cassette.
- Through the Rear Derailleur: This is the trickiest part. The chain must pass over the upper jockey wheel, then under the lower jockey wheel. Importantly, ensure it passes through the correct side of the metal tab (sometimes called the ‘derailleur tab’ or ‘chain guide’) between the jockey wheels. This tab is designed to prevent the chain from getting tangled. Incorrect routing here is a very common error.
4. Connect the New Chain
Most modern chains come with a quick link. When learning how to change a bike chain, you will find this makes connection much simpler and reusable. However, Shimano and SRAM specify their 11- and 12-speed quick links as single-use only. [velo.outsideonline.com] So always check the packaging.
- Using a Quick Link: Bring the two ends of the chain together. Insert one half of the quick link into an outer plate on one chain end, then the other half into the outer plate on the other chain end. Pull the chain taut to snap the quick link into place. A firm push on the pedal or applying pressure on the brake while pushing down on the pedal can help seat it.
- Riveting (Less Common Now): If your chain does not come with a quick link or you prefer the traditional method, you will use your chain tool to re-insert the pin you pushed out (or a new connecting pin provided with the chain). Carefully align the pin with the chain plates and push it back in until it’s flush. Be careful not to push it too far, which can create a stiff link. Once connected, gently flex the connected link sideways to ensure it’s not stiff; if it is, use the chain tool to slightly push the pin back and forth until it frees up.
5. Final Checks and Lubrication
Once the chain is connected, perform a few checks to ensure everything is working correctly.
- Check for Stiff Links: Slowly cycle the chain backwards and watch for any links that don’t articulate smoothly. If you find one, gently flex it side-to-side to loosen it.
- Test Shifting: Shift through all your gears, both front and rear, to ensure smooth operation. Adjust your derailleurs if necessary (see How to Adjust Bike Gears for Smooth, Reliable Shifting for adjusting bike gears).
- Lubricate the Chain: Apply a suitable chain lubricant to your new chain, ensuring it penetrates the rollers. Wipe off any excess after a few minutes to prevent dirt attraction.
How to Change a Bike Chain on a Single-Speed Bike
Changing a chain on a single-speed bike is generally simpler than on a geared bike because there are no derailleurs to worry about. The core principles of removing the old chain and sizing the new one remain, but the routing is direct.
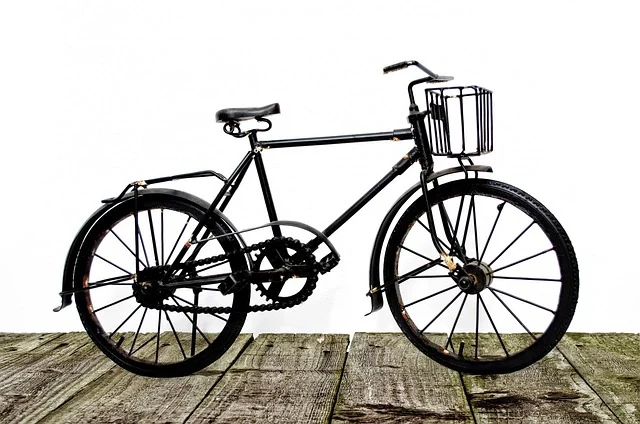
- Remove the Old Chain: Use a chain tool or quick link pliers if present.
- Size the New Chain: Drape the new chain around the front chainring and the rear cog. The chain should be tight enough that it doesn’t sag excessively but loose enough to allow for a small amount of play. You’re aiming for optimal chain tension, which often means shortening it to fit snugly.
- Install the New Chain: Place the new chain around the chainring and cog.
- Connect the Chain: Use a quick link or rivet the chain.
- Adjust Wheel Position: You may need to adjust your rear wheel’s position in the dropouts to achieve perfect chain tension. This is critical on a single-speed to prevent the chain from falling off. It also prevents the chain from being too tight, which can cause excessive wear.
Can You Remove a Bike Chain Without a Chain Tool?
You can remove a bike chain without a dedicated chain tool if it has a quick link and you have quick link pliers. Some experienced mechanics can even open quick links by hand with enough force and technique. To know how to change a bike chain without a quick link, a chain tool safely breaks it. Trying to force a pin out without the proper tool can damage the chain, yourself, or both. For installing a new chain that requires riveting, a chain tool is indispensable.
Understanding Chain Compatibility and Why It Matters
Chain compatibility is paramount for proper function, shifting performance, and component longevity. The primary factor is the chain’s speed count, which must match your drivetrain’s speed count.
Bicycle chains vary in width, with narrower chains required for higher-speed drivetrains like 11-speed and 12-speed systems.
Speed Count
- Width Variation: Chains for higher-speed drivetrains (e.g., 11-speed, 12-speed) are significantly narrower than those for lower speeds (e.g., 8-speed, 9-speed). Using a chain that is too wide will not fit between the cogs. However, one that is too narrow will shift poorly and wear out quickly. For example, standard inner chain widths are 3/32″ (2.38 mm) for 6–8 speeds, and 11/128″ (2.18 mm) for 9–12 speeds. [mammothbikes.com]
- Cross-Compatibility: Up to 11-speed, chains from major brands like Shimano, SRAM, and KMC are generally interchangeable as long as they match the speed count. However, at 12-speed, cross-compatibility largely disappears. SRAM’s Flattop architecture and Shimano’s Hyperglide+ profiles mean their 12-speed chains are specifically optimized for their respective systems. They are often not interchangeable with other brands or even older generations of their own chains. We always advise sticking to the manufacturer’s recommended chain for 12-speed systems to avoid shifting issues.
E-Bike Chains
E-bike chains are a specific category. Manufacturers reinforce them to handle the increased torque and power output from electric motors. While they still adhere to speed count compatibility, their stronger construction withstands the additional stresses of an e-bike drivetrain. This offers improved durability. As a result, using a standard chain on an e-bike can lead to rapid wear and potential breakage.
Common Mistakes to Avoid When Changing Your Chain
Even experienced cyclists can make small errors that impact performance or longevity. Here are a few common pitfalls that have been observed:
- Ignoring Cassette Wear: A new chain on a worn cassette will skip under pressure. It will also accelerate wear on the new chain. Always check your cassette for worn teeth; if it’s hooked or pointed, it likely needs replacing too. As a rule of thumb, if you’ve gone significantly past the 0.75% or 0.5% wear mark on your old chain, your cassette is probably also worn.
- Incorrect Chain Sizing: A chain that’s too short can damage your derailleur if you accidentally shift into the big-big combination. However, a chain that’s too long will result in sloppy shifting and poor chain tension. Always use the ‘big-big + two links’ method.
- Improper Quick Link Usage: Not all quick links are designed for reuse. Some manufacturers, particularly for higher-end 11-speed and 12-speed chains (e.g., specific Shimano or SRAM models), specify their quick links as single-use. Reusing them can lead to failure. Always check the chain’s packaging.
- Incorrect Derailleur Routing: As mentioned, routing the chain incorrectly through the rear derailleur cage is a common mistake. So, double-check that the chain passes on the correct side of any internal tabs.
- Over-Lubricating: While lubrication is important, applying too much oil will attract dirt and grime, turning your chain into an abrasive paste. Apply sparingly and wipe off excess.
Sources: Bicycle chain
Frequently asked questions
Do all bike chains have a master link?
No, not all bike chains have a master link (or quick link). While they are very common on modern chains for ease of installation and removal, knowing how to change a bike chain involves realizing some chains, particularly older models or specific high-end racing chains, connect by riveting a pin with a chain tool.
Is it hard to change a bike chain?
Changing a bike chain is not inherently hard, but it does require the correct tools and attention to detail. The process involves several steps like precise sizing and careful routing, which can seem daunting initially, but with practice, it becomes a routine maintenance task.
How do I know what size chain I need for my bike?
The ‘size’ of the chain you need primarily refers to its speed compatibility (e.g., 8-speed, 11-speed) and its length. To know how to change a bike chain, determine the speed by counting the cogs on your cassette, and the length by comparing it to your old chain or using the ‘big-big + two links’ method.