
 By Hashim Hashmi
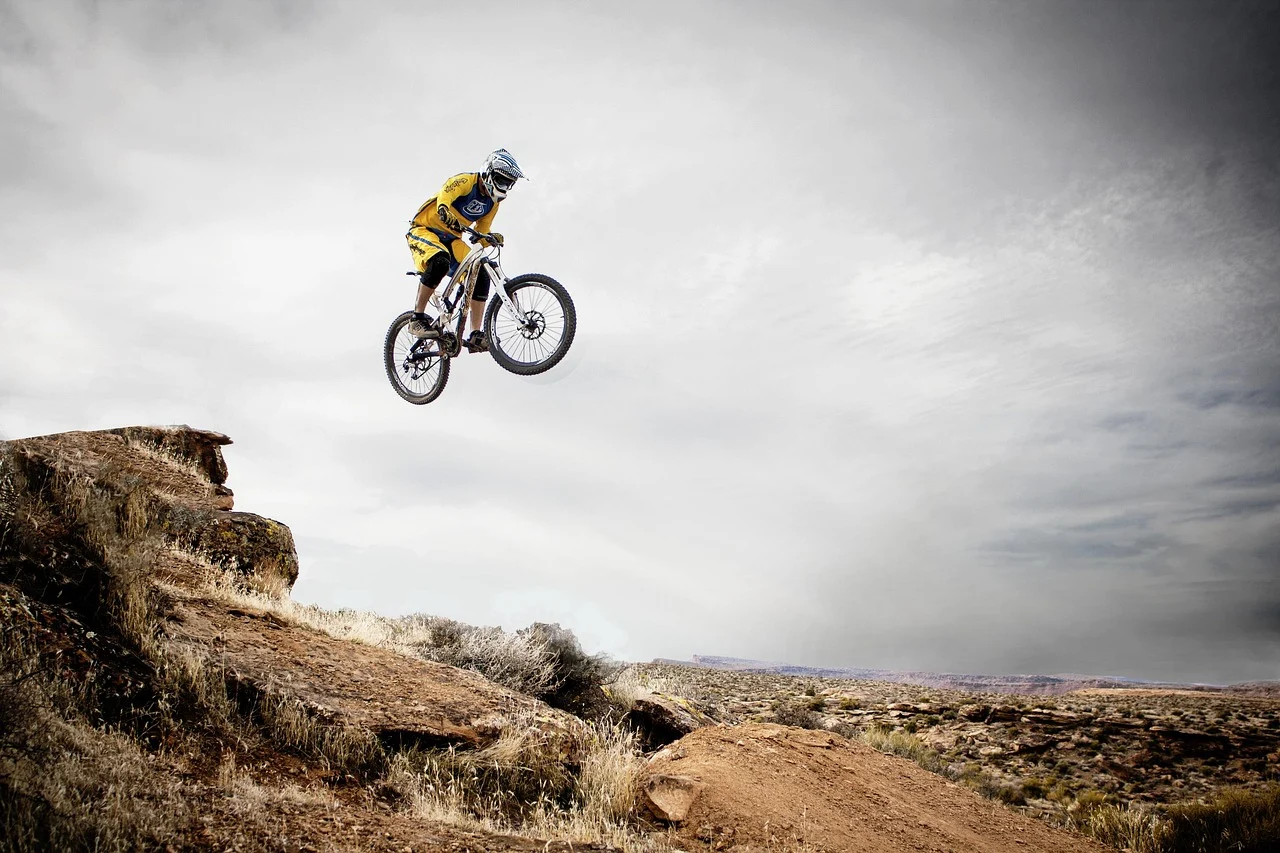
This guide explains the key factors influencing optimal tyre pressure, including rider weight, tyre width, and terrain. It provides practical guidance on how to use general pressure ranges and fine-tune them for your specific bike type and riding conditions.
What is a Bike Tyre Pressure Chart and Why Does it Matter?
A bike tyre pressure chart is a guide. It helps you determine the ideal amount of air for your bicycle tyres. It takes into account important factors like your weight, the type of bike, tyre width, and the terrain you’ll be riding on. Getting your tyre pressure right is fundamental because it directly influences your rolling resistance, traction, comfort, and overall stability. It makes a significant difference to your riding experience.
Historically, many riders simply pumped their tyres to the maximum PSI (pounds per square inch) indicated on the sidewall. Alternatively, they aimed for very high pressures, especially on road bikes. However, tyre pressure advice has changed significantly over the last few years, particularly for wider road tyres, gravel bikes, and tubeless setups (updated January 2024). Modern understanding suggests that optimal pressure is often lower than previously thought. This offers a balance of speed, grip, and comfort.
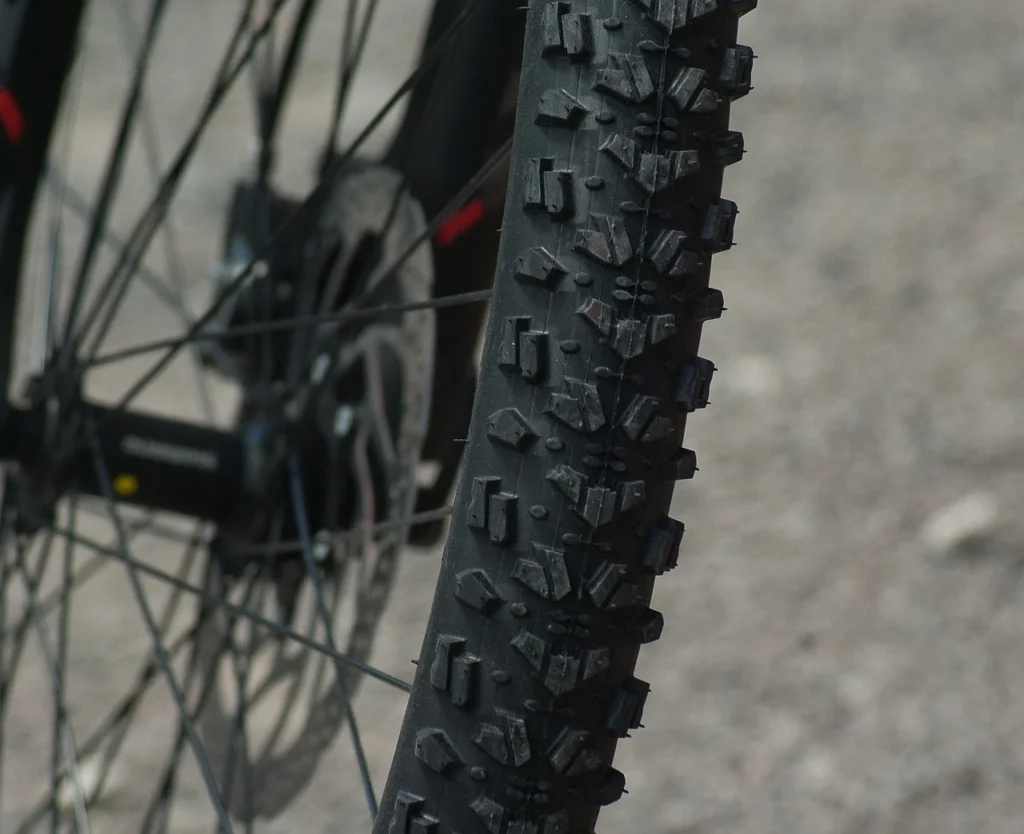
Understanding the Key Factors for Optimal Tyre Pressure
Finding the ideal tyre pressure isn’t a ‘one size fits all’ scenario. Several interdependent factors influence what’s best. Understanding these elements is more important than rigidly following a generic chart, as it allows for adaptation to different situations.

Rider Weight: The Primary Influence
Your weight is arguably the most critical factor in determining tyre pressure. Heavier riders require higher pressures to support the load and prevent pinch flats (where the inner tube gets pinched between the rim and the ground). Lighter riders can comfortably use lower pressures. A good starting point often involves a base pressure. You adjust it upwards or downwards based on your total riding weight (rider + bike + gear).
Tyre Width: More Air Volume, Less Pressure
The width of your tyre directly affects the air volume it can hold. Wider tyres (e.g., 28-32mm road tyres, or typical MTB tyres) have a larger air volume. This means they can be run at lower pressures while still providing adequate support and pinch flat protection. Narrower tyres, conversely, require higher pressures to avoid bottoming out on the rim. For instance, modern wider road tyres (28-32mm) are now recommended at lower pressures (60-80 PSI) compared to older 23mm tyres (110 PSI). They can roll equally or faster on real pavement, offer better grip, and are more comfortable.
Bike Type: Road, Gravel, or Mountain?
Different bike types are designed for distinct terrains and riding styles, which in turn dictate their typical tyre pressure ranges:
- Road Bikes: Traditionally, road bikes used very high pressures for speed. However, with the advent of wider tyres and tubeless technology, pressures have come down. You’ll generally find road bike pressures in the 60-100 PSI (4-7 BAR) range, depending on width and rider weight.
- Gravel Bikes: These bikes bridge the gap between road and mountain. You design them for mixed surfaces. They benefit from lower pressures than road bikes for comfort and traction on loose terrain. They typically range from 30-55 PSI (2-3.8 BAR).
- Mountain Bikes (MTB): Designed for rough trails, mountain bikes require significantly lower pressures for maximum grip, shock absorption, and obstacle compliance. Pressures can range from as low as 18 PSI (1.2 BAR) for wider tyres and lighter riders, up to 35 PSI (2.4 BAR) for heavier riders and narrower tyres.
Terrain: Smooth vs. Rough
The surface you’re riding on is a key determinant:
- Smoother Surfaces (Road, Tarmac): Higher PSI generally reduces rolling resistance, making you feel faster. However, excessively high pressure can lead to a harsh ride and reduced grip, especially on imperfect roads.
- Rougher Terrain (Gravel, Trails, Cobbles): Lower PSI significantly improves traction, comfort, and control. It allows the tyre to deform over obstacles rather than bouncing off them. This also increases the contact patch with the ground, providing more grip.
Tyre Set-up: Tubeless vs. Inner Tube
Tubeless setups generally allow for lower pressures compared to tubed setups. This is because there’s no inner tube to pinch between the rim and the tyre, virtually eliminating pinch flats. This allows riders to benefit from the enhanced grip and comfort of lower pressures without the common associated risk.
Rim Type: Modern Considerations
Some modern carbon rims, particularly hookless designs, have their own lower pressure limits. You must respect these limits. Manufacturers set these limits for safety and integrity. They can potentially override the maximum PSI indicated on the tyre sidewall. Always check your rim manufacturer’s guidelines.
How to Use a Bike Tyre Pressure Chart: A Practical Approach
Instead of a single, universal chart, it is more useful to think of a dynamic guide. This guide helps you calculate a personalised pressure. You effectively combine the ‘bike tyre pressure chart by weight’ and ‘bike tyre pressure chart by size’ by considering the interaction of these factors.
General Pressure Ranges by Bike Type and Tyre Width (PSI)
Here’s a practical starting point, but remember these are ranges to be fine-tuned. For BAR conversions, 1 BAR is approximately 14.5 PSI.
| Bike Type | Tyre Width (mm) | Typical PSI Range (Lighter Rider / Heavier Rider) |
|---|---|---|
| Road Bike | 23-25mm | 85-100 PSI / 95-110 PSI |
| Road Bike | 28-30mm | 65-80 PSI / 75-90 PSI |
| Road Bike | 32mm+ | 55-70 PSI / 65-85 PSI |
| Gravel Bike | 35-40mm | 35-45 PSI / 40-55 PSI |
| Gravel Bike | 42-50mm | 30-40 PSI / 35-50 PSI |
| Mountain Bike (XC) | 2.1-2.3″ | 22-30 PSI / 28-35 PSI |
| Mountain Bike (Trail/Enduro) | 2.4-2.6″ | 18-26 PSI / 24-32 PSI |
Adjusting for Your Weight and Riding Style
To refine these ranges for your specific ‘bicycle tyre pressure chart by weight’, consider a base pressure and then adjust:
- Start with the Manufacturer’s Recommendation: The tyre sidewall provides a maximum PSI. This is a safety limit, not necessarily the ideal pressure. However, it gives you the upper boundary.
- Consider Your Total Weight: For every 10kg above or below a ‘typical’ rider weight (often assumed around 70-75kg), you might adjust your pressure by 2-5 PSI. Heavier riders add pressure, lighter riders reduce it.
- Front and Back Tyre Pressure: It is a misconception that you should always inflate both front and rear tyres to the same pressure. Most of your weight is distributed over the rear wheel. Your rear tyre typically needs 2-5 PSI higher pressure than the front. This also offers better steering feel and comfort at the front.
- Fine-tune for Terrain and Comfort:
- For more comfort/grip on rough terrain: Reduce pressure by 2-3 PSI.
- For a firmer, faster feel on smooth roads: Increase pressure by 1-2 PSI. Do not exceed the tyre or rim’s maximum.
- Tubeless Advantage: If you’re running tubeless, you can typically reduce your pressure by another 5-10 PSI compared to a similar tubed setup, especially on mountain and gravel bikes, to gain significant grip and comfort benefits.

Worked Example: Finding Your Road Bike Tyre Pressure
Let’s say you ride a road bike with 28mm tyres and your total riding weight (you + bike + gear) is 85 kg. You mostly ride on paved roads but encounter some rough patches.
- Identify Base Range: For a road bike with 28mm tyres, the chart suggests 65-80 PSI (lighter) / 75-90 PSI (heavier). As you’re 85kg, you’re leaning towards the heavier end of a typical rider.
- Initial Estimate: A good starting point would be around 75 PSI for the front and 80 PSI for the rear.
- Consider Terrain: Since you encounter some rough patches, you might want a bit more compliance. You could try reducing by 2 PSI for comfort.
- Final Check: This would bring you to approximately 73 PSI front and 78 PSI rear. This is well within the acceptable range for 28mm tyres. It provides a good balance of speed and comfort for mixed road conditions.
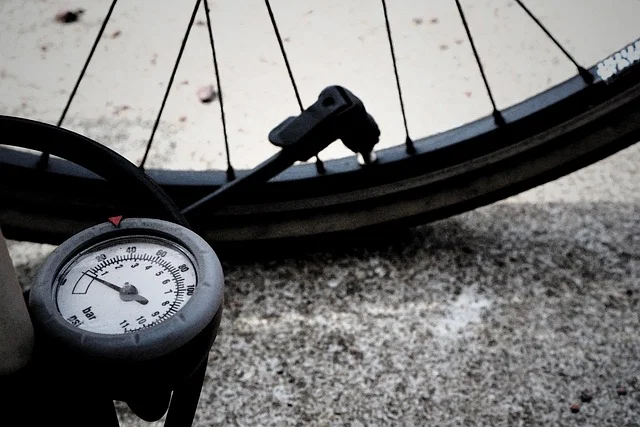
Always use a reliable pressure gauge, as visual inspection alone is not sufficient to accurately determine tyre pressure. We recommend checking your tyres before every significant ride.
Common Misconceptions and Who This Advice Does Not Suit
There are several myths surrounding tyre pressure that are often encountered:
- “Higher pressure equals more speed.” While true on a perfectly smooth surface, real-world roads are not perfect. Too high a pressure can cause the tyre to bounce over imperfections, increasing rolling resistance and reducing comfort.
- “Pump to the maximum PSI on the tyre.” As mentioned, this is a safety limit, not an optimal performance recommendation. Exceeding your rim’s pressure limit can be dangerous, especially with hookless rims.
- “Lower pressure always means more comfort.” While lower pressure generally improves comfort, going too low can lead to sluggish handling. It also increases the risk of pinch flats (with inner tubes) and rim damage.
This advice primarily suits adult riders on road, gravel, and mountain bikes. For ‘bicycle tyre pressure chart kids’, the pressures will be significantly lower due to their much lighter weight. Always consult the bicycle manufacturer’s guidelines for children’s bikes or err on the side of caution with lower pressures to prioritize grip and comfort.
Frequently asked questions
What PSI should normal bike tyres be at?
The ideal PSI for “normal” bike tyres varies significantly based on bike type, tyre width, and rider weight. For road bikes, pressures typically range from 60-110 PSI; for gravel bikes, 30-55 PSI; and for mountain bikes, 18-35 PSI. It’s best to consult a specific chart or calculator based on your setup.
Is 40 PSI too high for bicycle tyres?
40 PSI is generally not too high for many bicycle tyres, especially for wider road, gravel, or some mountain bike setups. This is particularly true for heavier riders. However, it might be too low for narrow road tyres or too high for very wide mountain bike tyres. Therefore, context is important.
What is the correct tyre pressure for my bike?
The correct tyre pressure for your bike is a personalised value determined by your weight, tyre width, bike type (road, gravel, MTB), and the terrain you’ll be riding. You should also consider whether you are running tubeless or with inner tubes, and check your rim’s maximum pressure limits.