
 By Hashim Hashmi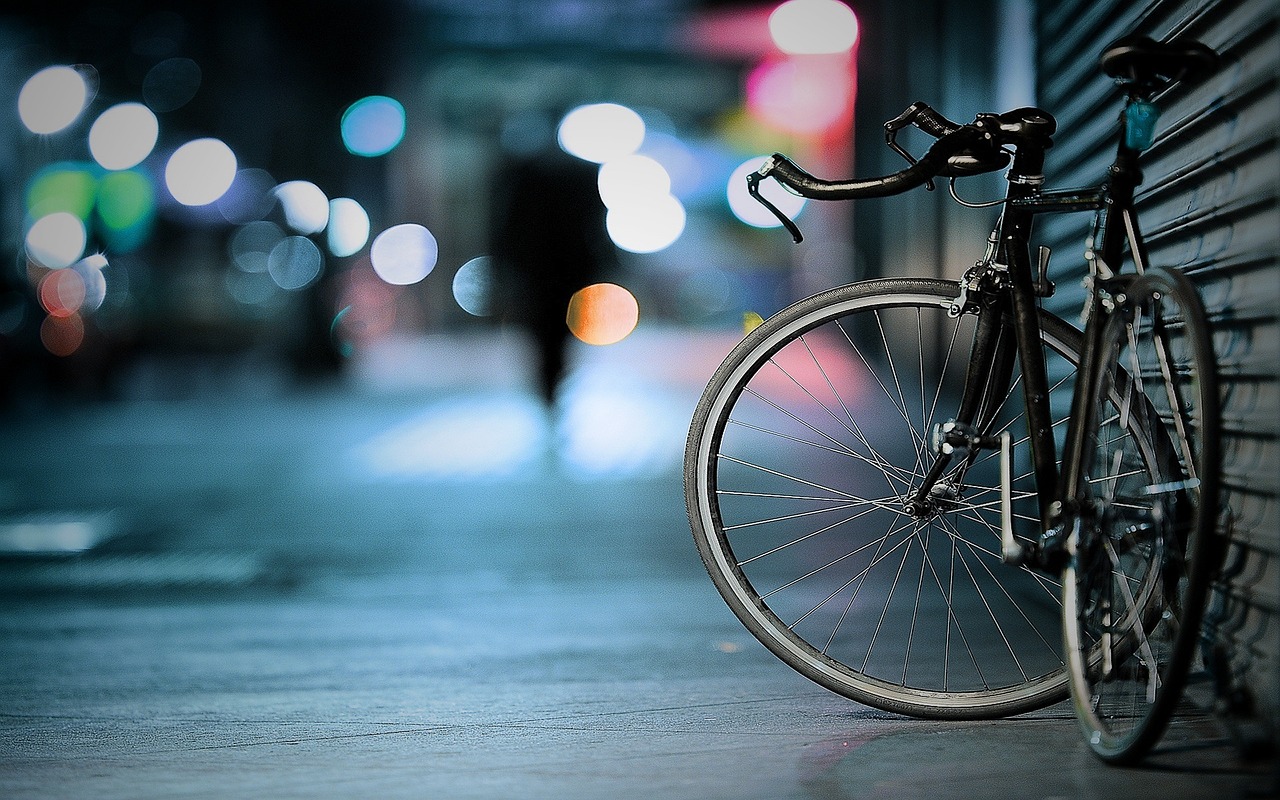
To fix a puncture on a road bike, safely remove the wheel, unseat one side of the tyre with tyre levers, and pull out the inner tube. Carefully inspect the tyre casing to remove whatever caused the puncture, then tuck in a slightly inflated replacement tube, refit the tyre bead by hand, and inflate to proper pressure.
Every road cyclist eventually faces air hissing out of a tyre during a ride. Modern road bike tyres run at higher pressures and thinner tread profiles than mountain or hybrid tyres, leaving them susceptible to glass shards, wire strands, thorns, and pinch flats from pothole edges. Learning how to fix a puncture on a road bike quickly keeps a roadside mechanical issue from stranding you far from home.
Replacing the damaged inner tube on the spot remains the fastest and most dependable repair technique for clincher tyre setups. While tubeless tyres and self-sealing inner tubes offer alternative approaches, carrying the right tools and mastering basic wheel-demounting mechanics guarantees you can handle any flat tyre with minimum delay.
What tools and spares do you need for roadside flat repairs?
Before rolling out on any ride, pack a compact saddlebag or store gear in your jersey pockets. Relying on good fortune or roadside assistance usually leaves you waiting for hours when a simple kit resolves the problem in ten minutes.
Your repair kit requires three main tools and spares:
- Tyre Levers: Carry two or three reinforced composite plastic levers. Avoid metal levers on aluminum or carbon road bike rims because metal gouges rim walls and pinches inner tubes during installation. Look for levers featuring thin, hooked tips and a spoke retention clip.
- Spare Inner Tube: Match your tube precisely to your tyre dimensions printed on the sidewall, such as 700x25c or 700x28c. Verify that the Presta valve length suits your wheel depth; standard box-section rims accept 42mm valves, whereas 45mm or 50mm deep-section aero wheels require 60mm or 80mm valve stems.
- Hand Pump or CO2 Inflator: A frame-mounted mini hand pump provides infinite inflation attempts, while a CO2 inflator snaps onto the valve stem to fill high-pressure road tyres in seconds.
Supplementary items include a glueless patch kit for back-up repairs when you suffer multiple flat tyres, a multi-tool equipped with 5mm and 6mm hex keys for thru-axle removal, and a small tyre boot to seal torn casing rubber.
| Inflation Tool | Primary Advantage | Trade-Off or Risk | Best Suited For |
|---|---|---|---|
| Mini Hand Pump | Unlimited inflation attempts with complete pressure control | Requires hundreds of manual strokes to reach 80–100 PSI | Long solo rides, training loops, and remote backcountry routes |
| CO2 Inflator | Fills high-pressure road tyres in under five seconds | Single-use cartridges; cold freeze risk; fails if thread leaks | Races, sportives, and fast group rides where speed matters |
How should you prepare your bike before removing the wheel?
The moment you feel rear-wheel sway, steering resistance, or hear air escaping, pull off the road immediately. Select a safe, flat surface off the main carriageway, such as a wide grass verge, layby, or pavement section away from traffic.
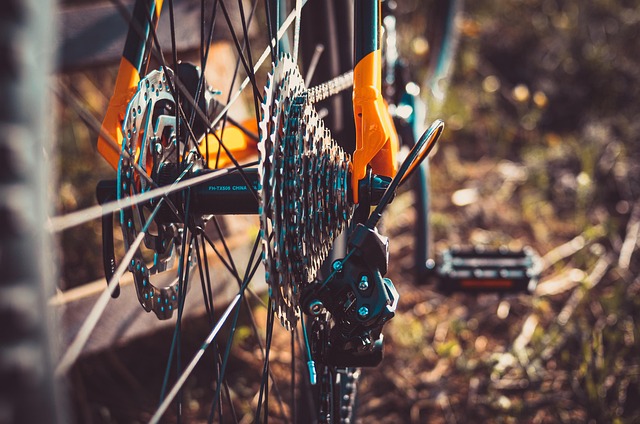
Preparing the drivetrain before removing a rear wheel saves time and keeps your hands clean. Shift your chain onto the smallest cog of the rear cassette (the 11-tooth or 10-tooth sprocket). This drops chain tension and creates maximum clearance between the rear derailleur cage and the frame dropouts.
If your road bike uses rim brakes, release the brake quick-release mechanism to widen the brake pads so the inflated or wide tyre clears the brake shoes easily. On caliper brakes, flip the small lever located on the brake arm upward. For traditional V-brakes, unhook the metal noodle from the retaining arm. For disc brake bikes, no brake adjustment is necessary, but avoid pulling the brake levers while the wheel is removed to prevent hydraulic pistons from pressing inward.
Position your bike securely. You can lean the frame upside down on grass, resting the bike on the saddle and brake hoods. If your handlebars carry a cycling computer or integrated light mounts, lean the frame upright against a fence, wall, or road barrier to prevent scratching screen faces.
How do you remove front and rear road bike wheels?
Road bikes use quick-release skewers or threaded thru-axles. Identifying your wheel attachment system dictates how you detach the wheel from the dropouts.
Quick-release skewer removal
- Pull the quick-release lever open away from the frame dropout. If it feels tight, loosen the thumb nut on the opposite side counter-clockwise two or three turns.
- For a front wheel, drop the wheel straight out of the fork dropouts.
- For a rear wheel, stand behind the bike, pull back the upper body of the rear derailleur with your thumb to create slack, and lift the frame upward so the wheel drops free from the chain.
Thru-axle removal
- Insert a 5mm or 6mm hex wrench into the axle head, or flip out the integrated lever attached to the axle.
- Unscrew the axle counter-clockwise until the threads disengage completely from the opposite side of the fork or frame dropouts.
- Slide the axle straight out, store it cleanly on your gear bag, and lower the wheel away from the disc brake caliper and chain loop.
How do you demount the tyre casing and remove the damaged tube?
With the wheel detached, press the inner core of the Presta valve to bleed out any remaining air pressure. Unscrew the small knurled locknut securing the valve stem against the rim bed if your wheel uses one.
Before applying tools, push both tyre beads toward the center of the rim bed around the full circumference of the wheel. Road rims feature a dropped center channel that provides slack in the tyre bead wire, making demounting significantly easier.
- Insert the curved spoon end of your first tyre lever under one tyre bead, roughly three inches away from the valve stem. Avoid trapping the inner tube against the rim edge.
- Pry the tyre lever downward to pop a section of the bead over the outer edge of the rim wall. Hook the lever clip onto an adjacent spoke to lock it in place.
- Insert a second tyre lever three inches beside the first. Lever the bead over the rim wall, then slide the lever along the rim track to pop one entire side of the tyre bead outside the rim bed.
- Reach inside the tyre casing and pull the damaged inner tube out completely. Finish by pushing the Presta valve stem up through the rim hole and lifting the tube free.
How do you diagnose what caused the flat tyre?
Skipping a thorough tyre inspection almost guarantees an immediate second flat tyre within five hundred meters. You must locate and remove the debris that caused the puncture before inserting a new inner tube.
Experienced mechanics line up the tyre brand logo directly above the wheel valve stem during installation. This alignment allows you to match puncture holes on the tube directly back to the exact physical spot on the tyre casing.
Examine your damaged inner tube or tyre casing to identify the specific failure type:
- Penetration Puncture: A single tiny hole on the outer edge of the tube indicates a thorn, sharp wire fragment, or piece of glass pierced the tread. Slowly sweep a light cloth or gloved finger along the inner surface of the tyre casing to feel for sharp debris. Never drag bare fingers quickly along the inside rubber, as concealed metal wires can cause severe cuts.
- Pinch Flat (“Snakebite”): Two parallel slits side-by-side indicate the inner tube was compressed firmly between the wheel rim and an obstacle like a pothole or railway track. This happens when tyre pressure is too low. Check the rim walls for dents or cracks before reassembling.
- Rim Bed Puncture: A hole on the inner diameter of the tube facing the rim indicates damaged, shifted, or torn rim tape. Sharp spoke hole edges cut into the inner tube rubber under high pressure. Cover exposed spoke holes with electrical tape or dedicated rim tape if needed.
- Valve Stem Tear: A rip at the rubber base of the valve stem usually occurs when pumping with an unanchored pump head or over-tightening the rim locknut. Replace the tube and ensure pump nozzles attach straight without bending the valve body.
How do you fit a new inner tube without causing a pinch flat?
Take your fresh spare inner tube and inflate it with two or three light pumps of air until it holds a soft rounded shape. How to fix a puncture on a road bike gives it enough shape to prevent it from being pinched between the tyre and rim during installation, avoiding frustrating blowouts.
- Insert the Presta valve stem straight through the rim valve hole. Ensure the valve sits square and isn’t angled sideways.
- Tuck the slightly inflated tube neatly into the tyre casing around the full circumference of the wheel, verifying that the tube rests flat without twists or bunching.
- Begin pushing the loose tyre bead back over the rim wall using the heels of your hands. Start directly opposite the valve stem and work both hands symmetrically along the rim toward the valve.
- As you reach the last tight section near the valve, push both tyre beads deep into the center drop channel of the rim to generate necessary slack in the bead rubber.
- Push the valve stem up slightly into the tyre casing while rolling the final section of bead over the rim edge with your palms. This prevents the inner tube from getting trapped under the bead wire at the valve location.

If the tyre bead feels extremely tight, avoid using metal levers or aggressive forcing that can rupture the fresh tube. Instead, apply firm upward pressure with the palm of your hand while keeping the rest of the bead squeezed tight in the central drop channel. Check Should You Switch to a TPU Inner Tube? for tyre lever techniques on tight rim combinations.
How do you reinstall the wheel and inflate the tyre correctly?
Before attaching your pump, perform a visual check around both sides of the wheel. Check that no portion of the inner tube protrudes under the tyre bead line. If you see black rubber peaking out between the tyre bead and the rim edge, deflate slightly and push the tube back into the casing.
- Reinstall the wheel into the frame or fork dropouts. On rear wheels, double-check that the top strand of the chain rests on the smallest cassette sprocket.
- Secure the wheel axle. For quick-release levers, close the lever until it leaves a firm impression across your palm when fully closed. For thru-axles, tighten with a hex wrench to manufacturer torque specifications (typically 9 to 12 Nm).
- Re-engage your rim brake caliper quick-release lever and check that the brake shoes clear the rim track without rubbing.
- Attach your pump or CO2 head to the Presta valve. Inflate the tyre to your target pressure.
Recommended inflation pressure depends on tyre width, rim width, road surfaces, and rider weight. Modern wide road tyres perform best at moderate pressures:
- 25c Clincher Tyres: 80–95 PSI for average rider weights (70–80 kg).
- 28c Clincher Tyres: 65–80 PSI for optimal balance between rolling resistance, traction, and puncture prevention.
- 30c–32c Tyres: 55–70 PSI depending on system load and road surface quality.
Inspect the moulding line running along the lower sidewall of the tyre. This indicator line must sit at an even distance above the rim edge all the way around the wheel. If the line drops below the rim wall, the bead has not seated properly; inflate briefly up to maximum rated sidewall pressure until the bead pops into place with a clear click.
How do you handle edge cases like tyre sidewall cuts or tubeless punctures?
Standard tube changes resolve most roadside flats, but specific tyre damage requires specialized techniques.
Repairing a slashed tyre casing with a tyre boot
If flint or glass slashes a hole larger than 3mm through the rubber tread or sidewall casing, inserting a new tube without repairing the casing causes the inner tube to bulge through the tear and burst instantly under high pressure. Apply a tough adhesive tyre boot on the inside of the casing covering the tear. In an emergency, a folded bank note, an energy gel wrapper, or a piece of toothpaste tube placed inside the casing over the tear acts as a temporary barrier to hold the tube inside.
Patching an inner tube roadside
If you suffer multiple punctures and run out of spare tubes, vulcanising rubber patches or self-adhesive stick-on patches restore damaged tubes. Clean and dry the rubber around the hole, rub the area lightly with abrasive paper to key the surface, apply a thin coat of vulcanising solution, wait two minutes for the glue to turn tacky, and press the rubber patch firmly for thirty seconds.
Fixing punctures on tubeless road bike setups
Tubeless road bike setups replace inner tubes with liquid latex sealant inside an airtight tyre rim interface. Small pinholes from thorns or wire seal instantly as liquid sealant coats the hole. When larger punctures occur on tubeless setups, use a tubeless plug tool to insert a rubber plug directly into the hole from the outside. The sticky plug reacts with remaining sealant to close the puncture without removing the wheel.
Tubeless road systems deliver lower rolling resistance, superior cornering grip, and improved ride comfort without the risk of pinch flats. If a tubeless cut is too wide for a plug, unscrew the tubeless valve stem, wipe excess liquid sealant out of the tyre casing, and install a standard emergency inner tube to get home safely.
What steps reduce the risk of flat tyres on a road bike?
While you cannot eliminate every sharp object on public roads, smart maintenance habits significantly cut down puncture frequency:
- Check Pressure Before Every Ride: Road bike inner tubes naturally lose 2 to 5 PSI per day through micro-porous rubber walls. Riding under-inflated tyres increases pinch flat risks when hitting bumps or drain covers. Check Bike Chain Lubricant: The Pro Secrets to a Smoother Ride for tyre pressure guidelines.
- Wipe Tyres After Wet Weather Rides: Rain washes sharp grit, flint fragments, and wire strands onto the main road surface. Water acts as a lubricant, making it easier for debris to slice through tread rubber. After damp rides, spin each wheel slowly and wipe the tread with a rag to clear embedded debris before it works deeper into the casing.
- Inspect Tread Wear Regularly: As tread rubber wears down, tyres lose puncture resistance. Replace road tyres when you notice flattened central tread profiles, exposed casing threads, or frequent flats.
- Upgrade to Puncture-Resistant Tyres: Riders traversing rough roads or winter lanes benefit from reinforced puncture protection belts underneath the tread. Continental’s 2025 product guide highlights that their Grand Prix 5000 AllSeason TR tyres incorporate multi-layer polyX breaker casing protection, offering enhanced puncture resistance over ultra-light race tyres without sacrificing cornering grip.
- Self-Sealing Inner Tubes: Self-sealing inner tubes contain liquid sealant inside the tube cavity. Small penetration holes seal automatically on rotation. However, self-sealing tubes add roughly 50–80 grams of rotating weight per wheel and cannot prevent large cuts or pinch flats.
Frequently asked questions
What if I do not have tyre levers with me?
Removing a tight road tyre without levers requires pushing both tyre beads into the deep central channel of the rim bed to create slack. You can then grip the tyre with both palms and roll the bead over the outer rim wall using thumb pressure. If the tyre fits too tightly to demount by hand, ask a passing cyclist for assistance or contact roadside recovery.
Can I use a patch kit instead of carrying a spare inner tube?
Glueless or vulcanising patch kits work effectively as secondary emergency backups, but replacing the entire tube is faster and more reliable during roadside repairs. Applying patches in cold or wet conditions often leads to adhesion failure. Carrying one fresh tube alongside a small patch kit gives you full reliability.
How do I fix a puncture on a tubeless road bike tyre?
Small punctures in tubeless tyres seal automatically via internal liquid sealant. For larger holes that spray air or sealant, insert a rubber tubeless plug into the puncture site using a plug insertion tool, trim the excess plug end flush with the tread, top up air pressure, and resume riding.
How much air pressure should I inflate into my road tyre after a repair?
Inflate the tyre according to rider weight, rim width, and tyre volume, making sure not to exceed the maximum PSI printed on the tyre sidewall. Modern 28c road tyres generally run best between 65 PSI and 80 PSI, providing an optimal balance of speed, puncture protection, and road grip.
How long does it take to fix a flat tyre on a road bike?
An experienced cyclist typically completes a roadside inner tube replacement in seven to twelve minutes. Beginners practicing the steps at home can comfortably execute a clean roadside replacement in under twenty minutes.
Source: Britannica.