
 By Hashim Hashmi

Carrying luggage in side bags rather than a backpack changes how a bicycle behaves on road surfaces. When you load weight directly onto the frame and axle mounts, you reduce rider fatigue and improve stability during long rides. However, mounting bags incorrectly can cause heel strikes against the fabric, steering instability, or premature spoke failure. Setting up a reliable bicycle with panniers involves specific mechanical considerations for frame compatibility, weight distribution, and handling adjustments.
How to select and fit a luggage rack for a bicycle with panniers
Choosing a luggage rack depends on your bicycle’s frame, brakes, and load. Touring and hybrid frames have threaded eyelets (M5 brazens). These are on rear dropouts and upper seatstays. A rack can bolt directly to the frame there. However, road bikes, gravel, and performance bicycles often lack these points. They require specific adapter systems for a bicycle with panniers.
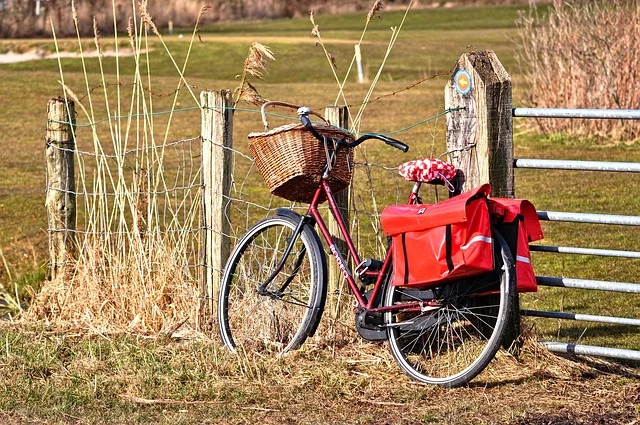
Standard rear racks carry between 25kg and 30kg of cargo. When selecting a rack, measure the outer diameter of the rack tubing, which typically measures 8mm, 10mm, or 12mm. Modern pannier hooks feature interchangeable rubber inserts designed to clamp precisely around these specific diameters. A loose hook creates constant vibration, which degrades aluminum rack rails over time.
If your frame features disc brakes, choose a disc-specific rack or use offset spacer hardware. Disc calipers mounted on the seatstay can obstruct straight rack stays. Wide-base disc racks curve outward at the dropout mount to clear the calliper body without bending structural aluminum rods.
For frames without threaded eyelets, three primary fitting methods exist:
- P-clips (vinyl-coated steel clamps): These wrap around seatstays to create upper attachment points. They work reliably on steel and aluminum frames but are not suitable for carbon fibre stays.
- Seatpost clamp adapters: Replacing your standard seatpost binder clamp with one that includes threaded M5 eyelets offers a clean, structural upper attachment point.
- Thru-axle or quick-release mounted racks: Racks like the Tubus Disco or models using replacement lower axles transfer vertical weight directly to the wheel spindle rather than thin seatstays. This setup is ideal for lightweight road or carbon gravel frames.
How to solve heel clearance issues on short chainstays
Heel strike occurs when your shoe hits the front face of the rear pannier during the backhalf of the pedal stroke. This issue is common on gravel and road bikes, where chainstays measure between 405mm and 420mm. Dedicated touring bicycles feature longer chainstays—typically 450mm or greater—specifically to create space between the pedal arc and rear luggage.
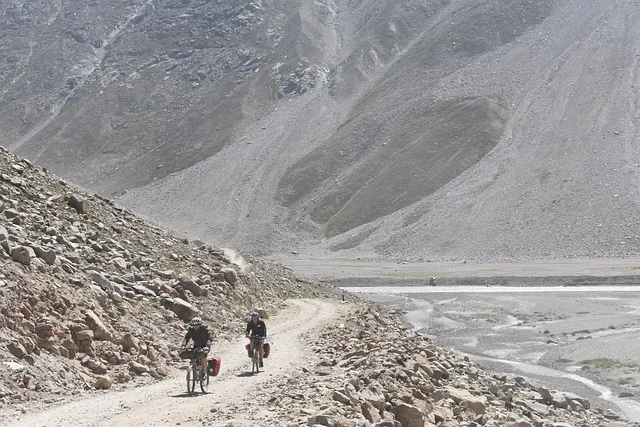
To establish adequate heel clearance without changing your bicycle frame, follow these practical adjustment steps:
- Slide top hooks forward on the pannier rail: Modern panniers use adjustable upper rail systems. You can loosen the hook fixing screws and slide both top hooks toward the front edge of the bag. The entire pannier shifts backward on the rack stay.
- Adjust the lower anchor hook: Shift the bottom locking hook rearward so it catches behind a vertical or diagonal rack strut, preventing the bottom of the bag from swinging forward into your heel path.
- Select tapered pannier bags: Boxy, rectangular bags offer high volume but cut straight down near the pedals. Tapered panniers feature an angled lower front profile, providing several centimeters of additional foot clearance.
- Use an offset or extended rack: Set horizontal rack stays to sit as far back as structural limits allow. Alternatively, fit a rack with an extended lower mounting foot that positions the loading rail further behind the rear axle.
We suggest keeping at least 20mm to 30mm of clearance between your heel and the pannier bag at maximum pedal extension. If your shoe still contacts the bag after sliding the hooks back, do not force your foot forward on the pedal or move your cleats. Altering foot placement changes biomechanical alignment and frequently leads to knee pain over longer distances.
How to pack and balance weight in pannier bags
Unbalanced panniers pull the bicycle sideways, causing frame twist and unpredictable steering. Achieving neutral handling requires managing vertical, horizontal, and side-to-side weight balance across the bicycle frame.
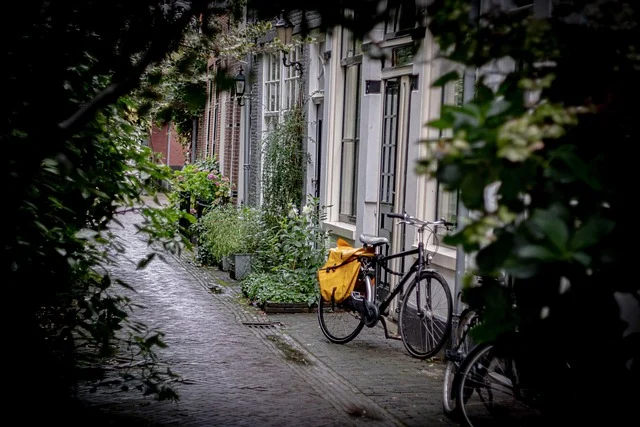
Keep the centre of gravity low. Place heavy items—such as tools, spares, cooking gear, fuel cans, and dense food items—at the absolute bottom of the bags, directly adjacent to the wheel axle. Light, bulky items like sleeping bags, down jackets, and extra clothing should sit at the top and toward the outer shell of the panniers.
Side-to-side balance is equally critical. Keep total weight between the left and right panniers within 500 grams of each other. An unbalanced load forces you to lean the bicycle slightly to maintain a straight line. This increases fatigue in the arms and shoulders over hours in the saddle.
| Luggage Location | Ideal Cargo Types | Handling Impact |
|---|---|---|
| Bottom of Rear Panniers | Tools, spare tubes, locks, camp stove, canned food | Lowers centre of gravity; stabilizes rear wheel traction |
| Top of Rear Panniers | Clothing, sleeping bag, rain jacket, light gear | Minimal impact if kept lightweight; avoids top-heavy sway |
| Front Lowrider Panniers | Tent canvas, sleeping pad, heavy cooking spares | Dampens front wheel chatter; keeps front tyre planted on steep climbs |
Should you use front panniers, rear panniers, or both?
Deciding where to mount your luggage depends on total cargo mass, route terrain, and riding style. Rear panniers remain the most common choice for daily commuting and light touring. Also, they leave front steering quick and responsive, making it easy to weave through traffic.
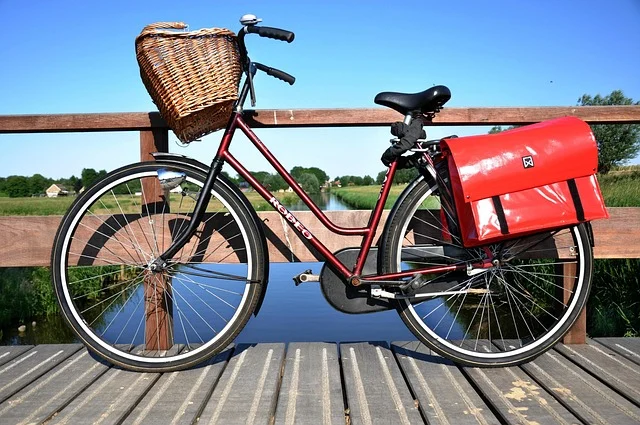
However, putting all heavy gear in rear panniers places substantial stress on the rear wheel. Adding 20kg of rear cargo can lead to broken spokes, rim cracking, or pinch flats. For heavy touring setups, spreading weight to a front lowrider rack yields superior handling.
A front lowrider rack mounts bags low. These are alongside the front fork blades. This places the bag hooks near the front wheel axle. Unlike high-mounted handlebar bags, a bicycle with panniers pushes down on the front axle. This avoids top-heavy steering. At cruising speeds, these stabilize the front wheel. They prevent light front-end lift on steep climbs. Steering feels slightly heavier at slow speeds. Yet, high-speed cornering remains remarkably predictable.
Placing slightly more weight in lowrider front panniers relieves stress from the rear wheel assembly. It dampens road vibration before it reaches the handlebars.
How riding dynamics change on a loaded bicycle
A bicycle loaded with panniers demands adjusted control techniques, altered cornering lines, and proactive braking habits. The addition of 15kg to 30kg of structural mass increases momentum and affects frame responsiveness under load.
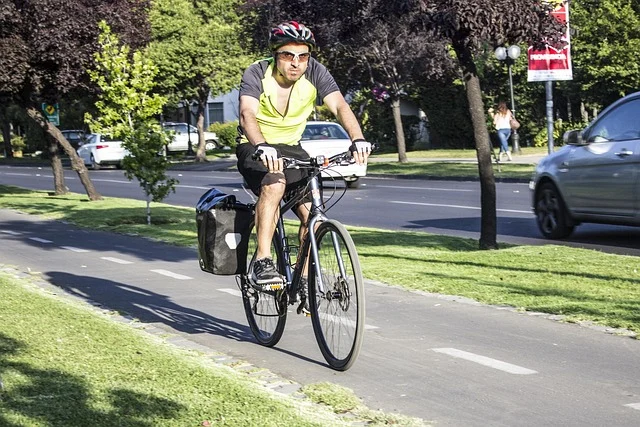
Stopping distances increase significantly with heavy panniers. Hydraulic disc brakes with 180mm rotors handle high thermal loads best on long descents. If your bicycle uses mechanical rim brakes, inspect rubber brake pads before embarking with heavy loads. Begin braking twice as early as you would on an unladen bike. Wet weather compounds this requirement, as water films delay initial pad bite on alloy rims.
Tyre pressures must be adjusted upward to account for the extra mass. Under-inflated tyres under heavy panniers squash down on rough roads. As a result, this causes rim strikes and snakebite pinch inner-tube punctures. Increase rear tyre pressure toward the upper PSI limit printed on the tyre sidewall. Ensure you do not exceed maximum rim pressure thresholds.
Frame flex becomes noticeable under full loads. Rapid out-of-the-saddle sprinting causes heavy side-to-side twisting in lightweight aluminum or thin-walled steel frames. This can induce dynamic high-speed wobble (shimmy). When riding a bicycle with panniers, stay seated on climbs. Maintain a smooth, steady pedalling cadence rather than standing up on the pedals.
Who should avoid using panniers?
While panniers excel for heavy loads and high-volume utility, they are not the best choice for every cyclist or route type:
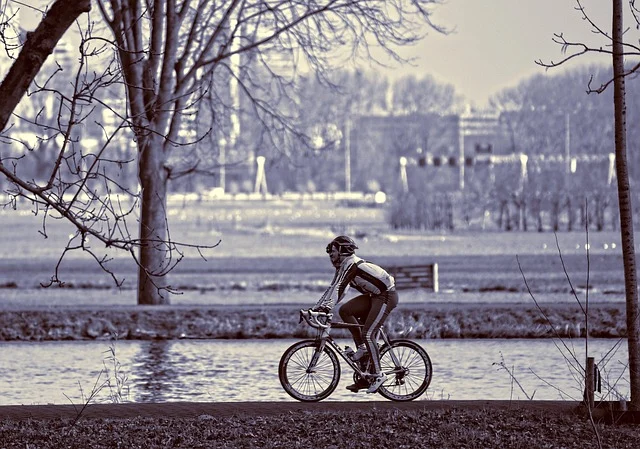
- Off-road singletrack riders: Wide rear and front panniers catch on narrow trees, rocks, and trailside brush. However, bikepacking frame bags and seat packs maintain a narrow profile better suited to technical off-road tracks.
- Ultra-lightweight carbon racing bikes: Ultra-thin carbon frame tubes and light seatstays are not engineered to take the clamping forces of rack mounts or dynamic side loads from heavy bags.
- Cyclists seeking maximum aerodynamic speed: Side panniers increase frontal surface area significantly. This adds drag at speeds above 25 km/h compared to streamlined seat rolls or frame packs.
Related guides
Sources: Pannier
Frequently asked questions
Can you fit panniers to a road bike without rack eyelets?
Yes, you can install a rear rack using vinyl-coated P-clips, replacement axle mounts, or a seatpost clamp adapter that provides upper mounting eyelets. Alternatively, quick-release racks that clamp directly to seatstays or seatposts allow light pannier mounting without permanent frame eyelets.
How do you stop panniers from rattling on rough roads?
Rattling happens when top hooks do not fit the rack tubing diameter tightly or when the lower hook lacks tension. Install rubber insert adapters matching your rack tubing size (8mm, 10mm, or 12mm) into the main hooks, and adjust the lower hook so it securely catches a vertical rack stay.
What is the difference between panniers and bikepacking bags?
Panniers require metal luggage racks and bolt to the frame, providing high carrying capacity and easy wide-opening access ideal for road touring and commuting. Bikepacking bags strap directly to handlebars, frame tubes, and seatposts without racks, maintaining a slim profile suitable for narrow trails.
How much weight can a standard rear bicycle rack hold?
Most standard alloy rear racks are rated to support between 25kg and 30kg of cargo weight. Heavy-duty steel racks can hold up to 40kg, while front lowrider racks generally carry between 10kg and 15kg. Always check the weight rating stamped directly on your rack frame.