
 By Hashim Hashmi
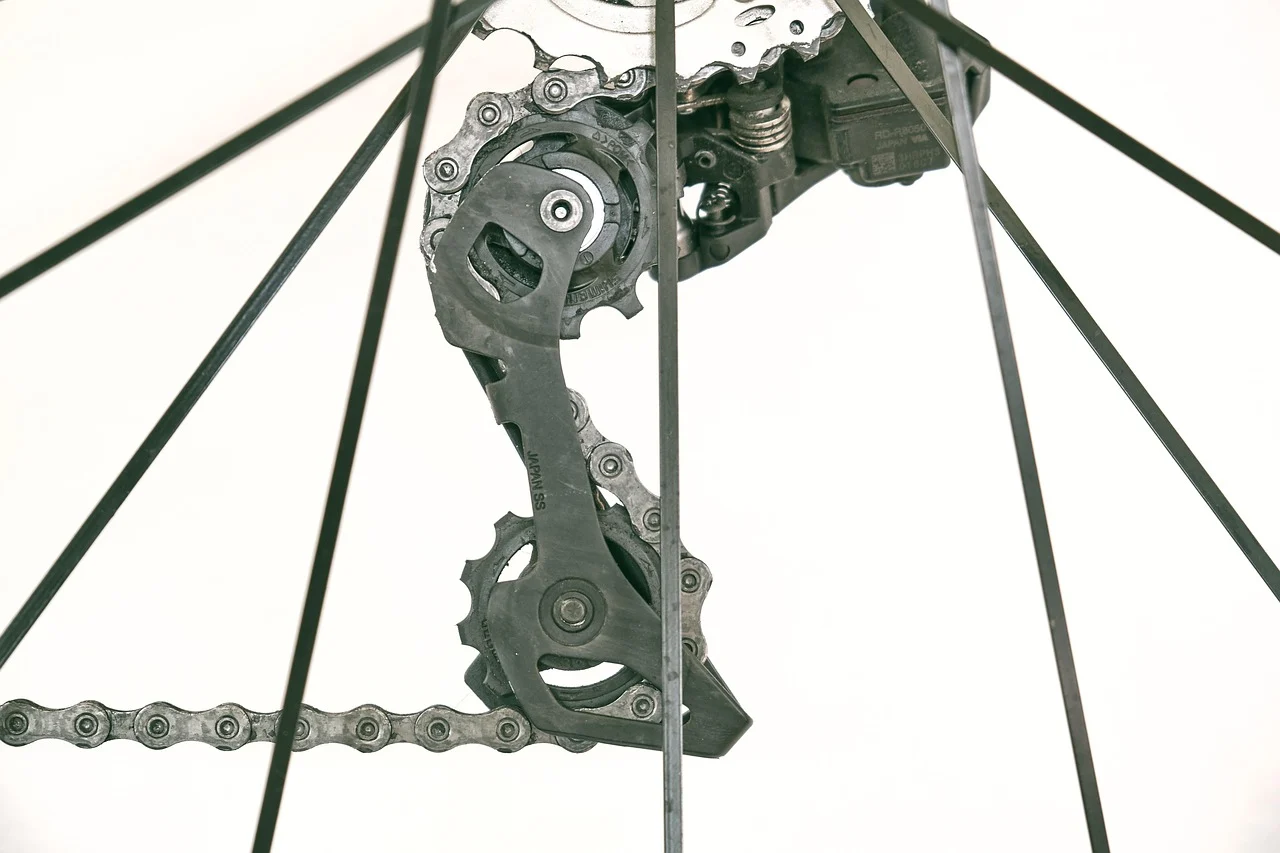
Adjusting bike gears, also known as indexing, is a fundamental cycling skill. It helps you maintain smooth, reliable shifting. This involves aligning each shifter click with a specific sprocket. This ensures precise chain movement between gears. It prevents skips, delays, or chain drops. Here is how to adjust bike gears.
As club cyclists who handle our own bike maintenance, a well-tuned drivetrain makes a significant difference to the riding experience. This applies whether you are on a quick commute or a long weekend ride across the UK countryside. This guide will walk readers through the process for adjusting both front and rear mechanical derailleur gears. It includes key steps like setting limit screws, fine-tuning cable tension, and troubleshooting common issues.
What Tools Do I Need to Adjust Bike Gears?
Before starting any gear adjustment, always gather the necessary tools. Having these to hand makes the process much smoother and prevents frustrating interruptions.
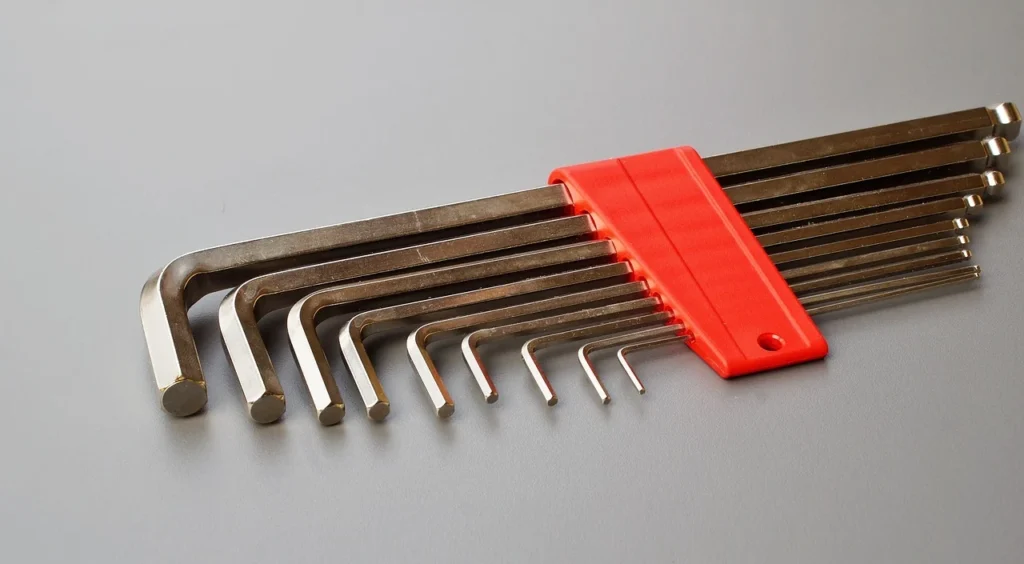
- Allen Keys (Hex Wrenches): A set of 4mm and 5mm Allen keys is usually sufficient for most derailleur adjustments, particularly for the cable pinch bolt.
- Phillips Head Screwdriver: Essential for adjusting the high (H) and low (L) limit screws, and often the B-tension screw on your derailleurs.
- Bike Repair Stand: While not strictly essential (and this guide will explain how to manage without one), a good repair stand elevates the bike, allowing the wheels and pedals to spin freely, which makes adjustments significantly easier and more accurate.
- Chain Wear Indicator Tool: This is important for diagnosing shifting issues. A worn chain can mimic poor adjustment, and this tool quickly tells owners if a replacement is needed. For 11-speed and 12-speed drivetrains, replace the chain at 0.5% elongation.
- Clean Rags and Degreaser/Lubricant: A clean drivetrain shifts better, so always ensure the chain and derailleurs are free of grime before making adjustments.
How Do I Adjust My Rear Derailleur Gears?
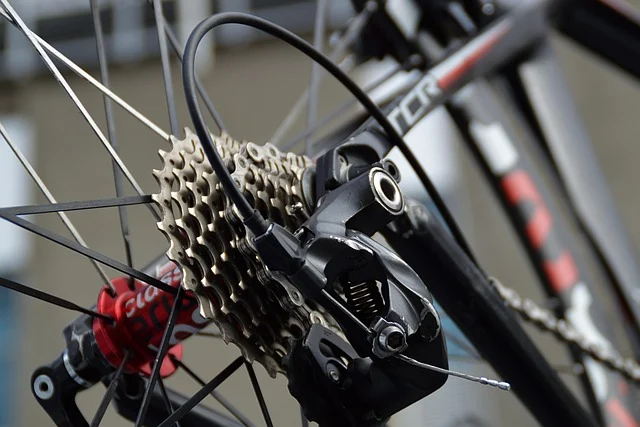
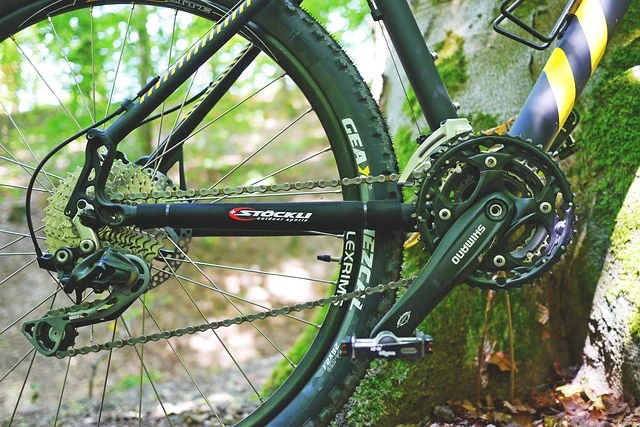
The rear derailleur is responsible for moving the chain across the cassette (the cluster of sprockets at the back of your bike). This is where most shifting issues arise, so it is usually a good place to start. The three main adjustments are the high (H) and low (L) limit screws, cable tension (indexing), and B-tension.
1. Prepare Your Bike and Drivetrain
Begin by putting the bike on a repair stand. If one is not available, this guide will cover adjusting without a stand later. Then, shift the chain onto the smallest cog at the rear and the largest chainring at the front. This puts the rear derailleur in its ‘relaxed’ position, making it easier to set the H-limit screw.
Next, disconnect the gear cable from the rear derailleur by loosening the cable pinch bolt with an Allen key. This removes any cable tension from the system. It allows you to set the limit screws accurately.
2. Set the High (H) Limit Screw
The H-limit screw prevents the chain from shifting off the smallest cog and into the frame. With the cable disconnected, the derailleur should naturally sit over the smallest cog. Adjust the H-limit screw so that the upper guide pulley of the rear derailleur is perfectly aligned vertically with the centre of the smallest cog.
Turn the H-limit screw clockwise to move the derailleur inwards (towards the wheel). Turn it anti-clockwise to move it outwards (away from the wheel). The goal is for the chain to run smoothly on the smallest cog without rubbing or trying to shift further outwards. Spin the pedals by hand to confirm this.
3. Reconnect the Cable and Adjust Tension (Indexing)
Once you set the H-limit, pull the gear cable taut and re-secure it under the pinch bolt, ensuring there’s no slack. Then turn the barrel adjuster, usually located where the cable enters the rear derailleur or at the shifter, fully clockwise. After that, turn it back out by one full turn. This gives a good starting point for fine-tuning how to adjust bike gears.
Now, you shift the chain one cog up to the second smallest sprocket. If the chain struggles to move up or makes a clicking noise, turn the barrel adjuster anti-clockwise in quarter-turn increments. Turning it anti-clockwise increases cable tension. This moves the derailleur towards larger sprockets. If the chain overshoots the second cog or shifts sluggishly, turn the barrel adjuster clockwise to reduce tension. You continue this process, shifting through all the gears. Make small adjustments until each shift is crisp and precise, both up and down the cassette.
4. Set the Low (L) Limit Screw
The L-limit screw prevents the chain from shifting off the largest cog and into the spokes. For how to adjust bike gears, shift the chain onto the largest cog at the rear. Then adjust the L-limit screw so the upper guide pulley aligns with the largest cog’s center. Turn the L-limit screw clockwise to move the derailleur outwards. Turn it anti-clockwise to move it inwards.
It’s important that the chain can easily reach the largest cog but cannot go beyond it. If the chain tries to shift into the spokes, the L-limit screw is set too loosely (too far anti-clockwise). If it cannot reach the largest cog, the screw is too tight (too far clockwise). Pedal gently to check for smooth engagement and ensure no over-shifting.
5. Adjust B-Tension
B-tension adjustment, often overlooked, controls the gap between the upper guide pulley and the cassette sprockets. This is especially important for optimal shifting performance across all gears. For how to adjust bike gears, the chain is shifted onto the largest cog at the rear and the smallest chainring at the front (for road bikes) or the largest chainring (for mountain bikes, where the largest cog is used more often with the larger chainring).
You then adjust the B-tension screw (usually located at the back of the derailleur body). You move it so the upper guide pulley is as close as possible to the largest cog without touching it. On some Shimano systems, for how to adjust bike gears, you might aim for a gap of about 5-6mm. Too large a gap can lead to sluggish shifting. Too small a gap can cause noise or rubbing. Pedal the bike to ensure there’s no contact and smooth operation.
How Do I Adjust My Front Derailleur Gears?
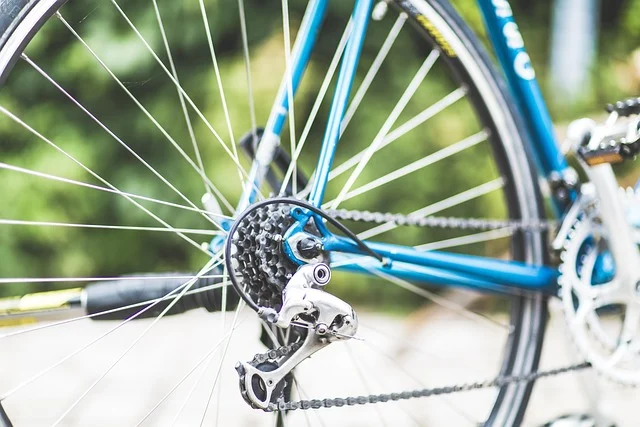
Adjusting the front derailleur is similar to the rear but typically involves fewer gears and focuses on preventing chain rub and chain drops between the chainrings. This is slightly simpler, but still requires precision.
1. Set the High (H) Limit Screw (Outer Chainring)
Start by shifting the chain onto the largest chainring at the front and the smallest cog at the rear. This is the ‘high’ gear combination. For how to adjust bike gears, you then adjust the H-limit screw on the front derailleur. The goal is to position the outer plate of the front derailleur cage just 1-2mm away from the chain. This prevents the chain from shifting off the large chainring outwards.
Turning the H-limit screw clockwise moves the cage inwards, and anti-clockwise moves it outwards. Ensure the chain runs freely without rubbing the outer cage plate when on the largest chainring and smallest rear cog.
2. Set the Low (L) Limit Screw (Inner Chainring)
Next, shift the chain onto the smallest chainring at the front and the largest cog at the rear. This is the ‘low’ gear combination. Adjust the L-limit screw so that the inner plate of the front derailleur cage is just 1-2mm away from the chain, preventing the chain from shifting off the small chainring inwards towards the frame.
Turning the L-limit screw clockwise moves the cage outwards, and anti-clockwise moves it inwards. Check that the chain runs freely without rubbing the inner cage plate when on the smallest chainring and largest rear cog.
3. Adjust Cable Tension for Front Derailleur
With the limit screws set, you adjust the cable tension. Shift the chain to the smallest chainring at the front. Disconnect the cable from the derailleur’s pinch bolt. Pull the cable taut and re-secure it, ensuring there’s no slack. If your bike has a barrel adjuster for the front derailleur (often at the shifter or on the frame), you can use it to fine-tune your knowledge of how to adjust bike gears.
Shift to the middle or largest chainring. If the shift is sluggish or the chain rubs, turn the barrel adjuster anti-clockwise to increase tension. If the chain overshoots or rubs the outer plate when shifting down, turn it clockwise to reduce tension. Perform test shifts for how to adjust bike gears between all front chainrings to ensure smooth, rub-free operation. Pay attention to cross-chaining scenarios where some rub might be unavoidable.
Troubleshooting Common Gear Shifting Problems
Even with careful adjustment, issues can arise. Here are some common problems and how to approach fixing them, beyond just adjusting the derailleur screws.
My Bike Gears Are Slipping or Jumping
If your gears are slipping or jumping under load, even after adjusting cable tension and limit screws, it is always important to check for a few common culprits:
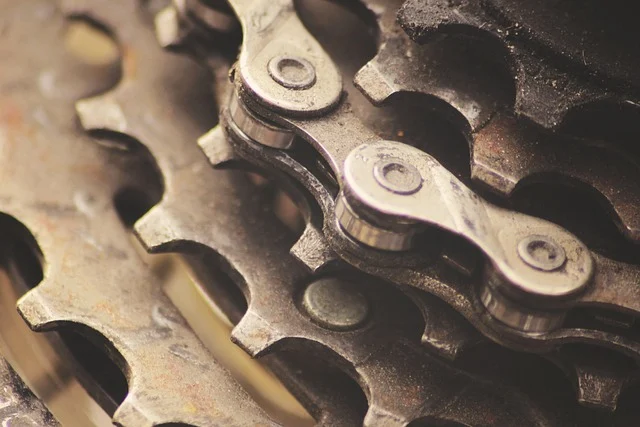
- Worn Drivetrain Components: This is a frequent cause. A stretched chain or worn cassette teeth will not hold the chain properly. You can use a chain wear indicator tool. If the chain is worn (e.g., 0.5% elongation for 11/12-speed), replace it. Often, a worn chain can accelerate cassette wear, so sometimes you need to replace both.
- Bent Derailleur Hanger: A slightly bent derailleur hanger can make accurate gear indexing impossible. The derailleur will never align correctly with the cassette. According to current facts, a bent or misaligned derailleur hanger makes accurate gear indexing almost impossible and often requires a hanger alignment gauge or replacement. This is a critical check if all other adjustments fail.
- Cable Friction: Old, frayed, or rusty gear cables and housing can create excessive friction, preventing the derailleur from moving freely. Check the cable for smooth movement; if it feels sticky, replace the cable and housing.
- Loose Cassette or Chainrings: Check that the cassette lockring is tight and that the chainring bolts are secure. Movement here can cause inconsistent shifting.
My Gears Are Shifting Slowly or Reluctantly
Slow or hesitant shifts, particularly when moving to larger cogs (increasing cable tension), often point to insufficient cable tension or high friction. First, for how to adjust bike gears, try a quarter-turn anti-clockwise on the barrel adjuster. If that doesn’t resolve it, inspect the cable and housing for kinks or contamination. Sometimes, a quick squirt of light lubricant into the cable housing can temporarily help. However, replacement is the long-term fix for friction issues.
Conversely, if shifts are slow when moving to smaller cogs (releasing cable tension), it might indicate too much cable tension, or again, cable friction preventing the derailleur spring from pulling the chain across efficiently. Try turning the barrel adjuster clockwise.
How to Adjust Bike Gears Without a Stand
While a repair stand is ideal, it is understood it’s not always available. Adjusting gears without one is certainly possible, though it requires a bit more improvisation. Here’s how to manage it:
- Flip the Bike Upside Down: This is the most common method. The bike can be placed on its saddle and handlebars. Be careful not to damage the saddle or brake/shifter levers. This allows the wheels to spin freely.
- Use a Friend: If you have someone to help, they can lift the rear wheel off the ground while you pedal and make adjustments. This is often more stable than flipping the bike.
- Work in Sections: For rear derailleur adjustments, you might focus on the high limit screw and cable tension. Roll the bike forward and backward slightly to simulate pedalling. For the low limit screw, simply shift to the largest cog, adjust, and then try riding to test.
- Listen Carefully: Without the visual aid of the spinning wheel, reliance is placed more on sound. Listen for crisp shifts and the absence of chain rub or clicking.
For precise indexing, a stand (or a very steady friend) is much better, but for quick tweaks or emergency adjustments, working without one is perfectly feasible.
When Not to Adjust Your Gears Myself
While we encourage cyclists to learn basic maintenance, there are times when we recommend seeking professional help:
- Bent Derailleur Hanger: If you suspect a bent hanger, a shop has a specific alignment tool that ensures it’s perfectly straight. Trying to bend it by hand can cause more damage.
- Integrated Electronic Shifting Systems: Modern electronic shifting systems like Shimano Di2, Campagnolo EPS, or SRAM eTap use different adjustment procedures than conventional cable-operated derailleurs. They often involve specific setup modes and sometimes firmware updates. If these are present, consult the manufacturer’s specific instructions or a specialist. According to current facts, electronic shifting systems use different adjustment procedures.
- Persistent Issues After My Best Efforts: If you’ve followed all the steps and your gears still aren’t shifting correctly, there might be an underlying issue that’s harder to diagnose, such as internal shifter problems or frame alignment issues. A professional mechanic has the tools and experience to identify these.
- Lack of Confidence or Time: If you’re unsure or simply don’t have the time, a bike shop can often provide a quick and accurate tune-up.
What About Shimano’s New Automatic Shifting Technologies?
The world of bike gears is always evolving. Shimano, for instance, has introduced some fascinating automatic shifting technologies, initially for e-bikes and now also for non-electric urban, trekking and gravel bikes, which fundamentally change how gear adjustment (or the lack thereof) works. [road.cc] According to current facts:
- Q’AUTO: Launched in June 2025, this AI-powered, battery-free automatic shifting technology learns rider preferences and monitors riding conditions. It debuted with the SHIMANO CUES FH-U6060 FREEHUB. With Q’AUTO, the system handles the shifting, reducing the need for manual adjustment.
- FREE SHIFT: Designed for e-bikes (compatible with EP801 or EP6 drive units and DEORE XT Di2 drivetrain), FREE SHIFT allows gear changes without pedalling, even when coasting, ensuring you’re in the right gear upon resuming pedalling. While still a manual input, the system assists with the timing.
- AUTO SHIFT: Available on 11-speed LINKGLIDE versions, AUTO SHIFT automatically selects and changes gears while pedalling, using intelligent sensors to track cadence, torque, and speed.
These systems represent a significant shift away from traditional mechanical adjustments, but for the vast majority of bikes on UK roads today, understanding how to manually adjust your gears remains a vital skill. My focus here is on the cable-operated mechanical systems that most Velo Magazine readers will encounter.
Sources: Fixed-gear bicycle
Frequently asked questions
How do I make my bike gears shift smoothly?
To make bike gears shift smoothly, focus on correctly setting the high (H) and low (L) limit screws to prevent overshifting, and then fine-tuning the cable tension using the barrel adjusters until each gear engages crisply without hesitation or noise. Also ensure the drivetrain is clean and well-lubricated.
How to properly shift gears in a bike?
We recommend anticipating gear changes, shifting before a climb or increase in speed, and always pedalling with light to moderate pressure while shifting to allow the chain to move smoothly. Avoid shifting multiple gears at once under heavy load, which can strain your drivetrain and cause wear.
Is it easy to adjust bike gears?
Adjusting bike gears is a skill that becomes easier with practice. While the initial setup might seem complex, you can complete most routine adjustments with basic tools in under an hour. This is true once you understand the function of the limit screws and barrel adjusters.