
 By Hashim Hashmi
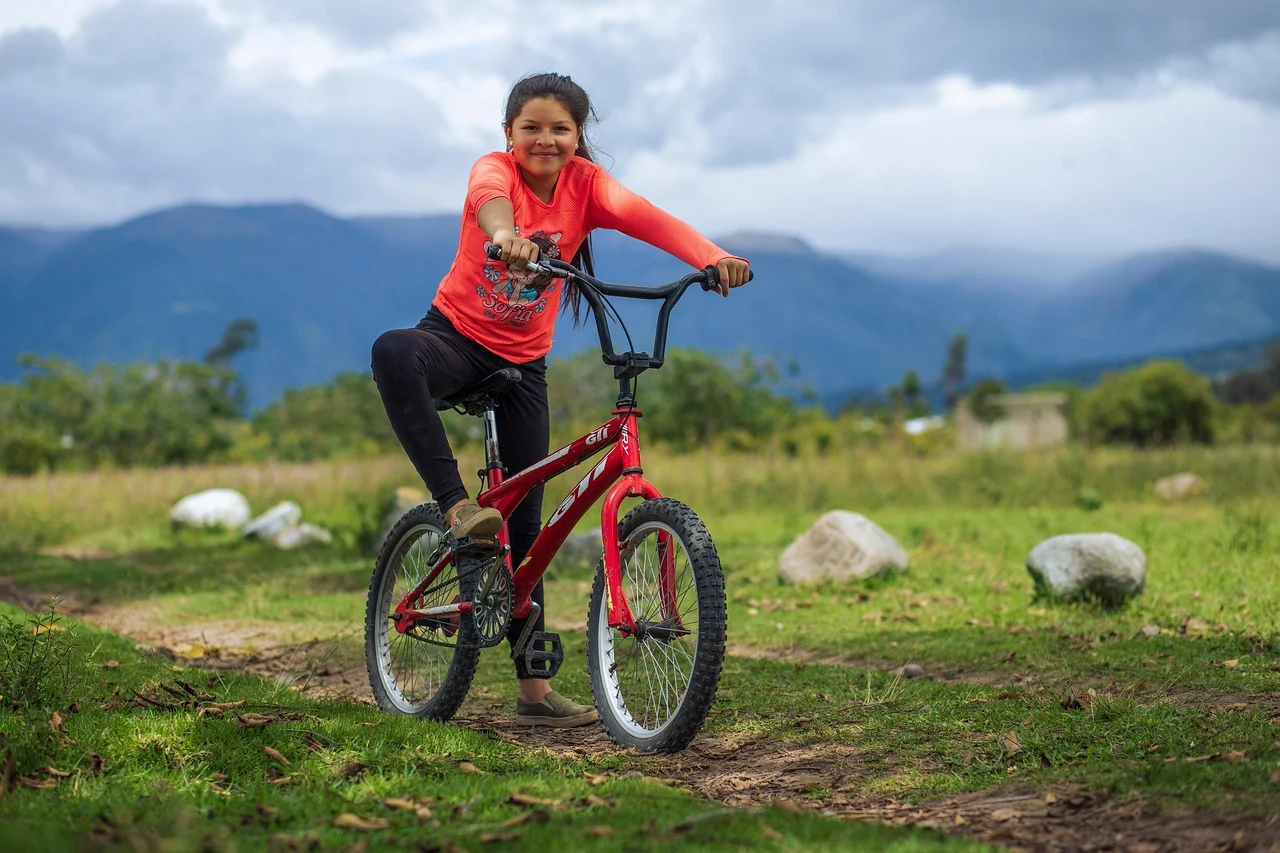
Optimal mountain bike tyre pressure typically ranges from 18 to 30 PSI. The exact figure depends on your weight, tyre width, terrain, and whether you run tubed or tubeless. You must get this right to maximize traction, control, and ride comfort. It acts as your bike’s primary suspension component.
Why Mountain Bike Tyre Pressure Matters for Your Ride
Your mountain bike’s tyre pressure is more than just a number; it is a critical factor in how your bike performs on the trail. It dictates how your tyres interact with the ground. This influences everything from grip and stability to comfort and puncture resistance. Think of your tyres as the first stage of your bike’s suspension. When you set them correctly, they deform over obstacles like roots and rocks. They absorb small impacts before your fork or shock even engages. This ‘suspension’ effect helps maintain momentum, reduces rider fatigue, and provides a smoother ride.
If your pressure is too high, your tyres will bounce off obstacles. This reduces grip and makes the ride harsh. If it is too low, you risk rim damage, tyre squirm, and pinch flats. Achieving the right balance means your tyres can conform to the terrain. This increases the contact patch for better traction on climbs, descents, and corners. This enhanced grip allows riders to ride with more confidence and control, particularly on challenging UK trails that feature a mix of roots, rocks, and mud. Riders consider it one of the most impactful adjustments you can make to a bike for free.
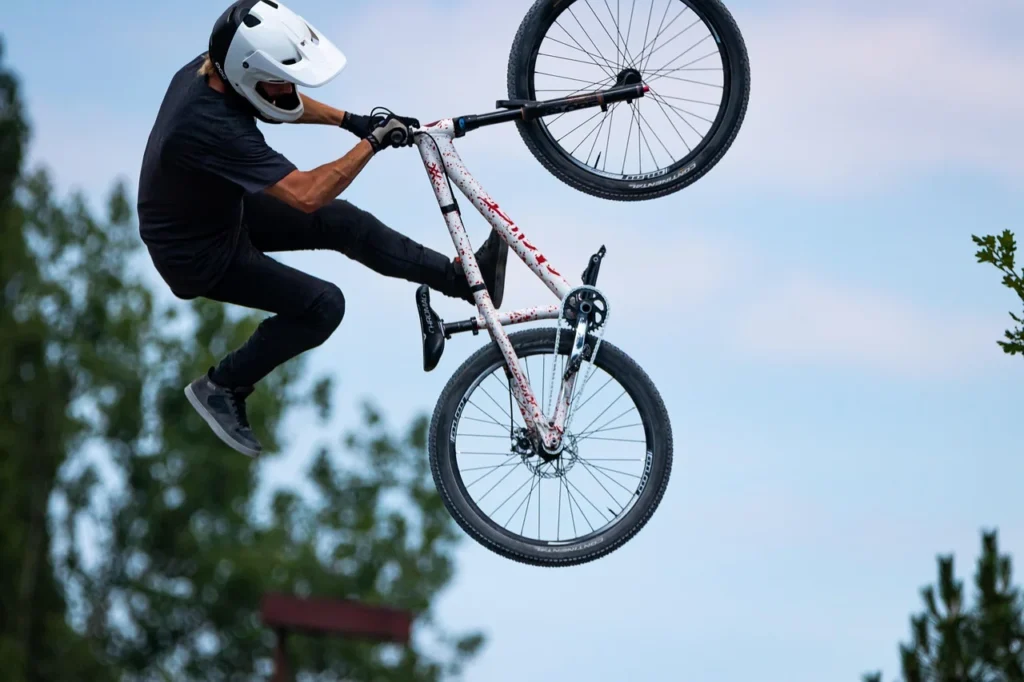
Understanding the Key Factors Influencing Your Tyre Pressure
There isn’t a single ‘magic number’ for mountain bike tyre pressure because so many variables come into play. What works for one rider on a specific trail might be completely unsuitable for another. We always advise considering these core factors:
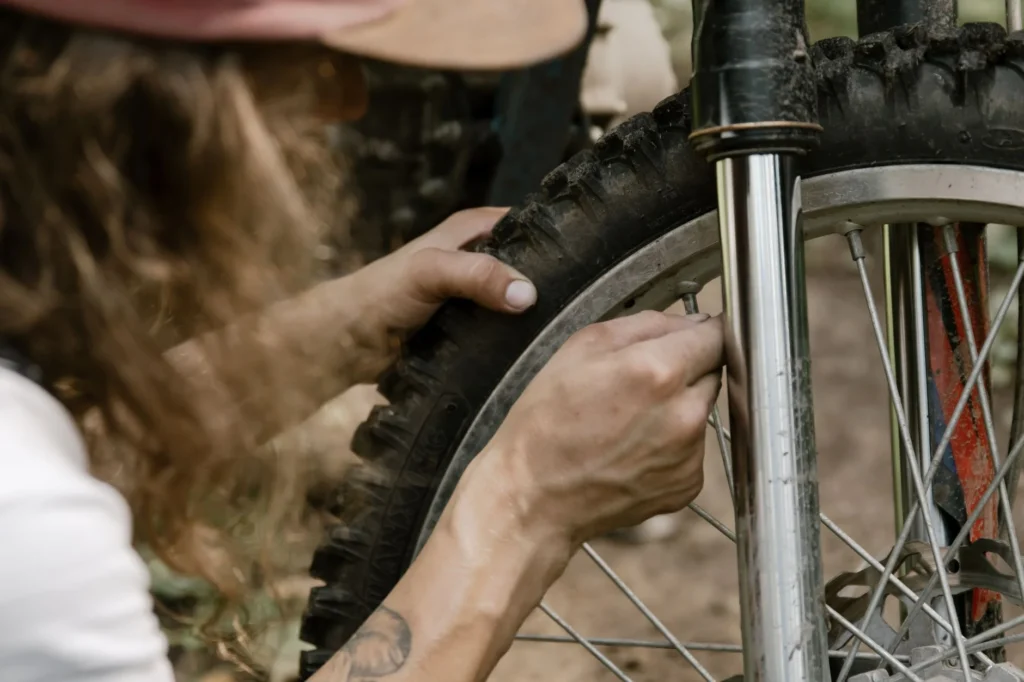
Your Rider Weight
This is arguably the most significant factor. Heavier riders need higher pressures to prevent rim strikes and excessive tyre deformation. Lighter riders can run lower pressures for increased grip and comfort. As a general starting point, for a 75 kg rider on mixed trail terrain with tubeless tyres, we suggest beginning with 21-22 PSI in the front and 24-25 PSI in the rear. If you’re over 95 kg, you’ll need to increase these figures. We recommend tubeless pressures for mixed trail are closer to 26-30 PSI in the front and 28-32 PSI in the rear to protect your rims and maintain tyre stability.
Tyre Width and Volume
Wider tyres have a larger air volume. This means they can absorb impacts more effectively at lower pressures. This allows owners to reduce PSI compared to narrower tyres, gaining more grip and comfort without sacrificing rim protection. For example, if you run 2.6-inch tyres, we typically recommend dropping pressure by 2 to 3 PSI compared to what you would use for narrower 2.35-inch tyres, given the same rider weight. The increased air volume simply handles the load differently.
Tubed Versus Tubeless Setups
This is a important distinction. Tubeless tyre setups are a major shift for mountain biking. They allow for significantly lower pressures, typically 7 to 10 PSI less than tubed setups. This is primarily because tubeless systems eliminate the risk of pinch flats. Pinch flats occur when the inner tube gets pinched between the tyre and the rim during an impact. With no tube to pinch, you gain the freedom to experiment with lower pressures. This leads to vastly improved grip and comfort. Conversely, if you’re still running inner tubes, you’ll need to maintain 5 to 8 PSI higher minimum pressure to avoid those frustrating pinch flats.
Front Versus Rear Tyre Pressure
It’s a common misconception that both tyres should run the same pressure. In reality, your front and rear tyres perform different roles and carry different loads. The rear tyre bears more of your body weight. It takes the brunt of impacts, especially on drops and rough sections. The front tyre, on the other hand, is primarily responsible for steering and cornering grip. Therefore, we always recommend running your front tyre 2 to 5 PSI lower than your rear tyre. This provides better steering precision and comfort upfront. The higher pressure in the rear offers better support and rim protection where it’s needed most.
Terrain Conditions and Riding Style
The type of trails you ride and your personal riding style also demand adjustments. For wet, muddy trails or those with slick roots, drop your pressure by 1-2 PSI. This can significantly increase grip. The softer tyre casing can conform better to uneven, slippery surfaces. However, if you’re hitting bike parks or trails with large jumps and drops, add 2-3 PSI. This prevents rim damage from hard impacts. Aggressive riders who hit obstacles at speed will also generally need slightly higher pressures than those who ride more conservatively.
How to Find Your Perfect Mountain Bike Tyre Pressure
Finding the ‘perfect’ pressure is a process of experimentation, but we can give you a solid starting point and method. It’s about feeling what works best for you and your bike on your local trails.
Step-by-Step Adjustment Guide
- Start with a Baseline: Begin with the recommended pressures based on your weight, tyre width, and tubed/tubeless setup. For a 75 kg rider with tubeless tyres on 2.4-inch tyres, we suggest starting at 21 PSI front and 24 PSI rear.
- Use a Reliable Gauge: Always use a good quality digital tyre pressure gauge. However, the gauges on most pumps are not accurate enough for the fine adjustments needed for mountain biking.
- Go for a Ride: Head out on a familiar trail that features a variety of terrain – climbs, descents, roots, rocks, and corners.
- Assess Performance: Pay close attention to how the bike feels. Are you getting good grip on climbs? Does it feel stable in corners? Are the tyres absorbing small bumps, or are they bouncing off obstacles? Also, are you hearing or feeling any rim strikes?
- Adjust in Small Increments: If you feel a lack of grip or the ride is too harsh, drop your pressure by 1 PSI at a time (front or rear, or both). However, if you’re experiencing tyre squirm, a vague feeling in corners, or frequent rim strikes, add 1 PSI.
- Repeat and Refine: Continue this process over several rides until you find a pressure that offers the best balance of grip, comfort, and rim protection for your style and terrain. Make a note of your preferred pressures.
Common Misconceptions About Mountain Bike Tyre Pressure
You often encounter several myths surrounding mountain bike tyre pressure that can lead riders astray. Dispelling these can significantly improve your riding experience.
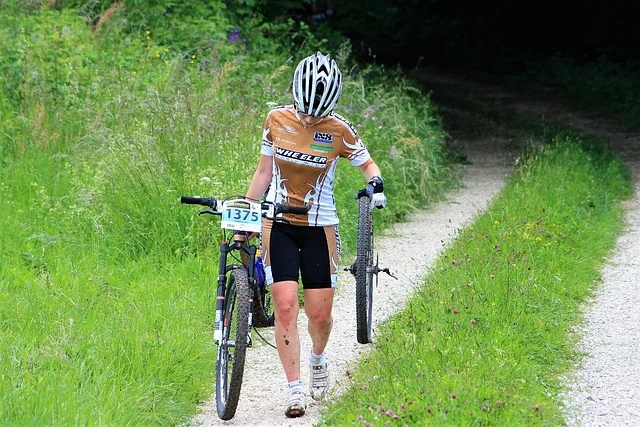
“The Maximum Pressure on the Sidewall is the Recommended Riding Pressure”
The maximum pressure rating printed on a mountain bike tyre sidewall is a structural limit to prevent the tire from blowing off the rim, not the recommended riding pressure.
This is a critical distinction. The figure on the sidewall is a safety limit – the absolute highest pressure the tyre can safely handle before it risks blowing off the rim. It is almost always far higher than what you’d ever want to run on a trail. Running at or near this maximum pressure will result in a harsh, unforgiving ride with very little grip. Your actual riding pressure should be considerably lower.
“Higher Pressure Equals More Speed”
“Higher pressure equals more speed” is false on trail terrain; higher pressure makes the tire bounce over irregularities, reducing grip and slowing momentum.
While this might hold true for smooth road surfaces, it’s completely false for mountain biking. On technical trails, higher pressure causes your tyres to bounce and skip over roots and rocks. They do not conform to them. This reduces traction and makes the bike harder to control. Paradoxically, it slows you down as you lose momentum and have to work harder to maintain your line. Optimal pressures allow the tyre to absorb terrain, maintaining speed and control.
“All Tyres Require the Same Pressure”
“All tires require the same pressure” is incorrect; different tire types, widths, and riding conditions warrant varying pressure levels.
As already explained, tyre pressure is highly individualized. Tyre construction, casing thickness, tread pattern, and whether it’s tubed or tubeless all play a role. A downhill-specific tyre with a solid casing will perform differently at a given pressure than a lightweight cross-country tyre. Always consider the specific tyre being used and its intended purpose.
“You Should Always Inflate Both Tyres to the Same Pressure”
“You should always inflate both tires to the same pressure” is inaccurate, as front and rear tires carry different loads and require different pressures.
This goes back to the differing roles of your front and rear tyres. The front needs to grip for steering, while the rear needs to support more weight and handle propulsion and braking forces. Running them at the same pressure ignores these fundamental differences and compromises either front-end grip or rear-end support. Always aim for a slightly lower pressure in the front.
What is Mountain Bike Tyre Pressure for Road Riding?
While this article focuses on off-road riding, many mountain bikers use their bikes for commuting or connecting trails via tarmac. If you ride a mountain bike exclusively on the road, you will desire an increase in tyre pressure significantly compared to trail riding pressures. On smooth tarmac, the primary concern shifts from grip over uneven terrain to reducing rolling resistance. Higher pressure minimizes the contact patch and reduces the deformation of the tyre, making it roll more efficiently.
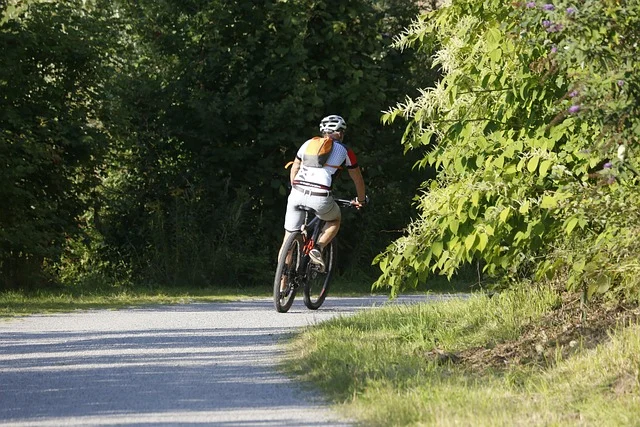
For road use, you should typically inflate tyres towards the higher end of the range suggested on the tyre’s sidewall. Still, keep them below the absolute maximum. For example, if tyres are rated for 30-50 PSI, aim for 40-45 PSI. This will make the bike feel faster and more efficient on the road. However, it will be less comfortable if you encounter any bumps. Just remember to drop the pressure back down before you hit the trails again!
Is 40 PSI Too High for MTB?
Yes, 40 PSI is generally too high for mountain biking on trails. As discussed, optimal trail pressures typically fall between 18 and 30 PSI, depending on various factors. Running 40 PSI on trails will make the ride incredibly harsh. It causes tyres to bounce off obstacles and significantly reduces traction, especially in corners and over technical terrain. Riders will likely experience a very uncomfortable ride and a lack of control. The only scenario where you might consider pressures this high is for extended road riding on a mountain bike. Here, rolling efficiency is prioritized over off-road grip and suspension.
What PSI Should a 27.5 Tyre Be?
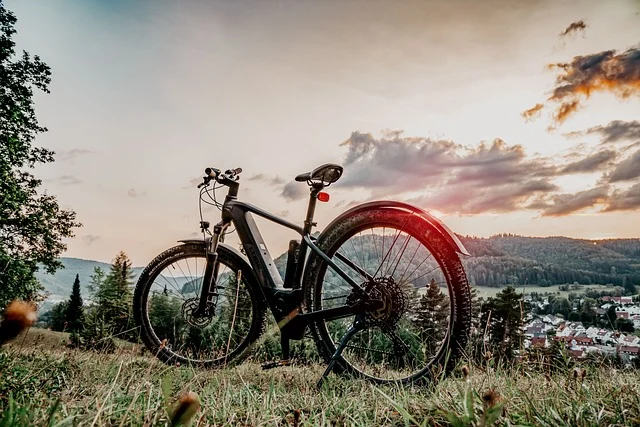
Next, the optimal PSI for a 27.5-inch mountain bike tyre follows the same principles as any other wheel size. It focuses on rider weight, tyre width, terrain, and whether it’s tubed or tubeless. The 27.5-inch wheel diameter itself isn’t the primary determinant of pressure. Instead, consider the tyre width – for example, a 27.5 x 2.4-inch tyre will have a different optimal pressure than a 27.5 x 2.8-inch tyre. As a starting point for a 75 kg rider with a 27.5 x 2.4-inch tubeless setup on mixed terrain, we suggest around 20-22 PSI in the front and 23-25 PSI in the rear. Always fine-tune from there.
Looking Ahead: Active Tyre Pressure Management Systems
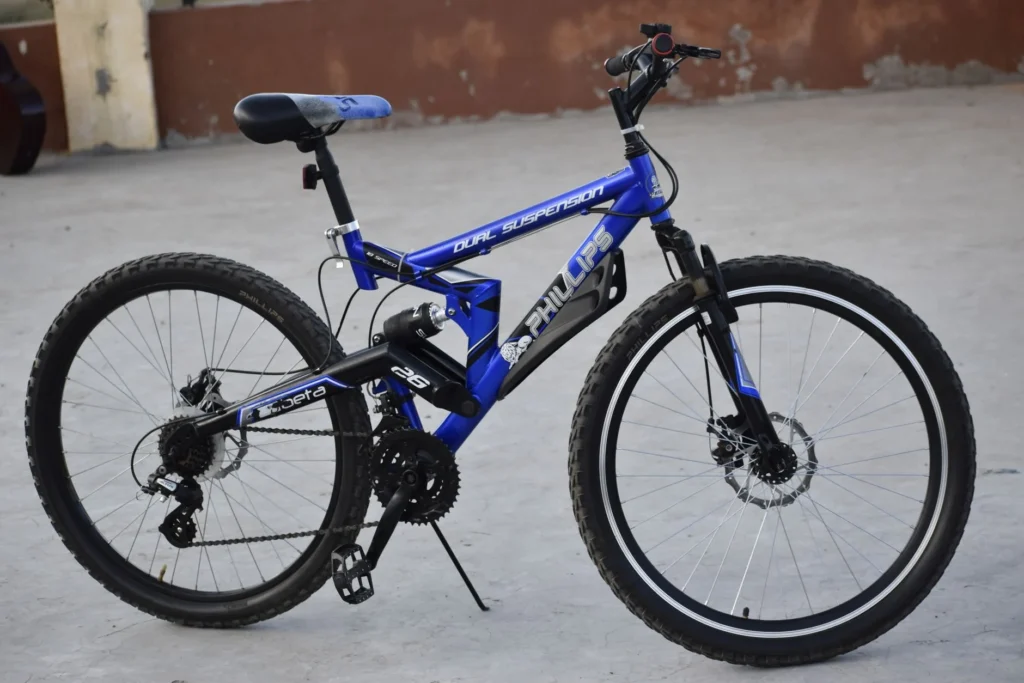
A significant development in tyre technology is the emergence of active tyre pressure management systems. These innovative systems can adjust tyre pressure on the fly. They use small compressors integrated into wheelsets. While currently a high-end feature, these systems hold immense promise for mountain biking. They allow riders to instantly adapt their tyre pressure to changing terrain – dropping pressure for technical descents and increasing it for climbs or road sections – all without stopping. This could truly revolutionize how you approach tyre pressure on the trails.
Frequently asked questions
Is 50 PSI too much for mountain bike tires?
Absolutely, 50 PSI is far too high for mountain bike tyres on trails. This pressure level will result in an extremely harsh ride and zero traction. It carries a high risk of losing control, as the tyres will bounce excessively off every small obstacle. You should only consider pressures this high if you are using your mountain bike exclusively on very smooth tarmac roads and want to minimise rolling resistance, though even then, it’s often beyond comfortable.
What psi should mountain bike tires be?
Mountain bike tyres should generally be between 18 and 30 PSI for trail riding. This depends on your weight, tyre width, and whether your setup is tubed or tubeless. Lighter riders on wider tubeless tyres can run closer to 18-22 PSI. Heavier riders or those with tubed setups may need 25-30 PSI or slightly more in the rear to prevent pinch flats and rim damage.