
 By Hashim Hashmi
A spongy or inconsistent brake lever is the most common sign that your Shimano hydraulic brakes need bleeding. Over time, air can enter the system through seals or heat cycles, or the mineral oil can degrade, leading to reduced performance. While it might seem daunting, performing a brake bleed at home is a manageable task for most cyclists with the right tools and a clear understanding of the steps involved. It is one of the most satisfying maintenance jobs that can be done, as the improvement is often immediate and dramatic.
Why and When You Need to Bleed Shimano Brakes
You need to bleed Shimano brakes when the lever feels spongy, inconsistent, or pulls too close to the handlebar without providing sufficient stopping power. This usually indicates that air has entered the hydraulic system or that the mineral oil has become contaminated or degraded.
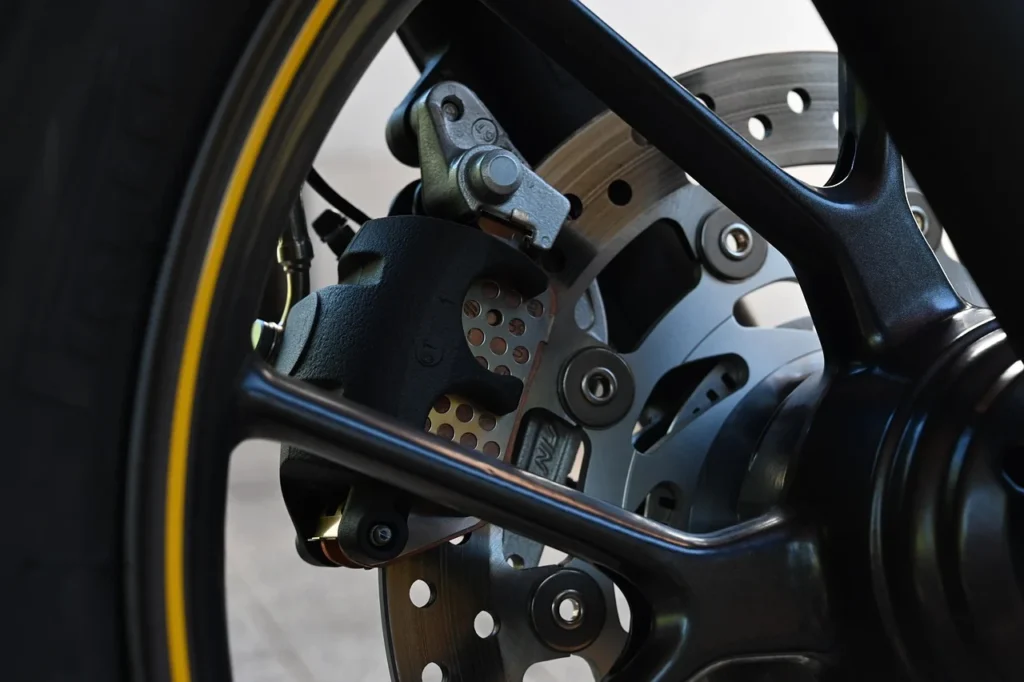
Air in the brake lines is compressible, unlike hydraulic fluid, which is why a lever feels soft or inconsistent. When you pull the lever, some of that effort compresses the air instead of directly actuating the caliper pistons, leading to a loss of braking efficiency. Mineral oil, which Shimano uses exclusively, can also degrade over time due to heat exposure, absorbing moisture, or accumulating microscopic debris. This degradation can reduce its effectiveness in transmitting force and lubricating internal components.
Beyond performance issues, you should also bleed your brakes after replacing components like brake levers, calipers, or hoses. These actions will introduce air into the system. A full bleed, for how to bleed Shimano brakes at home, ensures the new parts integrate correctly and function optimally. Some riders also perform a preventative bleed annually, especially if they ride frequently in challenging conditions. They also do it if they notice a slight change in lever feel, even if it’s not yet severe.
What You Need: The Essential Tools for Bleeding Shimano Brakes
To bleed Shimano brakes effectively at home, you will need a dedicated Shimano bleed kit, which typically includes a specific funnel/oil stopper, a syringe, and tubing. Beyond the kit, you’ll need a few other common workshop items.
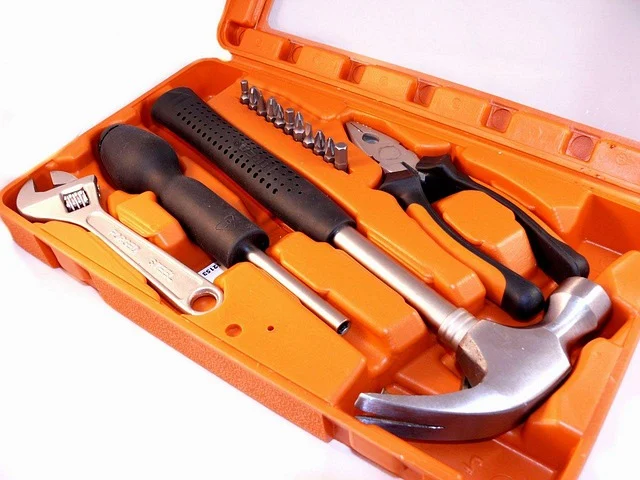
Here’s a comprehensive list of what we recommend having on hand:
- Shimano Mineral Oil: Only use genuine Shimano mineral oil. Dot fluid is incompatible and will damage your Shimano brakes.
- Shimano Bleed Kit: This usually contains a bleed funnel (for the lever), a syringe, and a length of tubing with a fitting for the caliper bleed port. Ensure it’s compatible with your specific Shimano brake model.
- 2.5mm Hex Wrench: For the bleed screw on the caliper.
- 3mm Hex Wrench: For the bleed port cover on some lever models.
- T15 Torx Wrench (or 2mm Hex): For the reservoir cap on some older lever models.
- 8mm Open-End Wrench: To loosen and tighten the bleed nipple on the caliper.
- Bleed Block (or Pad Spacer): This is essential for preventing the pistons from over-extending when you remove the pads. Shimano often includes these with new brakes or pads.
- Clean Rags or Paper Towels: To catch spills and clean components.
- Isopropyl Alcohol: For cleaning any mineral oil residue from rotors and pads.
- Rubber Gloves: To protect your hands from mineral oil.
- Small Container or Bag: To collect waste mineral oil.
- Zip Tie or Velcro Strap: To secure the brake lever during the process.
- Torque Wrench: While not strictly essential for the bleed itself, we highly recommend one for correctly tightening caliper bolts and other components to manufacturer specifications after the bleed.
Prepare your tools
Having everything laid out and ready before you start will make the process much smoother. It will also reduce the chances of making a mess or missing a step. It’s also worth noting that while some general bleed kits might claim compatibility, we always advise sticking with a Shimano-specific kit for the best fit and performance when learning how to bleed Shimano brakes at home.
Preparing Your Bike and Workspace for the Bleed
Before you begin the actual bleeding process, proper preparation of your bike and workspace is important for a clean and efficient job of how to bleed Shimano brakes at home. This minimizes potential mess and protects your components.
- Secure Your Bike: Mount your bike securely in a repair stand. This allows you to rotate the handlebars and ensures the brake lever reservoir is as level as possible, which is vital for effective air removal. If you don’t have a stand, you can carefully flip your bike upside down, but be mindful of scratching components.
- Level the Lever: Rotate your handlebars and adjust the brake lever on the bar so that the bleed port (where the funnel attaches) is the highest point and completely level. This helps air bubbles rise out of the system.
- Remove Wheel and Brake Pads: Take out the wheel corresponding to the brake you are bleeding. Then, carefully remove the brake pads from the caliper. Store them in a clean, safe place where they won’t get contaminated with mineral oil.
- Insert Bleed Block: Insert the Shimano bleed block (or a suitable pad spacer) into the caliper. This prevents the pistons from over-extending and makes sure the caliper is set to the correct width for when the pads are reinstalled.
- Protect Your Bike: Drape clean rags or paper towels around the caliper, the brake lever, and any other frame parts that might be exposed to drips. Mineral oil can damage paint and other finishes if left to sit.
- Prepare Your Bleed Kit: Open your Shimano bleed kit. Attach the tubing to the syringe (if not already assembled) and prepare the funnel. Ensure all connections are secure.
- Clean Caliper Bleed Nipple: Give the caliper bleed nipple a quick clean with isopropyl alcohol to remove any dirt or grime that could enter the system.
Taking these preparatory steps seriously will save you time and potential frustration during the bleeding process. A clean environment is paramount when working with hydraulic systems.
Step-by-Step Guide: How to Bleed Shimano Brakes at Home
This method focuses on the most common and effective technique for Shimano brakes, often called the ‘funnel and syringe’ or ‘bottom-up’ bleed, which pushes fluid from the caliper up to the lever.
1. Connecting the Bleed Kit
- Attach Funnel to Lever: Unscrew the bleed port screw (usually a 2.5mm hex or T15 Torx) from the top of your brake lever. [drais.app] Screw the Shimano bleed funnel into this port, ensuring it’s finger-tight.
- Prepare Syringe: Fill the syringe with approximately 20-30ml of fresh Shimano mineral oil. Hold it upright and gently tap it to allow any air bubbles to rise to the top. Push the plunger just enough to expel these air bubbles, leaving only fluid.
- Connect Syringe to Caliper: Push the end of the bleed tubing onto the caliper’s bleed nipple. Ensure it’s a snug fit. Place the other end of the tubing into your waste fluid container.
2. The Bleeding Process: Pushing Fluid Up
- Open Caliper Bleed Nipple: Using a 7mm open-end wrench, loosen the bleed nipple on the caliper by about a quarter to half turn. [si.shimano.com] You should see a small gap appear.
- Inject Mineral Oil: Slowly and steadily push the plunger of the syringe, injecting the fresh mineral oil into the caliper. Watch the funnel at the lever end; old, dark, or bubbly fluid will rise into it. Continue to push until you see clean, clear, bubble-free oil entering the funnel. This might take a few syringes full if the fluid is very old or if there’s a lot of air.
- Tap and Flick: While injecting, gently tap the brake hose, caliper, and lever body with your fingers. Also, flick the brake lever a few times (without closing the nipple) to dislodge any stubborn air bubbles clinging to the inside of the system. You’ll often see these bubbles rise into the funnel.
- Maintain Funnel Level: Keep an eye on the fluid level in the funnel. Do not let it run dry, as this will suck air back into the system. Add more fresh mineral oil to the funnel as needed.
3. Finalizing the Bleed at the Lever
- Close Caliper Bleed Nipple: Once you are confident that no more air bubbles are coming out of the caliper and the fluid in the funnel is clean, close the bleed nipple firmly with your 7mm wrench. [si.shimano.com] Do this before removing the syringe.
- Remove Syringe: With the nipple closed, carefully remove the tubing and syringe from the caliper’s bleed nipple. Immediately clean any drips with a rag and isopropyl alcohol.
- Lever Pumping and Air Release: With the funnel still attached, gently pull the brake lever about halfway and release it quickly, several times. You should see any remaining small air bubbles rise into the funnel. Tap the lever and hose again.
- Remove Funnel: Once no more bubbles appear in the funnel, insert the oil stopper into the bottom of the funnel. Unscrew the funnel from the lever.
- Replace Bleed Port Screw: Quickly replace the bleed port screw into the lever, ensuring it’s tightened to manufacturer specifications. Clean any spilled oil with isopropyl alcohol.
Post-Bleed Checks and Troubleshooting Common Issues
After bleeding your Shimano brakes, it’s essential to perform a few checks to ensure everything is working correctly and to address any lingering issues. A good bleed should result in a firm, consistent lever feel.
Checking Your Work
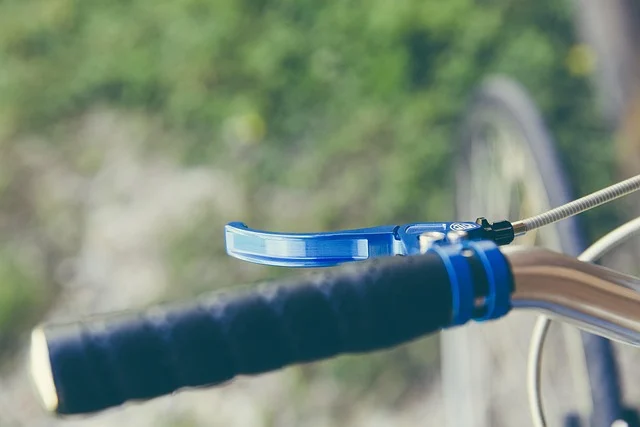
- Test Lever Feel: Pull the brake lever. It should feel firm and consistent, engaging at the same point every time. There should be no sponginess or excessive travel.
- Inspect for Leaks: Carefully check the caliper, hose connections, and lever for any signs of mineral oil leakage. A small drip can indicate an improperly tightened connection or a damaged seal.
- Reinstall Pads and Wheel: Remove the bleed block from the caliper. Reinstall your brake pads, ensuring they are correctly seated. Then, reinstall your wheel.
- Bedding In (if applicable): If you replaced pads or rotors, you’ll need to bed them in. Even with existing pads, a few gentle stops will help ensure everything is settled.
Troubleshooting Common Issues
Spongy Lever After Bleed: If the lever still feels spongy, air is almost certainly trapped in the system. Air most commonly hides in the caliper, especially around the banjo bolt, or at the lever itself. We recommend repeating the bleeding process, for how to bleed shimano brakes at home. Pay extra attention to:
- Ensuring the lever is perfectly level when the funnel is attached.
- Tapping the caliper and hose thoroughly to dislodge bubbles.
- Performing the lever pumping action with the funnel attached for longer.
- Making sure the caliper bleed nipple is fully closed before removing the syringe.
Fluid Leaking from Caliper or Lever: This indicates an issue with sealing. Double-check that all bolts (bleed port screw, bleed nipple) are tightened to the correct torque specifications. If a leak persists, you might have a damaged O-ring or a faulty component that needs replacing, such as the bleed nipple itself or the lever reservoir cap, especially when learning how to bleed Shimano brakes at home. Always clean up any spilled mineral oil immediately with isopropyl alcohol to protect your components and ensure proper function.
Pistons not fully retracting
Pistons Not Retracting Fully: If your brake pads rub after the bleed, the pistons might not be retracting fully. This could be due to dirty or sticky pistons. For how to bleed shimano brakes at home, with the wheel and pads removed, gently push the pistons back into the caliper using a plastic tyre lever or a specific piston press tool. You may need to clean the pistons with isopropyl alcohol and a cotton bud, then apply a tiny amount of mineral oil to their exposed surfaces before pushing them back.
While a home bleed for “how to bleed Shimano brakes at home” is effective for most issues, if you consistently struggle to get a firm lever or experience repeated failures, it might be time to consider professional assistance or a deeper inspection of your brake components.
Maintaining Your Shimano Brakes: Beyond the Bleed
While knowing how to bleed Shimano brakes at home is a valuable skill, ongoing maintenance extends the life and performance of your entire braking system. Regular checks and simple cleaning routines can prevent many issues that eventually lead to the need for a bleed.
We always advise my fellow riders to adopt a proactive approach to brake care. Here’s what else you should consider:
Regular Cleaning
Keep your brake rotors and pads clean. Contamination from dirt, oil, or grease is a primary cause of poor braking performance and squealing. Use isopropyl alcohol and a clean rag specifically for your rotors. Avoid touching the rotor surface with your bare hands. If your pads become contaminated, they may need to be replaced, as cleaning them effectively is often challenging.
Pad Inspection and Replacement
Regularly check your brake pads for wear. Shimano pads have wear indicators. If the pad material is worn down to near the backing plate, you should replace them. Worn pads can lead to reduced braking power and potentially damage your rotors. Replacing pads before they are completely worn also helps maintain consistent piston extension and retraction.
Hose and Caliper Inspection
Periodically inspect your brake hoses for any signs of damage, kinks, or abrasion. Check the caliper body for any cracks or leaks, especially around the piston seals. Look at the banjo bolt and other connections for any signs of weeping mineral oil. Addressing minor issues early can prevent larger, more expensive problems down the line.
Lever Reach and Free Stroke Adjustment
Shimano brake levers often allow for adjustment of both reach (distance from the handlebar) and free stroke (how far the lever moves before the pads engage). While these adjustments don’t replace a bleed, ensuring they are set to your preference can enhance rider comfort and perceived braking performance, especially when learning how to bleed shimano brakes at home. Make sure you understand how these adjustments work on your specific lever model.
Riding Habits
Your riding style also influences brake longevity. Prolonged, heavy braking on descents can overheat the system, leading to fluid degradation and potential air ingress. Practicing controlled, intermittent braking can help manage heat and extend the life of your brake fluid and components.
By learning how to bleed shimano brakes at home, you ensure your Shimano hydraulic disc brakes provide consistent, powerful stopping performance for many miles to come. It pays dividends in safety.
Frequently asked questions
How often should you bleed Shimano brakes?
We recommend bleeding Shimano brakes at least once a year for regular riders, or more frequently if you notice a spongy lever feel, ride in harsh conditions, or experience significant changes in temperature. Riders who put in high mileage or frequently descend steep trails might benefit from bleeding every six months.
Do I need a special kit to bleed Shimano brakes?
Yes, you need a specific Shimano bleed kit that includes a funnel, syringe, and tubing designed to fit Shimano components. Generic kits lack correct fittings or Shimano oil compatibility for how to bleed shimano brakes at home, risking damage.
Can I use DOT fluid in Shimano brakes?
Absolutely not. Shimano brakes are designed exclusively for mineral oil. Using DOT fluid will corrode the internal seals and components, leading to complete brake failure and requiring expensive component replacement. For those wondering how to bleed Shimano brakes at home, always use genuine Shimano mineral oil.
What if my brake lever still feels spongy after bleeding?
If your lever remains spongy after a bleed, it almost certainly means there’s still air trapped in the system. This often happens if you don’t level the lever perfectly. It also occurs if you don’t tap the system sufficiently to dislodge bubbles. Another cause is if you close the bleed nipple before removing the syringe. We advise repeating the process for how to bleed shimano brakes at home carefully.
Why is my Shimano brake squealing after a bleed?
Brake squealing after a bleed typically results from contamination of the brake pads or rotor with mineral oil, or from improper bedding-in of the pads. You should thoroughly clean the rotor with isopropyl alcohol, a key step in how to bleed Shimano brakes at home. If the pads are contaminated, you may need to replace them for quiet operation.