
 By Hashim Hashmi
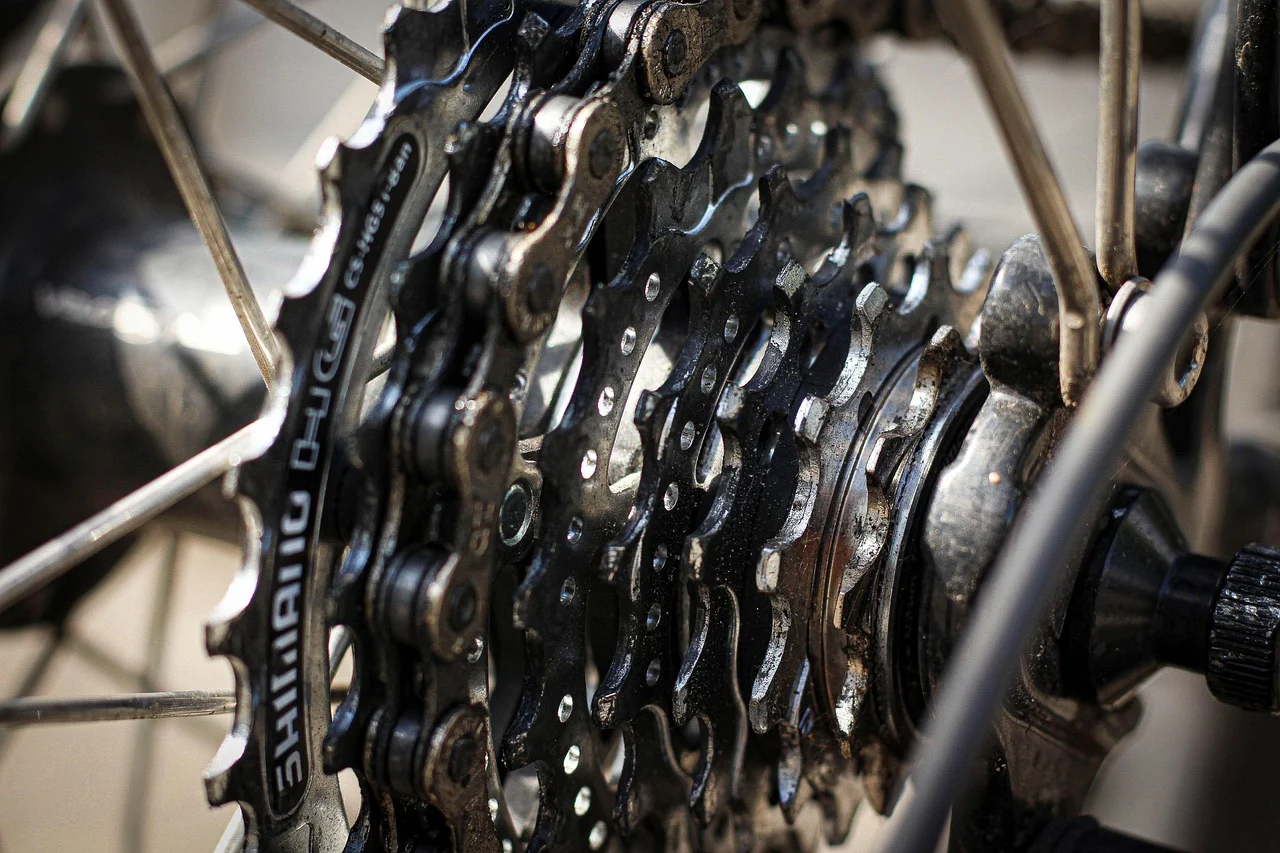
This article covers how to measure and select the right chain width for your gear setup, navigate brand-specific compatibility for 12 and 13-speed systems, and determine the correct chain length using the largest cog and chainring method.
Your guide to understanding the fundamentals of bike chain size
To accurately size a bike chain, focus on three primary dimensions. These are pitch, inner width, and outer width. They dictate compatibility with a bike’s cassette and chainrings. While the pitch is standard across modern bicycles, inner and outer widths vary significantly with the number of gears a bike has.
The pitch, which is the distance between the centres of consecutive chain pins, is universally 1/2 inch (12.7 mm) for modern bicycle chains. This consistency means you won’t need to measure the pitch directly when choosing a replacement chain; it’s a given.
Inner width, however, is important and directly relates to your bike’s speed system. This measurement determines how well the chain fits over the teeth of your cassette sprockets and chainrings. Here’s how it generally breaks down in a bike chain size guide:
- 1/8″ (3.18 mm): Typically used for single-speed bikes, internal gear hubs, and older track or BMX setups.
- 3/32″ (2.38 mm): The standard for most multi-speed bikes ranging from 5-speed up to 8-speed systems.
- 11/128″ (2.18 mm): Specifically designed for narrower, higher-speed systems, including 9-speed, 10-speed, 11-speed, and 12-speed chains.
Chain outer width and speeds
The outer width of a chain is equally important. It must fit within the increasingly tighter spacing of modern multi-speed cassettes. As the number of rear sprockets (speeds) on a cassette increases, the sprockets themselves become narrower. They are spaced more closely together, requiring a correspondingly narrower chain. For example, a 10-speed chain is narrower than an 8-speed chain. Many cyclists encounter compatibility issues if they are not careful here, even with a bike chain size guide.
Typical outer widths are:
- 7.0–7.3 mm: Common for 6, 7, and 8-speed systems.
- 6.5–7.0 mm: Standard for 9-speed systems.
- 5.84–6.1 mm: Used for 10-speed systems.
- 5.46–5.74 mm: Required for 11-speed systems.
- 5.0–5.4 mm: Necessary for 12-speed systems.
- 4.9 mm: The narrowest in general production, found on Campagnolo Ekar 1×13 speed chains.
To know your bicycle chain size, we always recommend identifying the number of speeds your bike’s drivetrain has first. Count the number of sprockets on your rear cassette. This count directly tells you the ‘speed’ of your system (e.g., 9 sprockets mean a 9-speed system), which then dictates the required inner and outer chain width for a bike chain size guide. If you’re unsure, check the markings on your existing chain or groupset components.
Decoding Chain Compatibility: Speeds, Brands, and Unique Designs
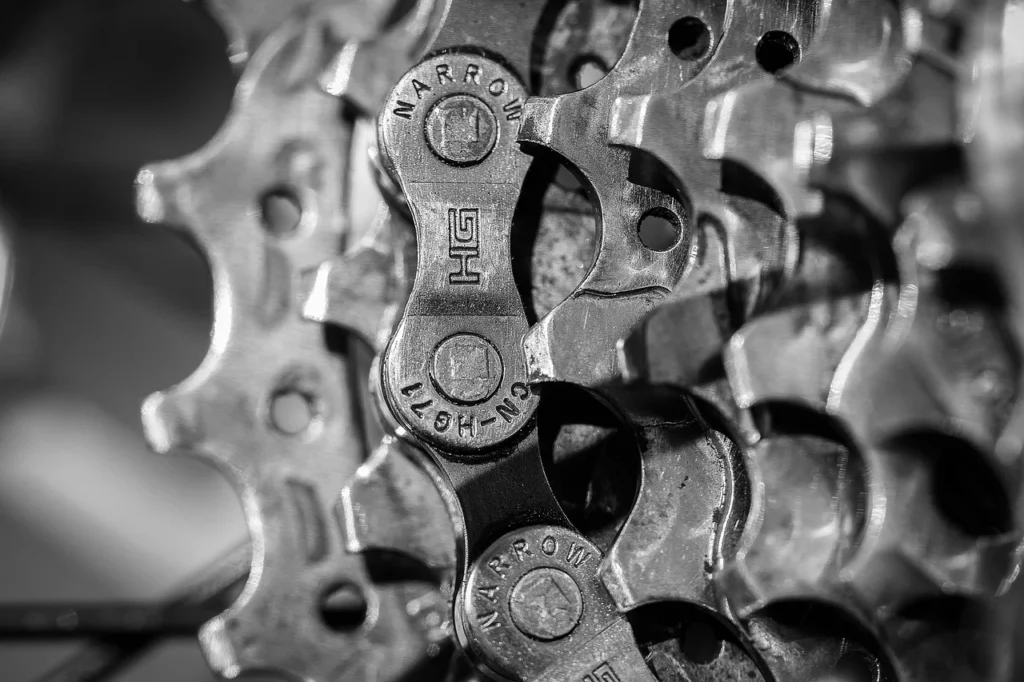
While the fundamental dimensions are key, understanding how chain compatibility varies across different speed systems and brands is vital to avoid costly mistakes. Not all chains are universally interchangeable, especially as you move towards higher gear counts.
For 6, 7, and 8-speed systems, chains are generally quite forgiving. Most major brands like Shimano, SRAM, and KMC produce chains that are largely interchangeable. This means you can often mix and match brands within this speed range without significant performance issues, which is helpful for a bike chain size guide for budget-conscious maintenance.
As you move to 9, 10, and 11-speed systems, compatibility remains relatively broad. Chains from Shimano, SRAM, KMC, and Yaban are typically interchangeable up to 11-speed. For a bike chain size guide, while there might be subtle differences in shifting feel or noise, a well-installed chain from any of these brands will usually perform adequately on a compatible groupset from another.
Brand specific 12-speed chains
However, at 12-speed and 13-speed, brand-specific compatibility becomes critically important. The drive systems are engineered with much tighter tolerances and often incorporate unique chain designs that are not cross-compatible. This is a common misconception; many assume all 12-speed chains are the same, but this is far from the truth.
- SRAM Flattop chains: Used exclusively on 12-speed AXS road groupsets, these chains feature a unique flat-top plate shape and specific roller dimensions. This distinct design makes them incompatible with any other 12-speed system, including Shimano’s offerings. Trying to fit one will simply not work or will severely compromise shifting.
- Shimano 12-speed Hyperglide+ chains: Shimano designs its 12-speed chains as an integral part of their Hyperglide+ system, which includes Hyperglide+ cassettes and chainrings. While a Shimano 12-speed chain might physically fit another 12-speed setup, you will almost certainly lose the optimal shifting performance that the Hyperglide+ system is known for. The ramping and tooth profiles on the cassette and chainrings are specifically engineered to work with the chain’s plate shape.
- Campagnolo Ekar 1×13 speed chains: As the narrowest production chains at 4.9 mm, these are exclusively for Campagnolo’s 13-speed Ekar groupset and are not compatible with any other system.
So, do all bike chains fit all bikes? Absolutely not. My advice is always to consult a bike chain size guide to match your chain to your bike’s speed system first, and then to the specific brand for 12-speed and 13-speed drivetrains. This simple rule will save you a lot of hassle and ensure your bike runs as intended.
Practical Steps for Sizing a New Bike Chain
Once you’ve selected the correct type of chain for your bike’s speed system, you must determine the correct length. A chain that is too short can damage your derailleur and drivetrain. One that is too long will lead to poor shifting and excessive chain slap. We always recommend the ‘largest cog and largest chainring’ method as the most reliable approach for multi-speed bikes.
The Largest Cog and Largest Chainring Method
This method ensures that a chain is long enough to accommodate the extreme gear combination (largest chainring and largest rear cog) without over-stretching the derailleur, yet short enough for efficient shifting in all other gears. This is the method typically used for a new chain installation, as detailed in a bike chain size guide.
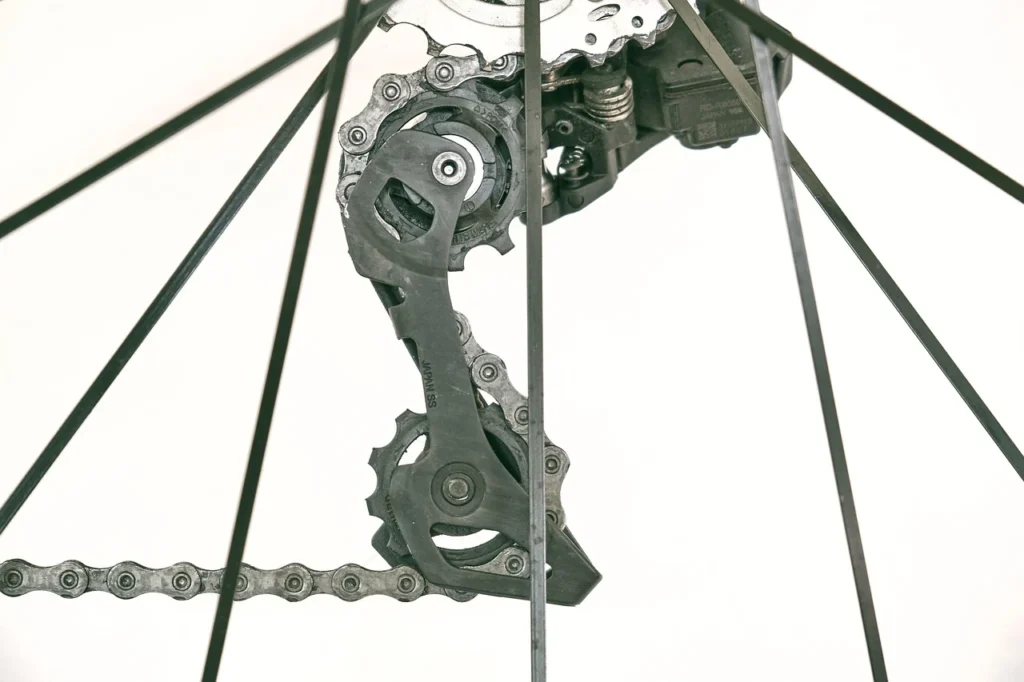
- Prepare Your Bike: Shift your bike into the largest chainring at the front and the largest cog on the rear cassette. Do NOT thread the chain through the rear derailleur cage at this stage.
- Position the Chain: Wrap the new chain around the largest chainring and the largest cog. Bring the two ends of the chain together so they meet.
- Determine Overlap: For most drivetrains, you’ll want to add two full links (one inner and one outer link) to this tight measurement. This provides enough slack for the derailleur to operate correctly in all gears. For example, if the chain ends meet perfectly, you would add two links beyond that point.
- Consider Derailleur Type (Edge Case): If your bike has a full-suspension frame or a ‘clutch’ type rear derailleur (common on mountain bikes), you might need to add an extra link or two beyond the standard two-link overlap. This accounts for chainstay growth during suspension compression or the larger wrap capacity of clutch derailleurs. When in doubt, adding two links is a safe starting point.
- Mark and Cut the Chain: Once you’ve determined the correct length, mark the link where you need to cut. Use a chain tool to carefully break the chain at the marked point. Ensure you remove the correct number of links; it’s always better to cut too long and re-cut than to cut too short.
- Install the Chain: Now, carefully thread the chain through your front derailleur, around the chainrings, and through the rear derailleur cage, ensuring it passes over the guide pulleys correctly. Connect the chain using a quick link or the manufacturer-provided pin, following their specific instructions.
Sizing to an Original Chain
If you are simply replacing an existing chain that you know was correctly sized, and your drivetrain components (cassette, chainrings, derailleur) have not changed, you can use the old chain as a direct length guide in a bike chain size guide. Lay the new chain alongside the old one, link for link. Then cut the new chain to the exact same length. This is a quicker method but relies on the old chain being perfectly sized and unworn (though wear doesn’t change the number of links, just the effective length). This is useful for a direct replacement when confidence in the original setup exists.
Measuring Chain Wear: When to Replace Your Chain
Understanding when to replace your bike chain is just as important as consulting a bike chain size guide. A worn chain can rapidly accelerate wear on your more expensive cassette and chainrings. Chains don’t truly “stretch” in the sense that the metal elongates. Rather, the perceived elongation is caused by the wearing down of the pins and rollers within the chain links. This wear creates microscopic gaps. It increases the overall length of the chain and causes it to fit poorly on your drivetrain components.
We always advise regular checking of chain wear, particularly for higher-speed drivetrains which are more sensitive to it. The standard tool for this is a chain wear indicator tool, readily available at any bike shop or online. These tools measure the amount of ‘stretch’ or elongation in your chain.
Here are the general guidelines for chain replacement based on wear:
- 0.5% wear: For 11-speed, 12-speed, and 13-speed chains, you should replace them at 0.5% wear. These narrower chains are more susceptible to wear. They can damage your cassette and chainrings faster if you leave them too long.
- 0.75% wear: For 8-speed, 9-speed, and 10-speed chains, you can generally wait until 0.75% wear before replacement. These chains are slightly more solid and can tolerate a bit more elongation.
Using a chain wear tool
To use a chain wear indicator tool, simply hook one end into a chain link and try to insert the other end into a link further down the chain. If the tool ‘drops in’ completely at the 0.5% mark (or 0.75% for wider chains), it’s time for a new chain. If it doesn’t drop in, your chain still has life left.
Ignoring chain wear can lead to significant problems. A worn chain will not mesh properly with your cassette and chainrings. This causes skipping under power, poor shifting, and rapid wear of these components. Replacing a new chain on a worn cassette or chainrings can lead to immediate skipping and accelerated wear of the new chain itself. This effectively wastes an investment. Many cyclists learn this the hard way – a £20-£30 chain replacement is far cheaper than a £100+ cassette and chainring replacement.
Common Mistakes and Rounding Traps to Avoid
Even with a good understanding of a bike chain size guide, cyclists often fall into several common pitfalls. You can avoid these. This will save frustration and money, and it will ensure a drivetrain performs reliably.
Misconceptions About Interchangeability
One of the most persistent misconceptions is that a 10-speed chain will always work on an 11-speed cassette, or that all 12-speed chains are interchangeable. This is fundamentally false due to the precise differences in outer width and plate shape that manufacturers engineer into their chains for specific speed systems. As a bike chain size guide has highlighted, the tolerances for higher-speed systems are so tight. Even a slight mismatch can lead to degraded shifting performance, noise, or even chain drops.
Replacing a New Chain on a Worn Drivetrain
A important mistake is installing a brand-new chain onto a cassette or chainrings that are already significantly worn. A new chain has tight, unworn rollers and pins. If your cassette teeth are already hooked or worn down from a previous, elongated chain, the new chain will not mesh correctly. This almost always results in skipping, particularly under load, and will rapidly wear out your new chain. My advice is simple: if your chain wear indicator shows your chain is significantly worn, always inspect your cassette and chainrings for wear as well, using a bike chain size guide. If they show signs of hooking or shark-winning, you’re better off replacing them alongside your chain for optimal performance and longevity.
Ignoring Manufacturer Specifications
While general guidelines are helpful, always refer to your specific component manufacturer’s recommendations. This is especially true for high-end or less common groupsets. Some manufacturers have very specific instructions for chain length or particular chain models in a bike chain size guide. They optimize these for their system. For instance, some gravel setups or specific derailleur designs might benefit from a slightly different chain length than the standard ‘largest cog and largest chainring plus two links’ rule. Do not assume; check the manuals or the manufacturer’s website if you have any doubts.
Overlooking Chainline (Specific Drivetrains)
While a chain size guide focuses on chain length and width, some riders need to understand chainline. This is especially true for those with custom builds or certain mountain bike setups. Chainline refers to the lateral position of your chainrings relative to the centre of your frame. It is not directly about chain ‘size’ in terms of width or length. However, a poor chainline can exacerbate chain rub, noise, and premature wear, even with the correct chain. If you experience persistent issues despite correct chain sizing, investigate your chainline. This is recommended, especially with wider mountain bike tyres or specific crankset configurations.

Mastering bike chain sizing helps cyclists maintain bike’s performance and extend the life of their drivetrain. Consult a bike chain size guide to select the right chain by understanding pitch, inner width, and outer width. Pay close attention to speed-specific and brand-specific compatibility. Correctly determining chain length and monitoring chain wear ensures smooth shifting and prevents premature component failure. Investing a little time in these details saves you considerable expense and frustration down the road.
Sources: Bicycle
Frequently asked questions
How do I know my bike chain size?
You can determine your bike chain size primarily by counting the number of sprockets on your rear cassette, which indicates your drivetrain’s speed (e.g., 11 sprockets mean an 11-speed system). This speed count directly corresponds to the required inner and outer width of the chain. For example, an 11-speed system requires an 11/128″ inner width and approximately 5.46–5.74 mm outer width.
What is the standard bike chain size?
The standard pitch (distance between pin centres) for modern bicycle chains is universally 1/2 inch (12.7 mm). However, the inner and outer widths, which are important for compatibility, vary significantly depending on the number of speeds your bike’s drivetrain has, making a single “standard” size for all bikes non-existent beyond the pitch.
How do I check bike chain size?
To check your bike chain size, first count the number of cogs on your bike’s rear cassette. This identifies if it is a 6-speed, 9-speed, or 12-speed, etc. This number will tell you the required inner and outer width specifications for your chain. You can then verify this against the new chain’s packaging. Alternatively, measure your existing chain’s outer width with calipers if you suspect an incorrect chain was previously fitted.