
 By Hashim Hashmi
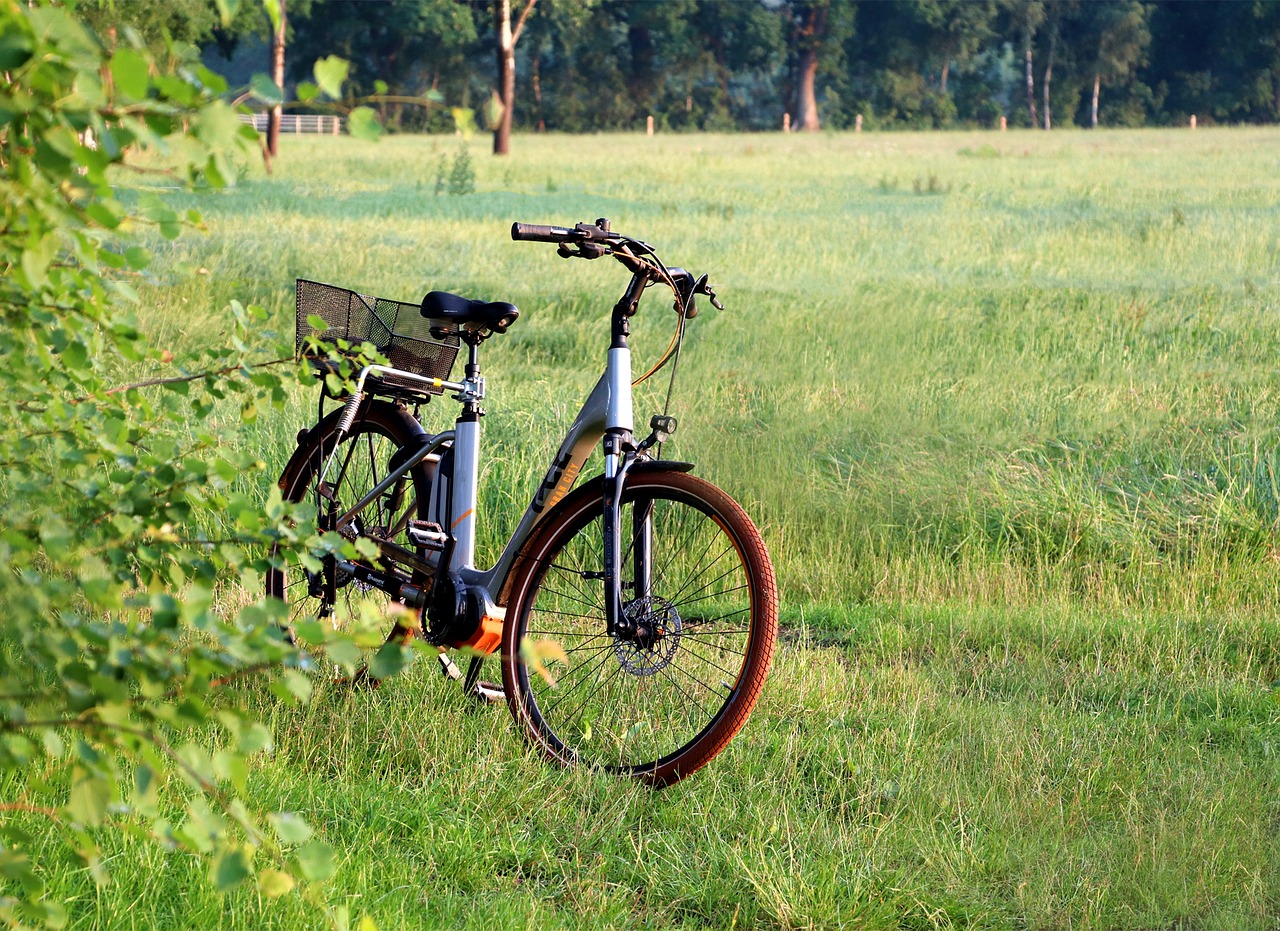
An electric bike conversion kit transforms a standard bicycle into an e-bike, typically at a lower cost than buying a new factory model of comparable power. To ensure a successful and legal conversion, you must select the right motor layout for your frame and choose components that comply with local road regulations.
What UK Legal Rules Govern Electric Bike Conversion Kits?
To legally ride a converted electric bicycle on public roads, cycle paths, and bridleways in the UK without needing insurance, licensing, or road tax, the completed build must meet Electrically Assisted Pedal Cycles (EPAC) regulations. If a converted bike exceeds these parameters, UK law classifies it as a motor vehicle, requiring registration with the DVLA, type approval, motor insurance, a driving license, and an approved motorcycle helmet. Understanding these limits is crucial, as non-compliant kits can lead to serious legal consequences.
The core UK EPAC requirements for electric bicycle conversion kits are:
- Maximum rated motor power: The electric motor must have a maximum continuous rated output of no more than 250 watts. Kits sold with 500W, 750W, or 1000W motors are not legal for public road use in the UK regardless of software speed limiters. Attempting to use a higher wattage motor on public roads is illegal.
- Speed restriction: Motor assistance must automatically cut off when the bicycle reaches a speed of 15.5 mph (25 km/h). You can pedal faster using leg power alone, but the motor cannot provide propulsion beyond this speed.
- Pedal assistance requirement: The motor must only provide power when the pedals are turning. Throttles that propel the bike without pedalling are restricted: a twist or thumb throttle is only legal if it operates up to 3.7 mph (6 km/h) as a start-assist feature. Any throttle allowing full power without pedalling is illegal for public road use.
- Rider age limit: The rider must be at least 14 years old to operate an EPAC legally on UK roads.
Why are some conversion kits considered illegal?
Conversion kits themselves are not inherently illegal to buy or own. However, if they allow the converted bicycle to exceed the 250W continuous power limit, assist above 15.5 mph, or operate solely via a throttle at higher speeds, the resulting e-bike is illegal for use on public roads in the UK. Many kits are sold globally, and their higher power options are intended for off-road or private land use only, not for public highways under UK EPAC rules. It’s the use of a non-compliant converted bike on public roads that is illegal, not the kit itself.
Which Motor Drive Type Should You Choose?
Conversion kits come in three primary layout configurations: front hub motors, rear hub motors, and mid-drive (bottom bracket) motors. Each layout alters the bike’s handling balance, hill-climbing capability, and installation complexity, making certain types better suited for specific bikes and riding styles, including mountain bikes and commuters.
| Motor Type | Hill Climbing | Installation Ease | Handling Balance | Ideal Bike Type |
|---|---|---|---|---|
| Front Hub Motor | Moderate | Easiest | Front-heavy | Flat city commuters, hub-gear bikes |
| Rear Hub Motor | Good | Moderate | Rear-heavy | General hybrid bikes, commuter bicycles |
| Mid-Drive Motor | Excellent | Advanced | Centred & balanced | Hilly routes, gravel bikes, heavy cargo bikes, mountain bikes |
Front Hub Motor Kits
Front hub motor kits replace your front wheel with a pre-laced wheel containing an electric motor. They are generally the simplest conversion option to install as they don’t interfere with your rear cassette or derailleur. Ideal for urban commuters with internal rear gear hubs. However, adding 3-4 kg to the front fork changes steering feel. Front wheels can lose traction on steep inclines or wet leaves, and front hub kits must never be fitted to carbon fibre forks or lightweight suspension forks without heavy-duty torque arms due to the risk of fork dropout failure. This type is generally less suited for mountain biking due to compromised front wheel traction.
Rear Hub Motor Kits
Rear hub motor kits replace the rear wheel, placing traction directly beneath the rider’s weight. This provides superior grip on wet tarmac and steep gradient climbs compared to front motors. Installation requires matching the motor hub’s rear dropout spacing (standard 135 mm for most hybrid and mountain bikes) and ensuring compatibility with your existing drivetrain. Puncture repair on a rear hub motor bike requires disconnecting motor cables and using tools, making roadside tube swaps more tedious. Rear hub motors offer a good balance for general riding and light trail use on mountain bikes.
Mid-Drive Motor Kits
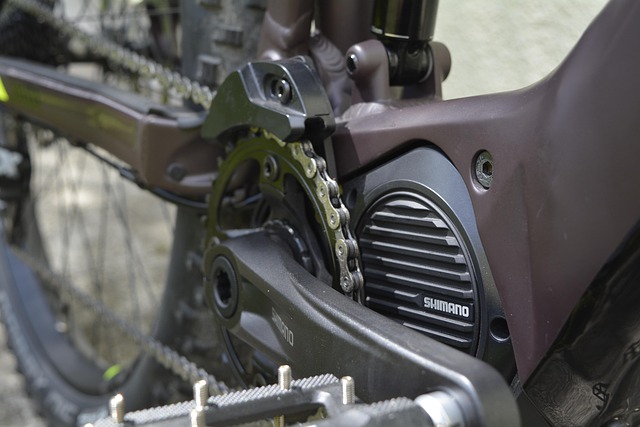
Mid-drive conversion kits, such as the Bafang BBS02 or Tongsheng TSDZ2, replace your bike’s bottom bracket assembly and crank arms, delivering motor torque directly through the chain drivetrain. By utilizing the bicycle‘s rear gears, a 250W mid-drive motor can shift into low gear for steep hill climbs, maintaining optimal motor RPM and thermal efficiency. The central low positioning provides superior weight distribution, keeping handling agile and balanced on gravel trails and descents. This makes them excellent for mountain bikes, cargo bikes, and any riding involving significant hills. However, mid-drive kits apply significant mechanical stress to your chain, chainring, and cassette, resulting in faster drivetrain wear. They also require specific bottom bracket shell dimensions—typically standard BSA threaded 68 mm to 73 mm shells—and are incompatible with press-fit or exotic bottom bracket standards without specialized adapters. Compatibility with your bike’s bottom bracket is a critical check for these kits.
How Do Cadence Sensors and Torque Sensors Differ?
The pedal assist sensor dictates how smoothly and responsively the motor delivers power when you start pedalling. The two primary sensor technologies available in conversion kits are cadence sensors and torque sensors. Understanding their differences is key to choosing a kit that matches your desired riding experience and efficiency.
Cadence sensors use a magnetic disc mounted on the bottom bracket spindle and a frame-mounted pickup switch. When it detects pedal rotation, it signals the controller to deliver power based on the chosen assist level, regardless of how hard you press on the pedals.
Cadence systems are mechanically simple, durable, and budget-friendly. However, they exhibit a slight lag before assistance engages or cuts off, and the power delivery can feel sudden. This can be less natural and potentially less safe in situations requiring immediate power control, like navigating busy traffic or technical trails.
Torque sensors measure the actual force applied to the pedals in real time using strain gauges within the bottom bracket or motor axle. The controller instantly calculates how much pedal force you exert and scales motor assistance proportionally. If you push lightly, the motor provides gentle support; if you push hard up a hill, the motor delivers full power immediately. Torque sensing offers a more intuitive, natural cycling feel because power delivery is instantaneous, smooth, and significantly more battery-efficient. For technical riding, city traffic, and a more integrated e-bike experience, torque sensing is generally preferred, though kits with these sensors tend to be more expensive.
What Battery Specifications and Frame Requirements Matter for a Conversion Kit with Battery?
A conversion kit battery is the single most expensive component and crucial for a “conversion kit with battery”. Choosing the correct capacity and mounting style determines both your range and your bicycle’s structural safety, as well as the overall aesthetics and balance of the converted bike. Poor battery choice can lead to limited range or an unstable ride.
Battery Voltage and Capacity
Most 250W road-legal conversion kits run on 36V electrical systems, though some mid-drive systems use 48V setups. Battery capacity is measured in Amp-hours (Ah) and Watt-hours (Wh), where Watt-hours equal Voltage multiplied by Amp-hours (Wh = V × Ah). For example, a 36V 13Ah battery yields 468 Wh of energy capacity. As a practical benchmark, expect an average consumption of 10 Wh to 15 Wh per mile on moderate terrain with medium assist. A 468 Wh battery realistic working range spans between 30 and 45 miles per charge. Actual range varies significantly based on rider weight, terrain, assist level, and weather conditions. Always select battery packs constructed with high-grade brand-name cells for thermal stability, safety, and reliable cycle lifespan, as low-quality cells can pose a fire risk and degrade quickly.
Battery Mounting Options
- Downtube (Hailong style): Mounts directly to water bottle cage brazens inside the main frame triangle. This keeps weight low and central, providing optimal handling stability and a clean aesthetic. It’s the most common and recommended mounting option.
- Rear rack mount: Fits onto a dedicated double-decker rear pannier rack. Ideal for step-through frames or frames with tight front triangles where a downtube mount isn’t possible. However, high rear weight can cause frame flex on lighter bikes and alter handling.
- Seatpost or bag mount: Small capacity packs housed in saddlebags or frame bags, suitable for minimalist setups where clean aesthetics are prioritized over long range. These are typically for smaller, lighter batteries and shorter rides.
Step-by-Step Guide to Installing a Conversion Kit
Converting a standard bike into an e-bike requires basic mechanical tools, including allen keys, crank pullers, bottom bracket tools (if installing a mid-drive), cable ties, and a torque wrench. Dedicate sufficient time and follow these systematic steps for a clean, safe, and reliable conversion. The process can take anywhere from 3 to 8 hours depending on the kit type and your mechanical experience.
- Inspect and Prepare the Donor Bike: Thoroughly check the frame, wheels, and brakes for any existing damage or wear. Ensure headtube bearings, bottom bracket threads, and wheel dropouts are free from rust or cracks. Carbon fibre frames are generally unsuitable for conversion due to the stresses involved; do not install high-torque conversion kits on them. Ensure your brakes are adequate for the increased speed and weight of an e-bike.
- Fit the Motor Assembly:
- For hub kits, replace the standard wheel with the motor wheel. Carefully place anti-rotation torque washers correctly inside the dropouts to prevent axle spin-out. Securely tighten axle nuts to the manufacturer’s specified torque.
- For mid-drive kits, remove the existing crank arms and bottom bracket. Clean the bottom bracket shell threads thoroughly. Slide the mid-drive motor shaft through the bottom bracket shell, ensuring it sits flush, and lock it firmly with retaining rings and locknuts. Torque these components to spec.
- Install Torque Arms on Hub Motors: Always install a heavy-duty stainless steel torque arm on the fork leg (for front hubs) or rear stay (for rear hubs). Torque arms transfer rotational axle forces away from fragile dropout slots into the frame tube, preventing catastrophic dropout splitting, especially on steel or aluminum frames. This is a critical safety step often overlooked.
- Mount the Pedal Assist Sensor and Magnet Ring: On cadence-based hub kits, fit the magnet ring onto the non-drive crank spindle and align the sensor pickup within 2 mm to 3 mm of the magnets for reliable detection. For torque sensor kits, this is usually integrated into the motor or bottom bracket.
- Mount the Display, Throttle/Switches, and Brake Cut-offs: Secure the handlebar display unit, thumb controls (for assist level), and brake cut-off sensors. Magnetic brake cut-off switches are essential safety devices that instantly kill motor power the moment you pull a brake lever, preventing runaway situations and ensuring safe stopping. Connect all wiring neatly.
- Mount the Battery and Run Wiring Harness: Secure the battery cradle firmly using steel rivnuts or reinforced bottle cage mounts. Route the main wiring loom neatly along the frame tubes, leaving sufficient slack at the handlebars for full steering lock, and secure cabling with UV-resistant cable ties. Avoid pinching wires or routing them near moving parts.
- System Testing and Setup: Connect the battery, switch on the display, and verify display parameters (e.g., wheel diameter setting, maximum speed limit set to 15.5 mph / 25 km/h for UK legality). Conduct a stationary operation test before riding on public roads to check all functions, including pedal assist engagement, brake cut-offs, and display readings. Make sure the motor cuts out at 15.5 mph.
Common Problems and Fixes During Installation
- Wiring issues: Ensure all connectors are fully seated and oriented correctly. Many e-bike connectors are keyed to prevent incorrect insertion. Check for pinched or damaged wires.
- Sensor alignment: If pedal assist isn’t engaging, double-check the alignment of the cadence sensor and magnet ring (2-3mm gap).
- Bottom bracket compatibility (mid-drive): If the mid-drive motor doesn’t fit, verify your bottom bracket shell dimensions. Adapters exist for some non-standard BSA shells, but press-fit is often incompatible.
- Dropout damage/slippage (hub motor): Always use torque arms. If the axle spins or the dropout shows signs of stress, stop riding immediately and reinforce the dropout or adjust the torque arm.
- Brake cut-offs not working: Ensure the magnets are correctly positioned relative to the sensors on the brake levers. The gap is usually very small.
When Does Converting a Bicycle Make Financial Sense?
Building an e-bike using a quality conversion kit typically costs between £400 and £800 complete with battery, depending on motor type and battery capacity. If you already own a sound hybrid, rigid mountain bike, or touring frame worth £200 to £500, retrofitting an e-bike kit gives you performance comparable to a £1,500 factory-built entry-level e-bike for roughly half the cost. This can be a financially savvy option for many. However, converting a bike does not make sense in every scenario.

I advise against using conversion kits in the following circumstances:
- Carbon fibre frames and forks: Carbon structures are engineered for precise directional riding loads, not for local clamping pressure, heavy battery weight, or high axle torque forces from hub or mid-drive motors. The risk of frame or fork failure is significant and dangerous.
- Worn out donor bikes: If your donor bike requires replacement wheels, a worn drivetrain, new brakes, and tires before conversion, repair costs will quickly erase any financial savings over buying a factory e-bike. Start with a bike in good, safe working order.
- Inadequate braking systems: Basic single-pivot rim brakes or cheap caliper brakes lack stopping power for a 22 kg converted e-bike moving at 15 mph. Reliable v-brakes or mechanical/hydraulic disc brakes are essential safety requirements to handle the increased weight and speed.
- Bikes with unusual frame shapes or press-fit bottom brackets: These can be incompatible with standard battery mounts or mid-drive motors, making installation difficult or impossible without custom fabrication. BMX bikes, for example, typically do not make suitable donor frames due to their geometry and component strength.
- Individuals seeking factory warranty and support: Converted bikes typically do not come with the same level of warranty or professional support as a purpose-built e-bike. If you prefer a ready-to-ride, fully integrated system with comprehensive after-sales service, a factory e-bike might be a better choice.
Sources: Conversion kit
Frequently asked questions
Can I turn any bicycle into an electric bike with a conversion kit?
Most standard steel and aluminum hybrid, commuter, and mountain bikes with threaded BSA bottom brackets and standard dropout spacings can accept conversion kits. However, carbon fibre frames, bikes with press-fit bottom brackets, and bikes with unusual frame shapes or drum brakes are often incompatible or unsafe for conversion. Bikes with very lightweight components or unique geometries, like many BMX bikes, are generally not suitable.
Are electric bike conversion kits legal on UK roads?
Yes, provided the kit complies with UK EPAC regulations. The motor continuous power must not exceed 250W, electric assistance must cut off above 15.5 mph (25 km/h), and power must only engage while pedalling (throttles without pedalling are restricted to 3.7 mph walk-assist). Non-compliant kits are for off-road or private land use only.
How far can you travel on a single charge with a converted e-bike?
A typical 36V 13Ah (468 Wh) battery yields between 30 and 45 miles of assisted riding on average terrain. Actual range depends significantly on rider weight, assist level, hill gradient, headwind, tire pressure, and whether you use a cadence or torque sensor, as well as the overall efficiency of your setup.
Is a front or rear hub motor kit better?
Rear hub motor kits offer superior traction and a more natural riding feel on steep or slippery surfaces, as power is applied directly under the rider’s weight. Front hub motor kits are easier to install and preserve internal gear hubs, but can affect steering balance and traction on steep gravel or wet roads. The “better” choice depends on your bike type, intended use, and priority between ease of installation and riding dynamics.
What are the main trade-offs of using a conversion kit versus buying a factory e-bike?
Conversion kits offer a significant cost saving and allow you to retain a beloved bike frame, often providing a more customisable experience. However, factory e-bikes typically offer better integration of components, a unified warranty, and often superior aesthetics and weight distribution. Converted bikes can sometimes feel less refined and may require more DIY maintenance.